Building a queen-sized loft bed
2019.06.21
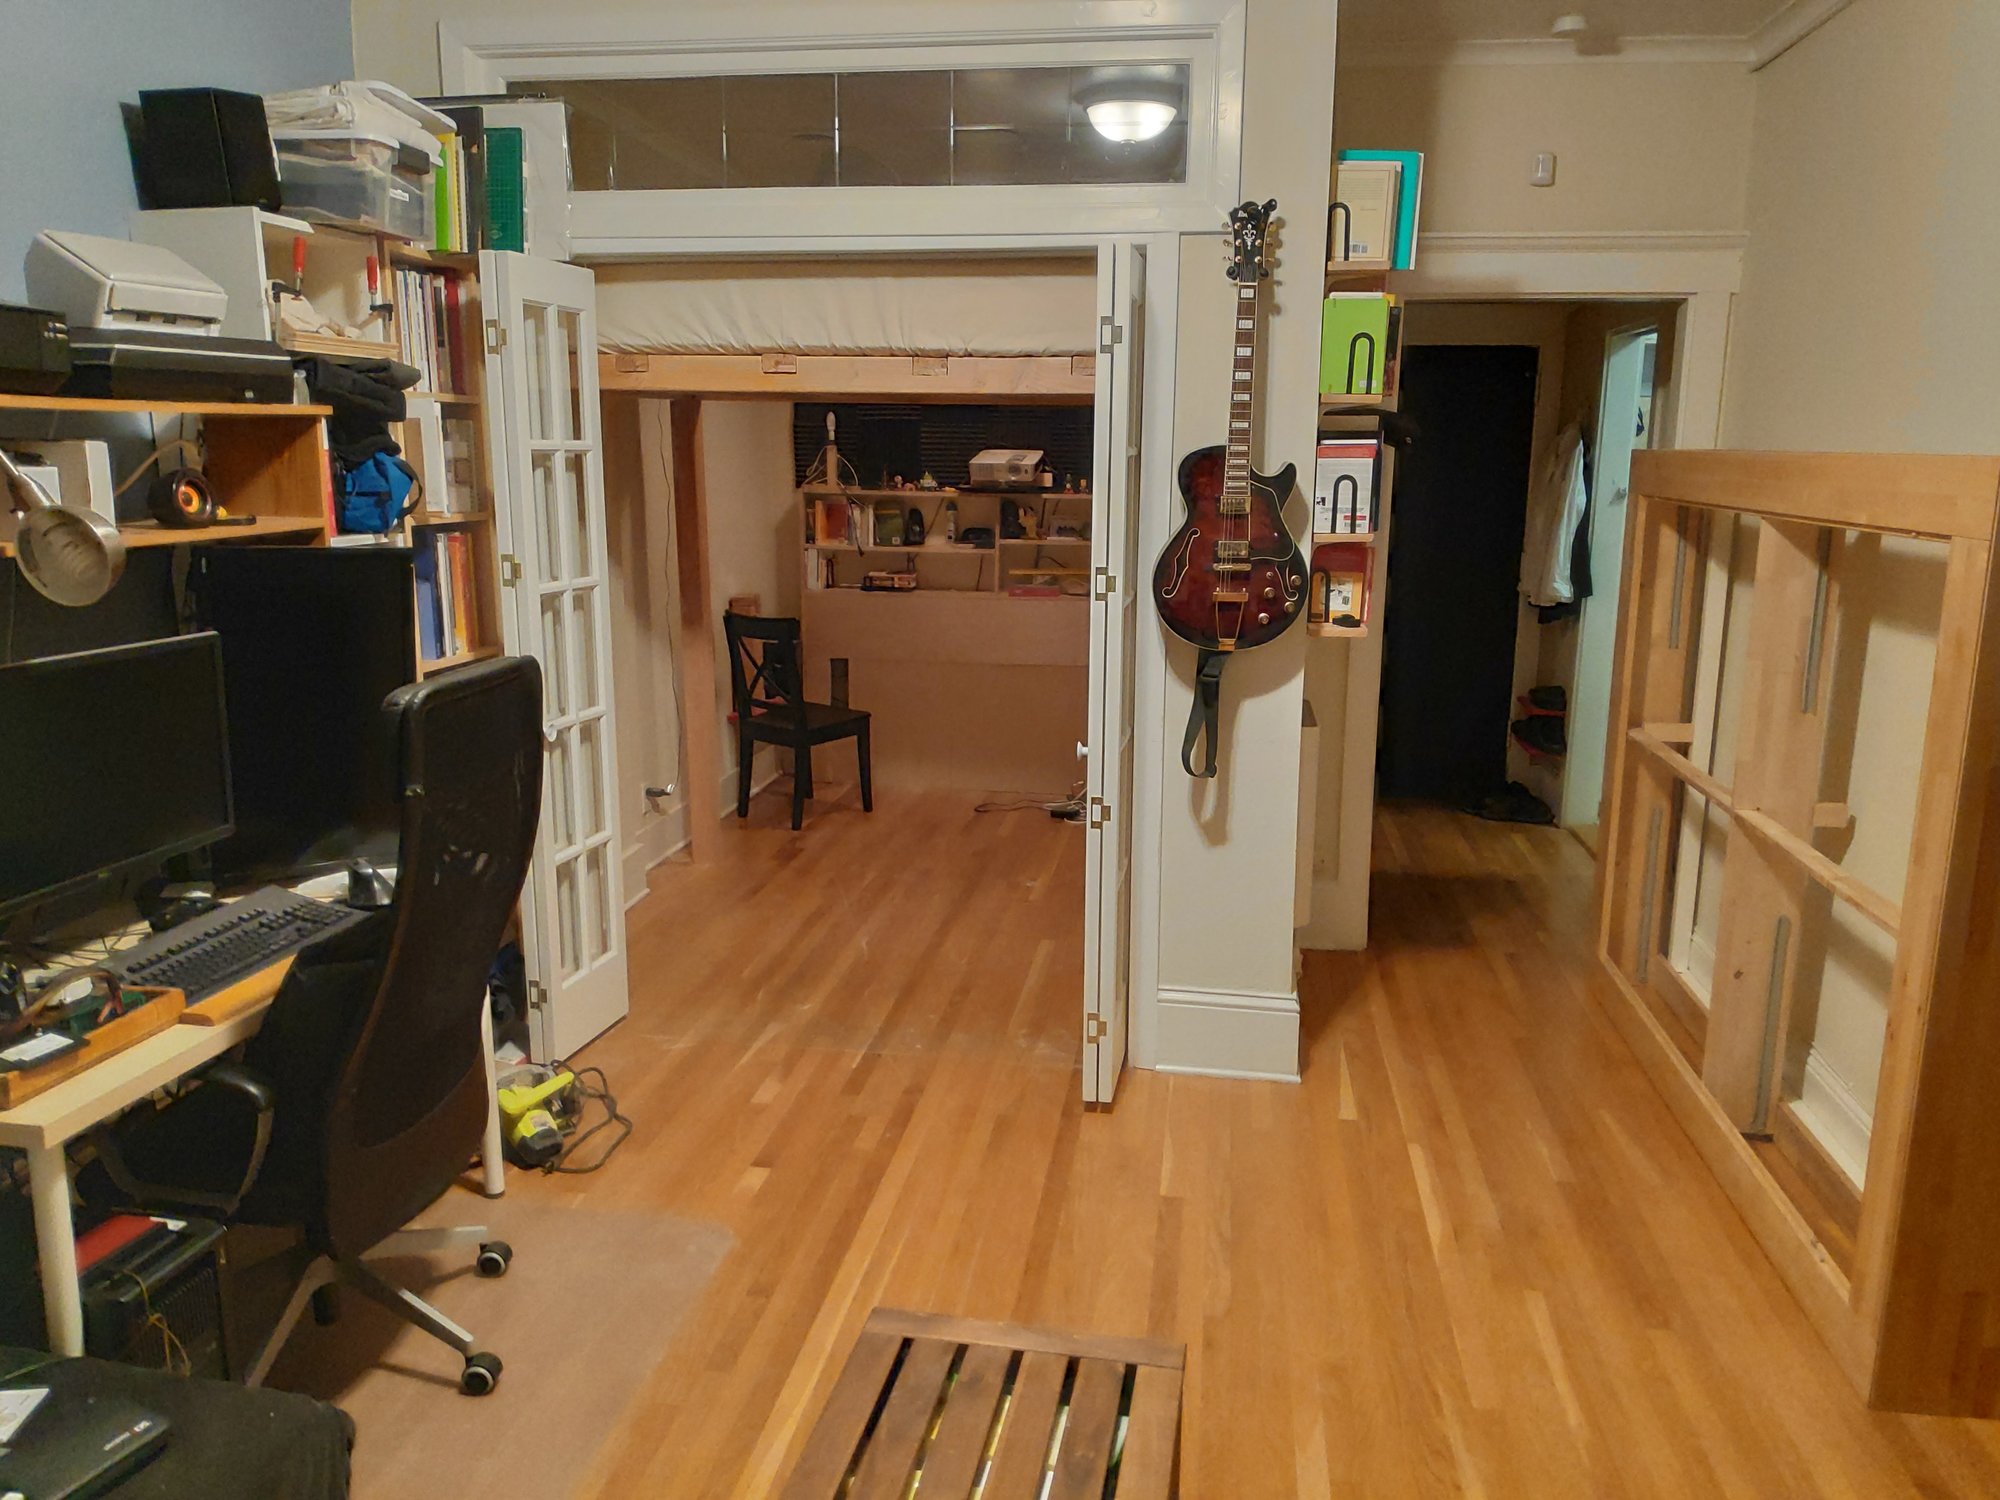
In order to optimize space in my San Francisco apartment, I decided to build a loft bed. Nope, they’re not just for children. As more of the world moves to large cities where real estate is expensive, I expect those to get more common, along with other solutions to make use of vertical space.
I knew I wanted to make it out of wood, and I knew I wanted it to be (and feel) extremely sturdy. So I got myself a bunch of lumber with a thick, square section. I also wanted to reuse my mattress, at least for now, and I like some spare room so I wanted to make it queen-sized (around 1.5 x 2 meters).
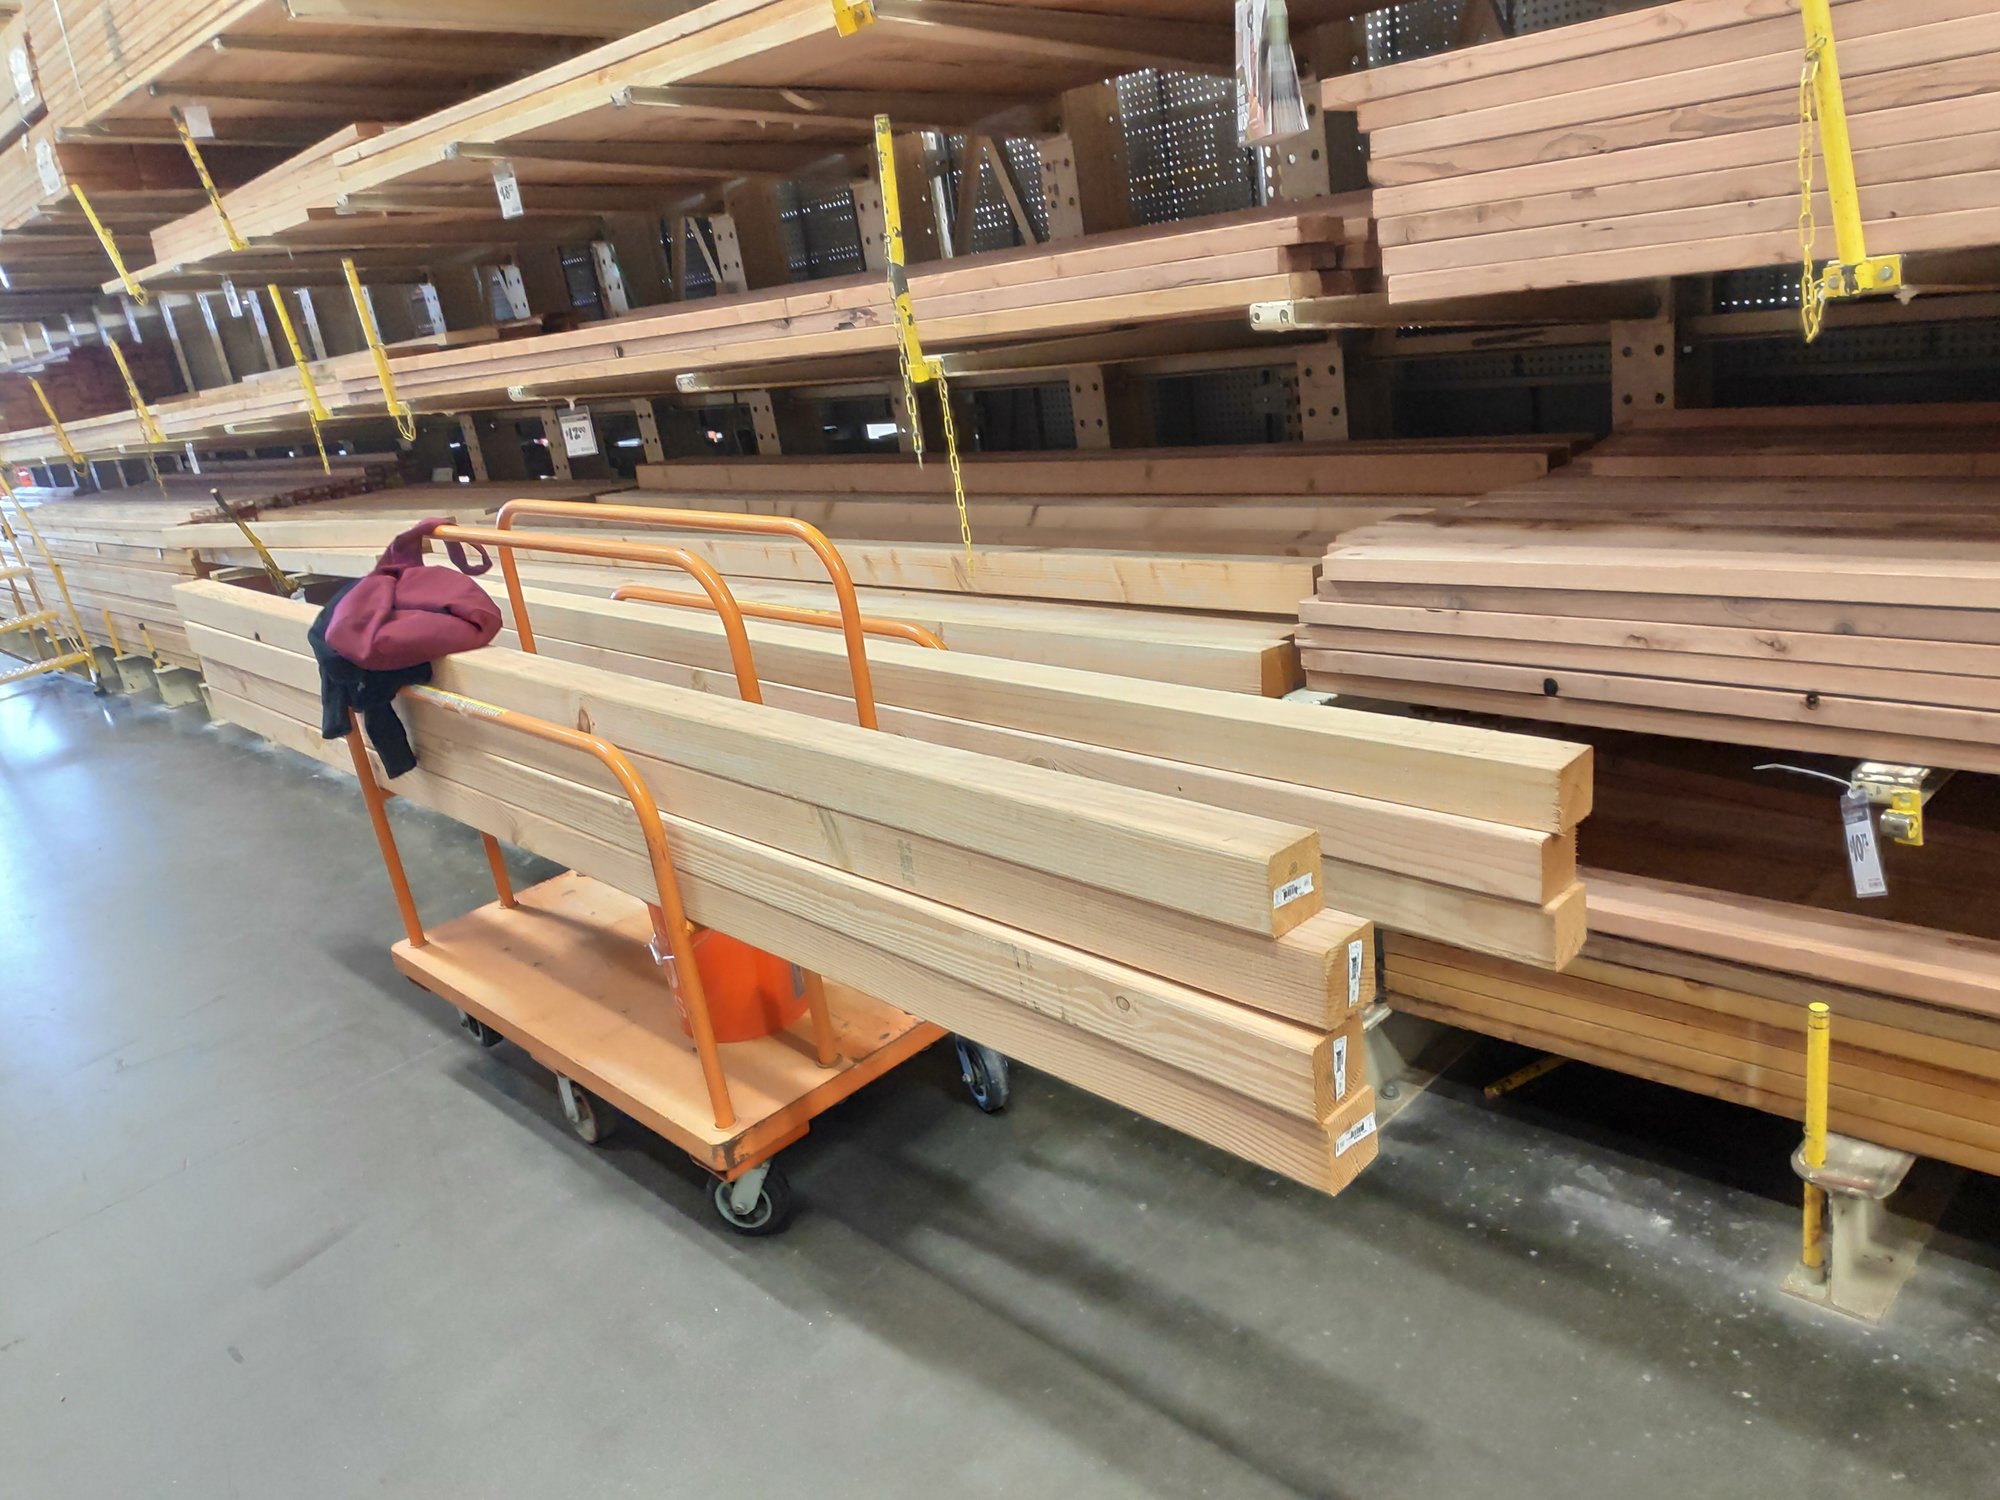
Actually, scratch that. I soon realized I would never be able to get those 3.7 meter-long behemoths back to my apartment by myself with a ride share.
So I got them delivered instead. They obviously wouldn’t fit in the elevator, and I live on the 6th (top) floor. So I hacked together a series of extension cords and power strips that I plugged into an outlet in my lobby, took the other end out onto the sidewalk, and used my circular saw to chop the wood into the more manageable chunks I would need eventually. The passersby saw this crazy person hacking wood on the pavement, connected by a long chain of power strips to the nearby building. But this is San Francisco, they’ve seen much worse. In any case, I could then fit most of the wood in the elevator.
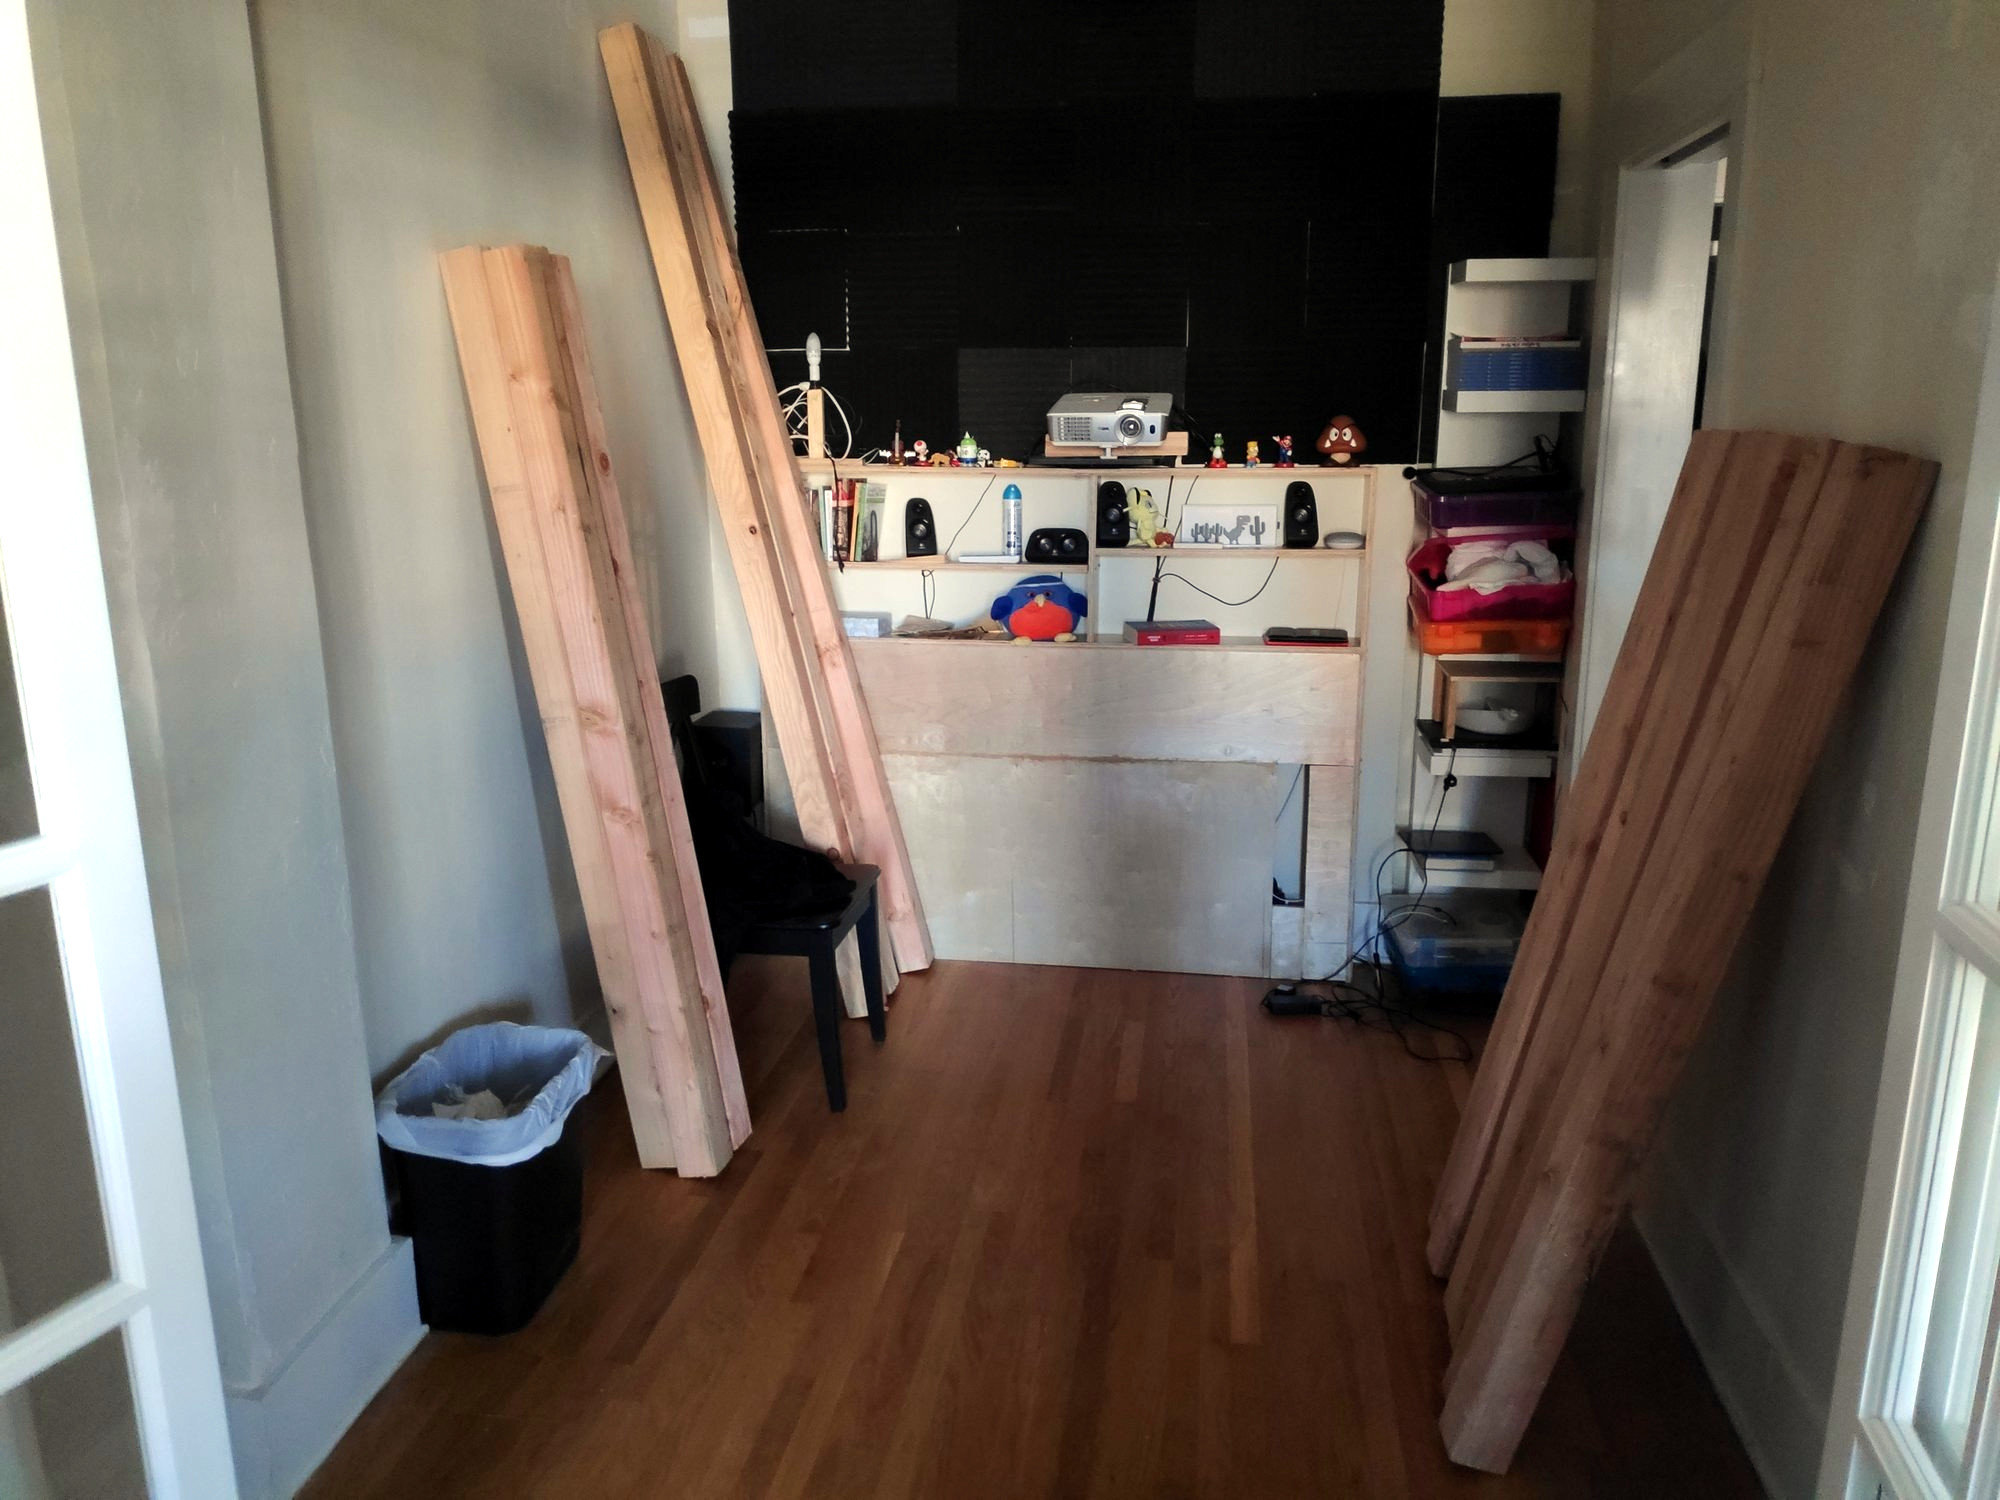
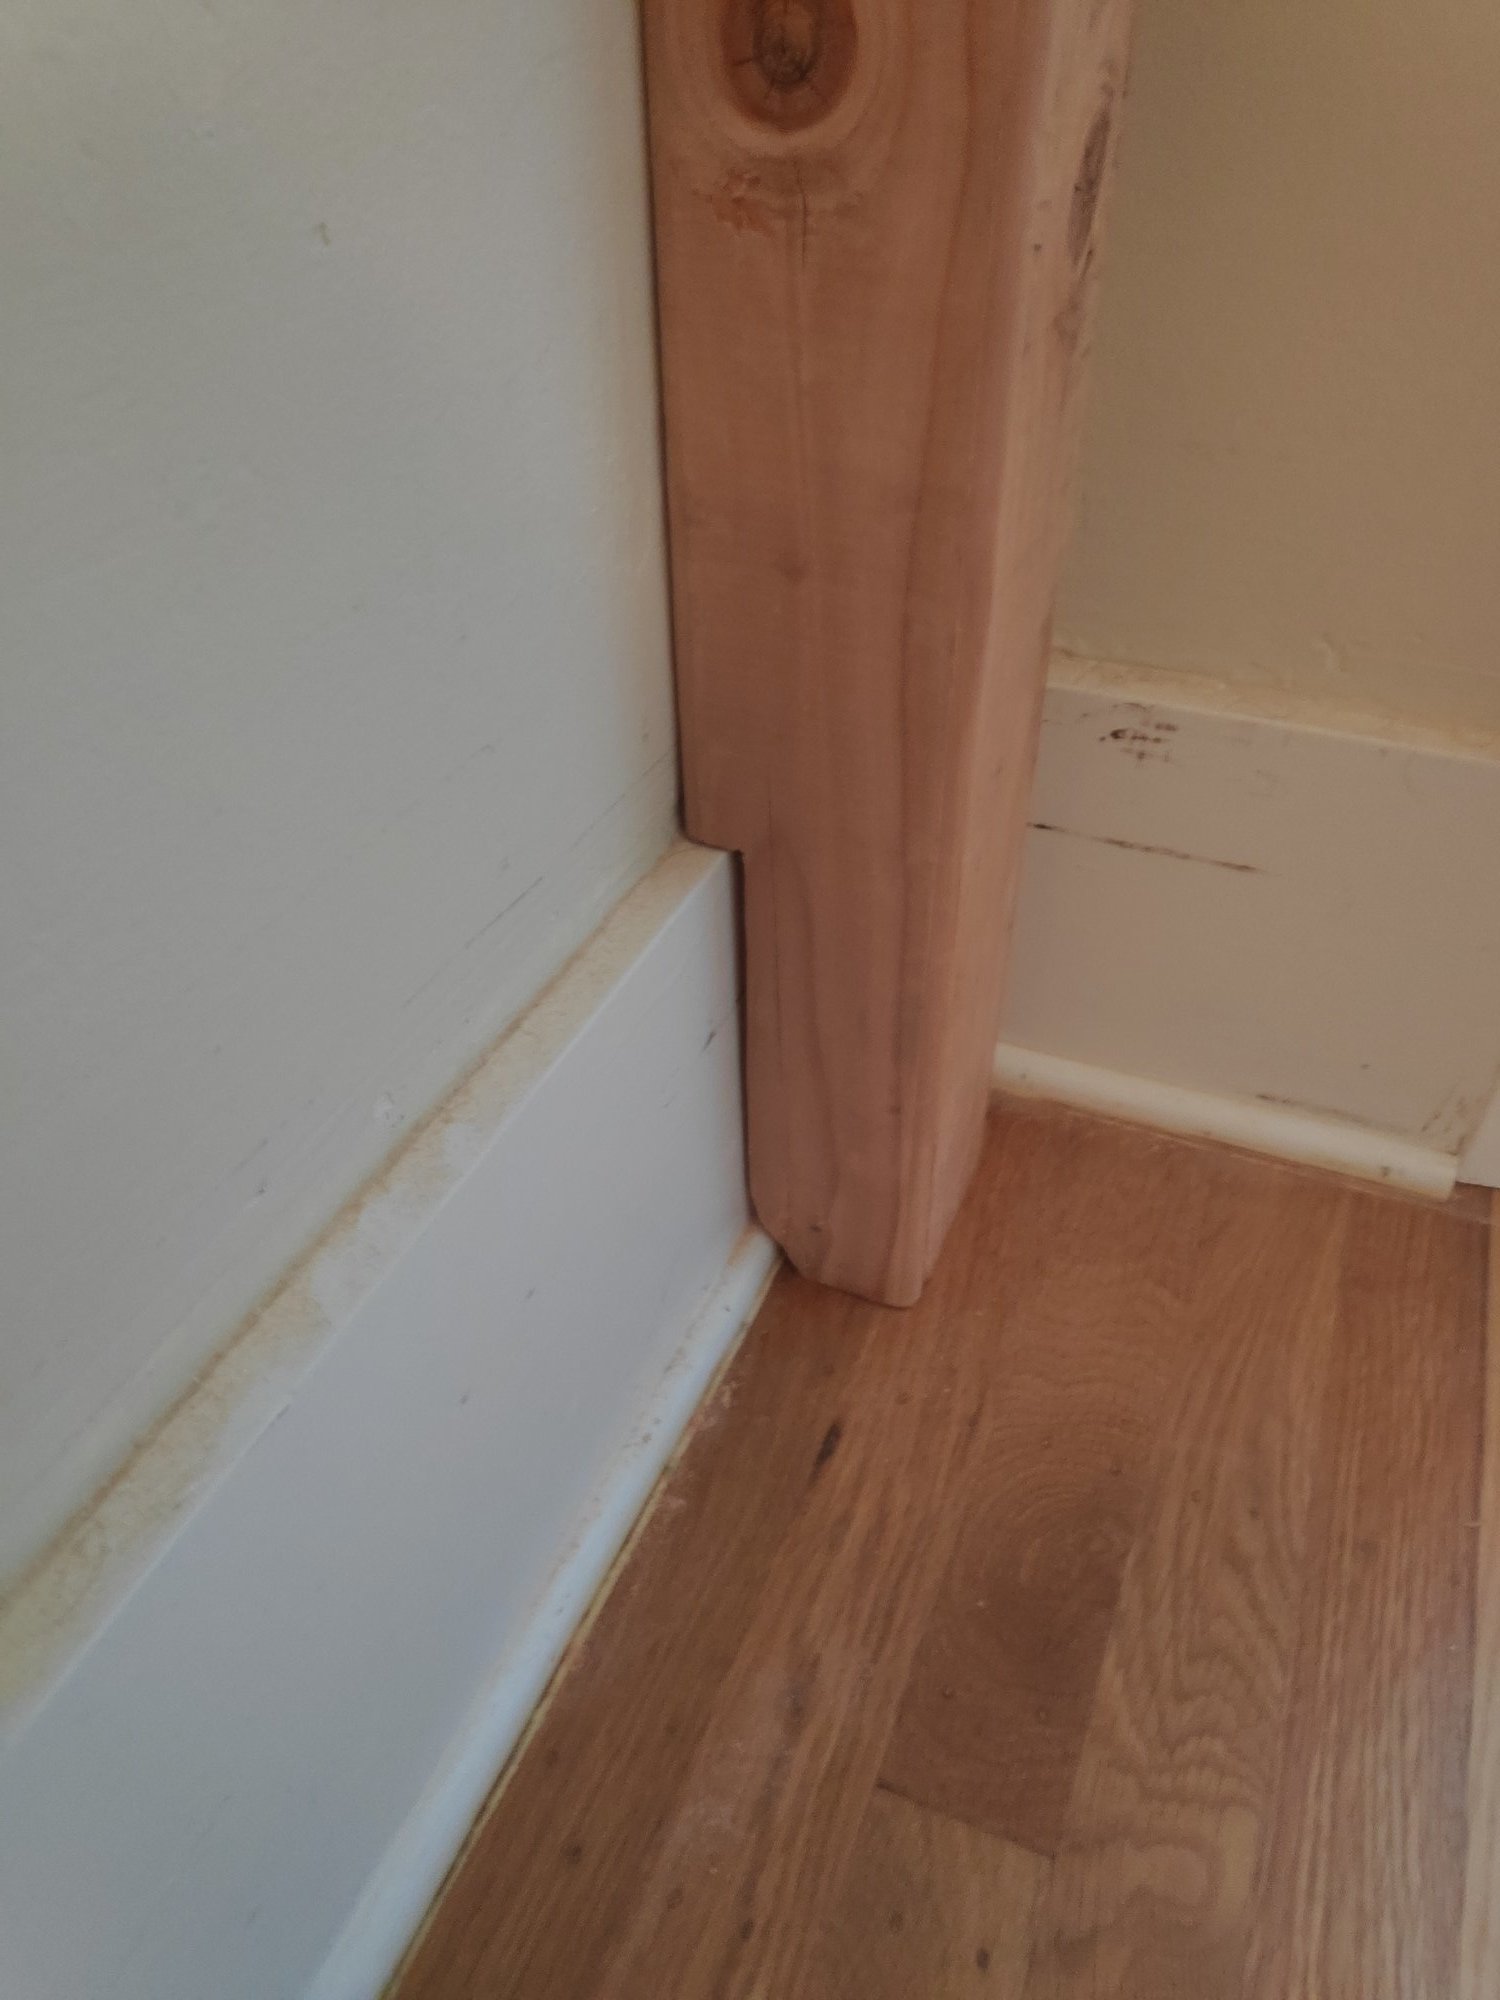
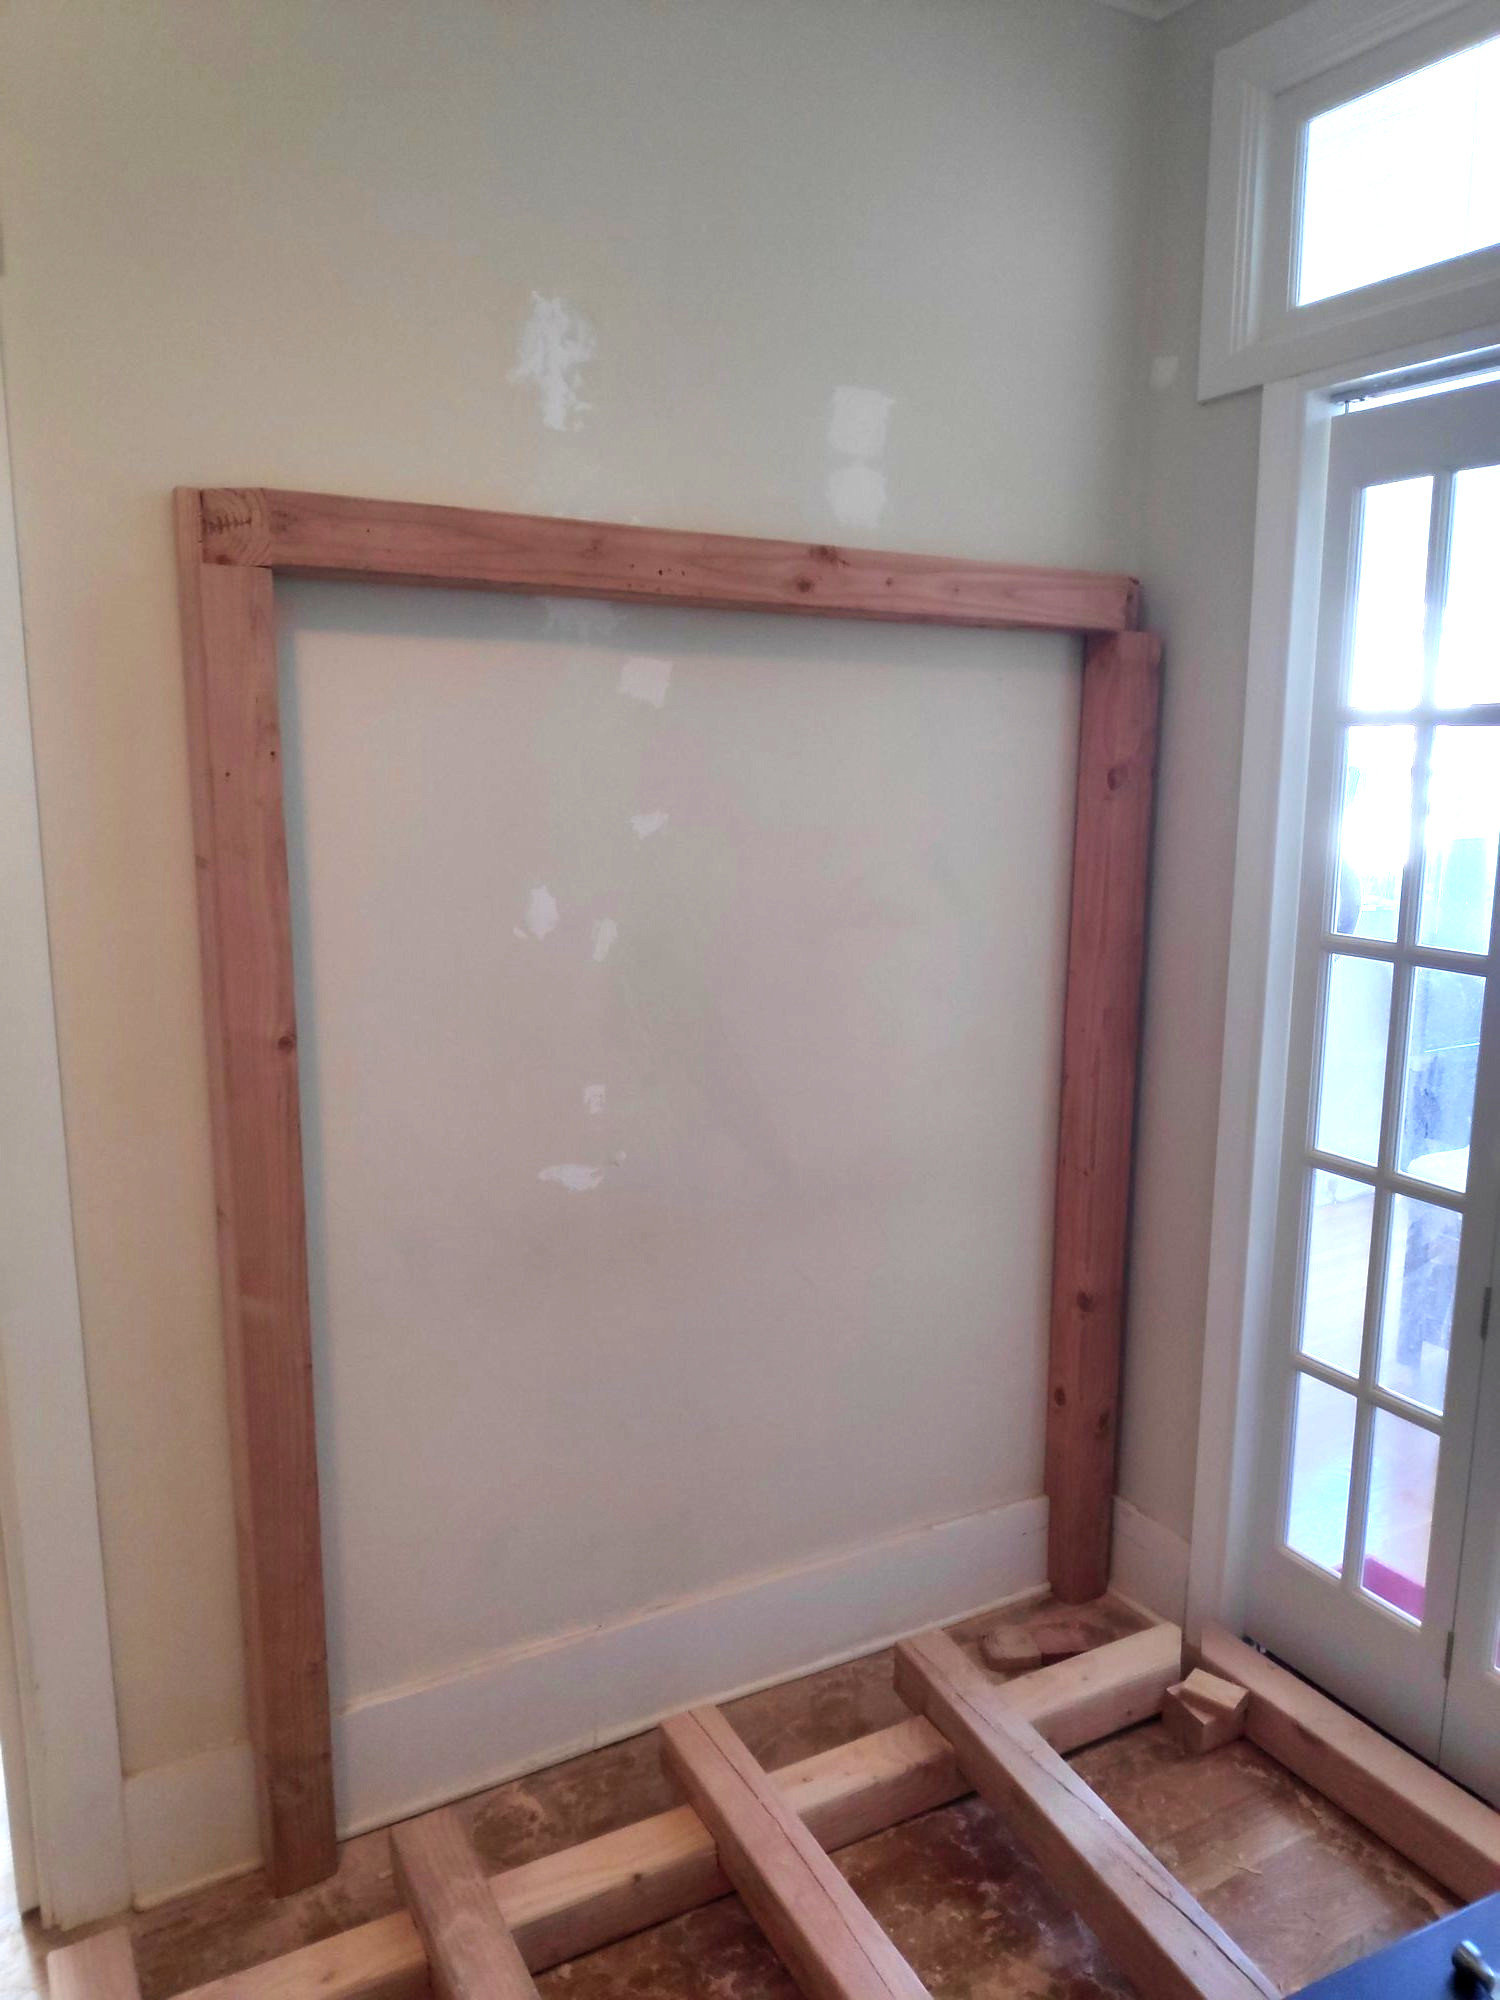
The floor of this room is a little uneven, and has high baseboards, so I started by trimming the legs until I could have all four of them stand by themselves around the right place.
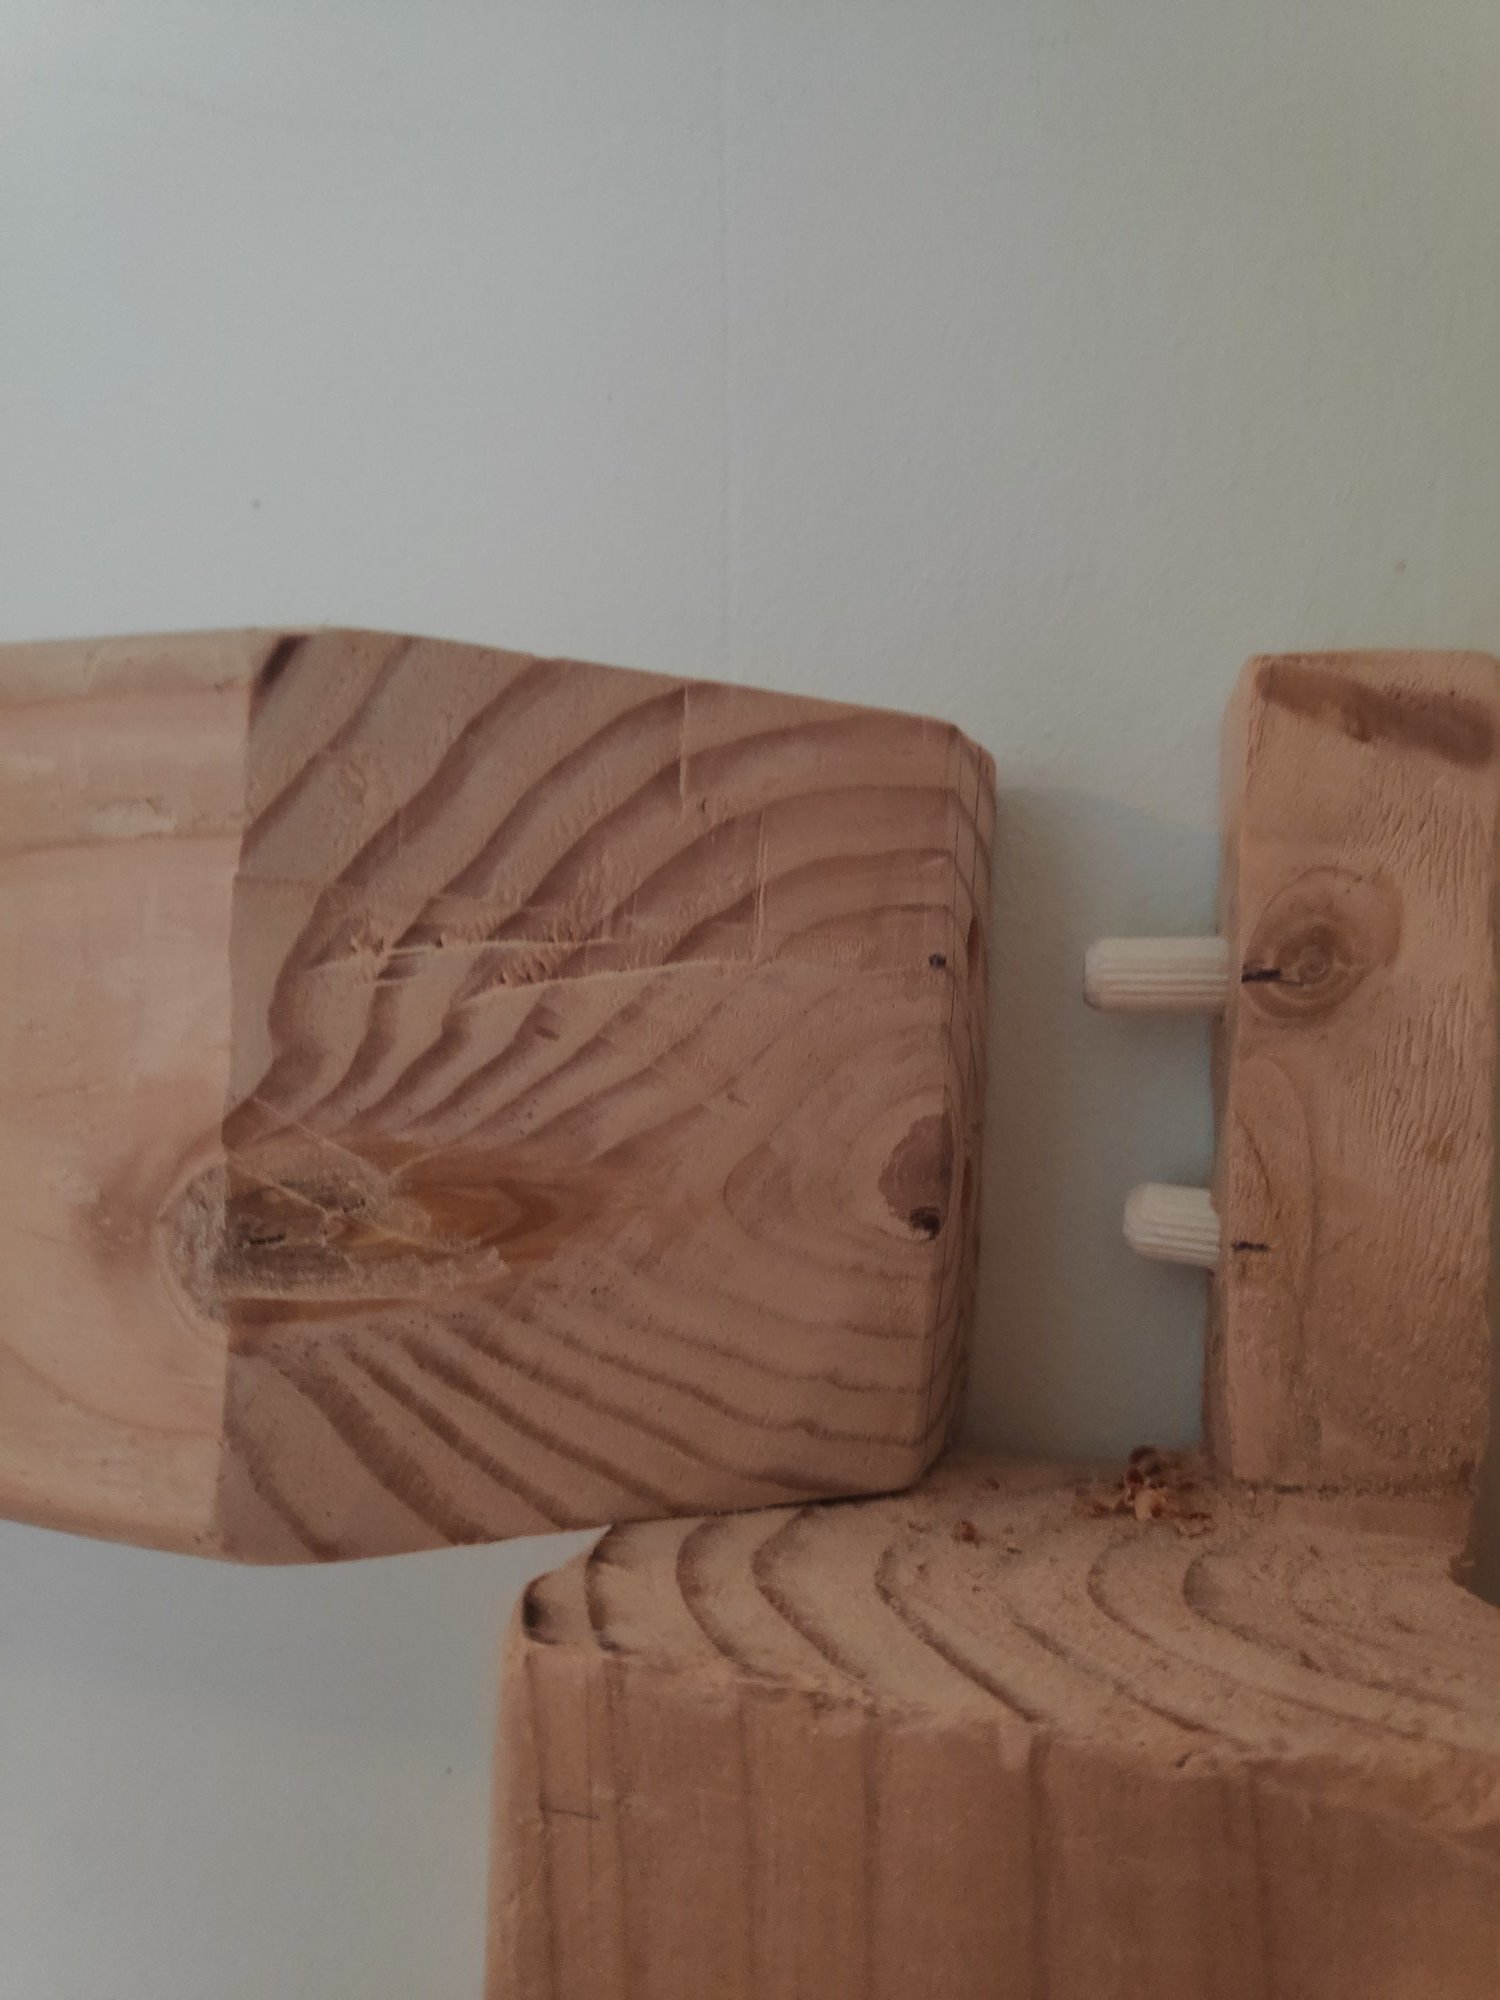
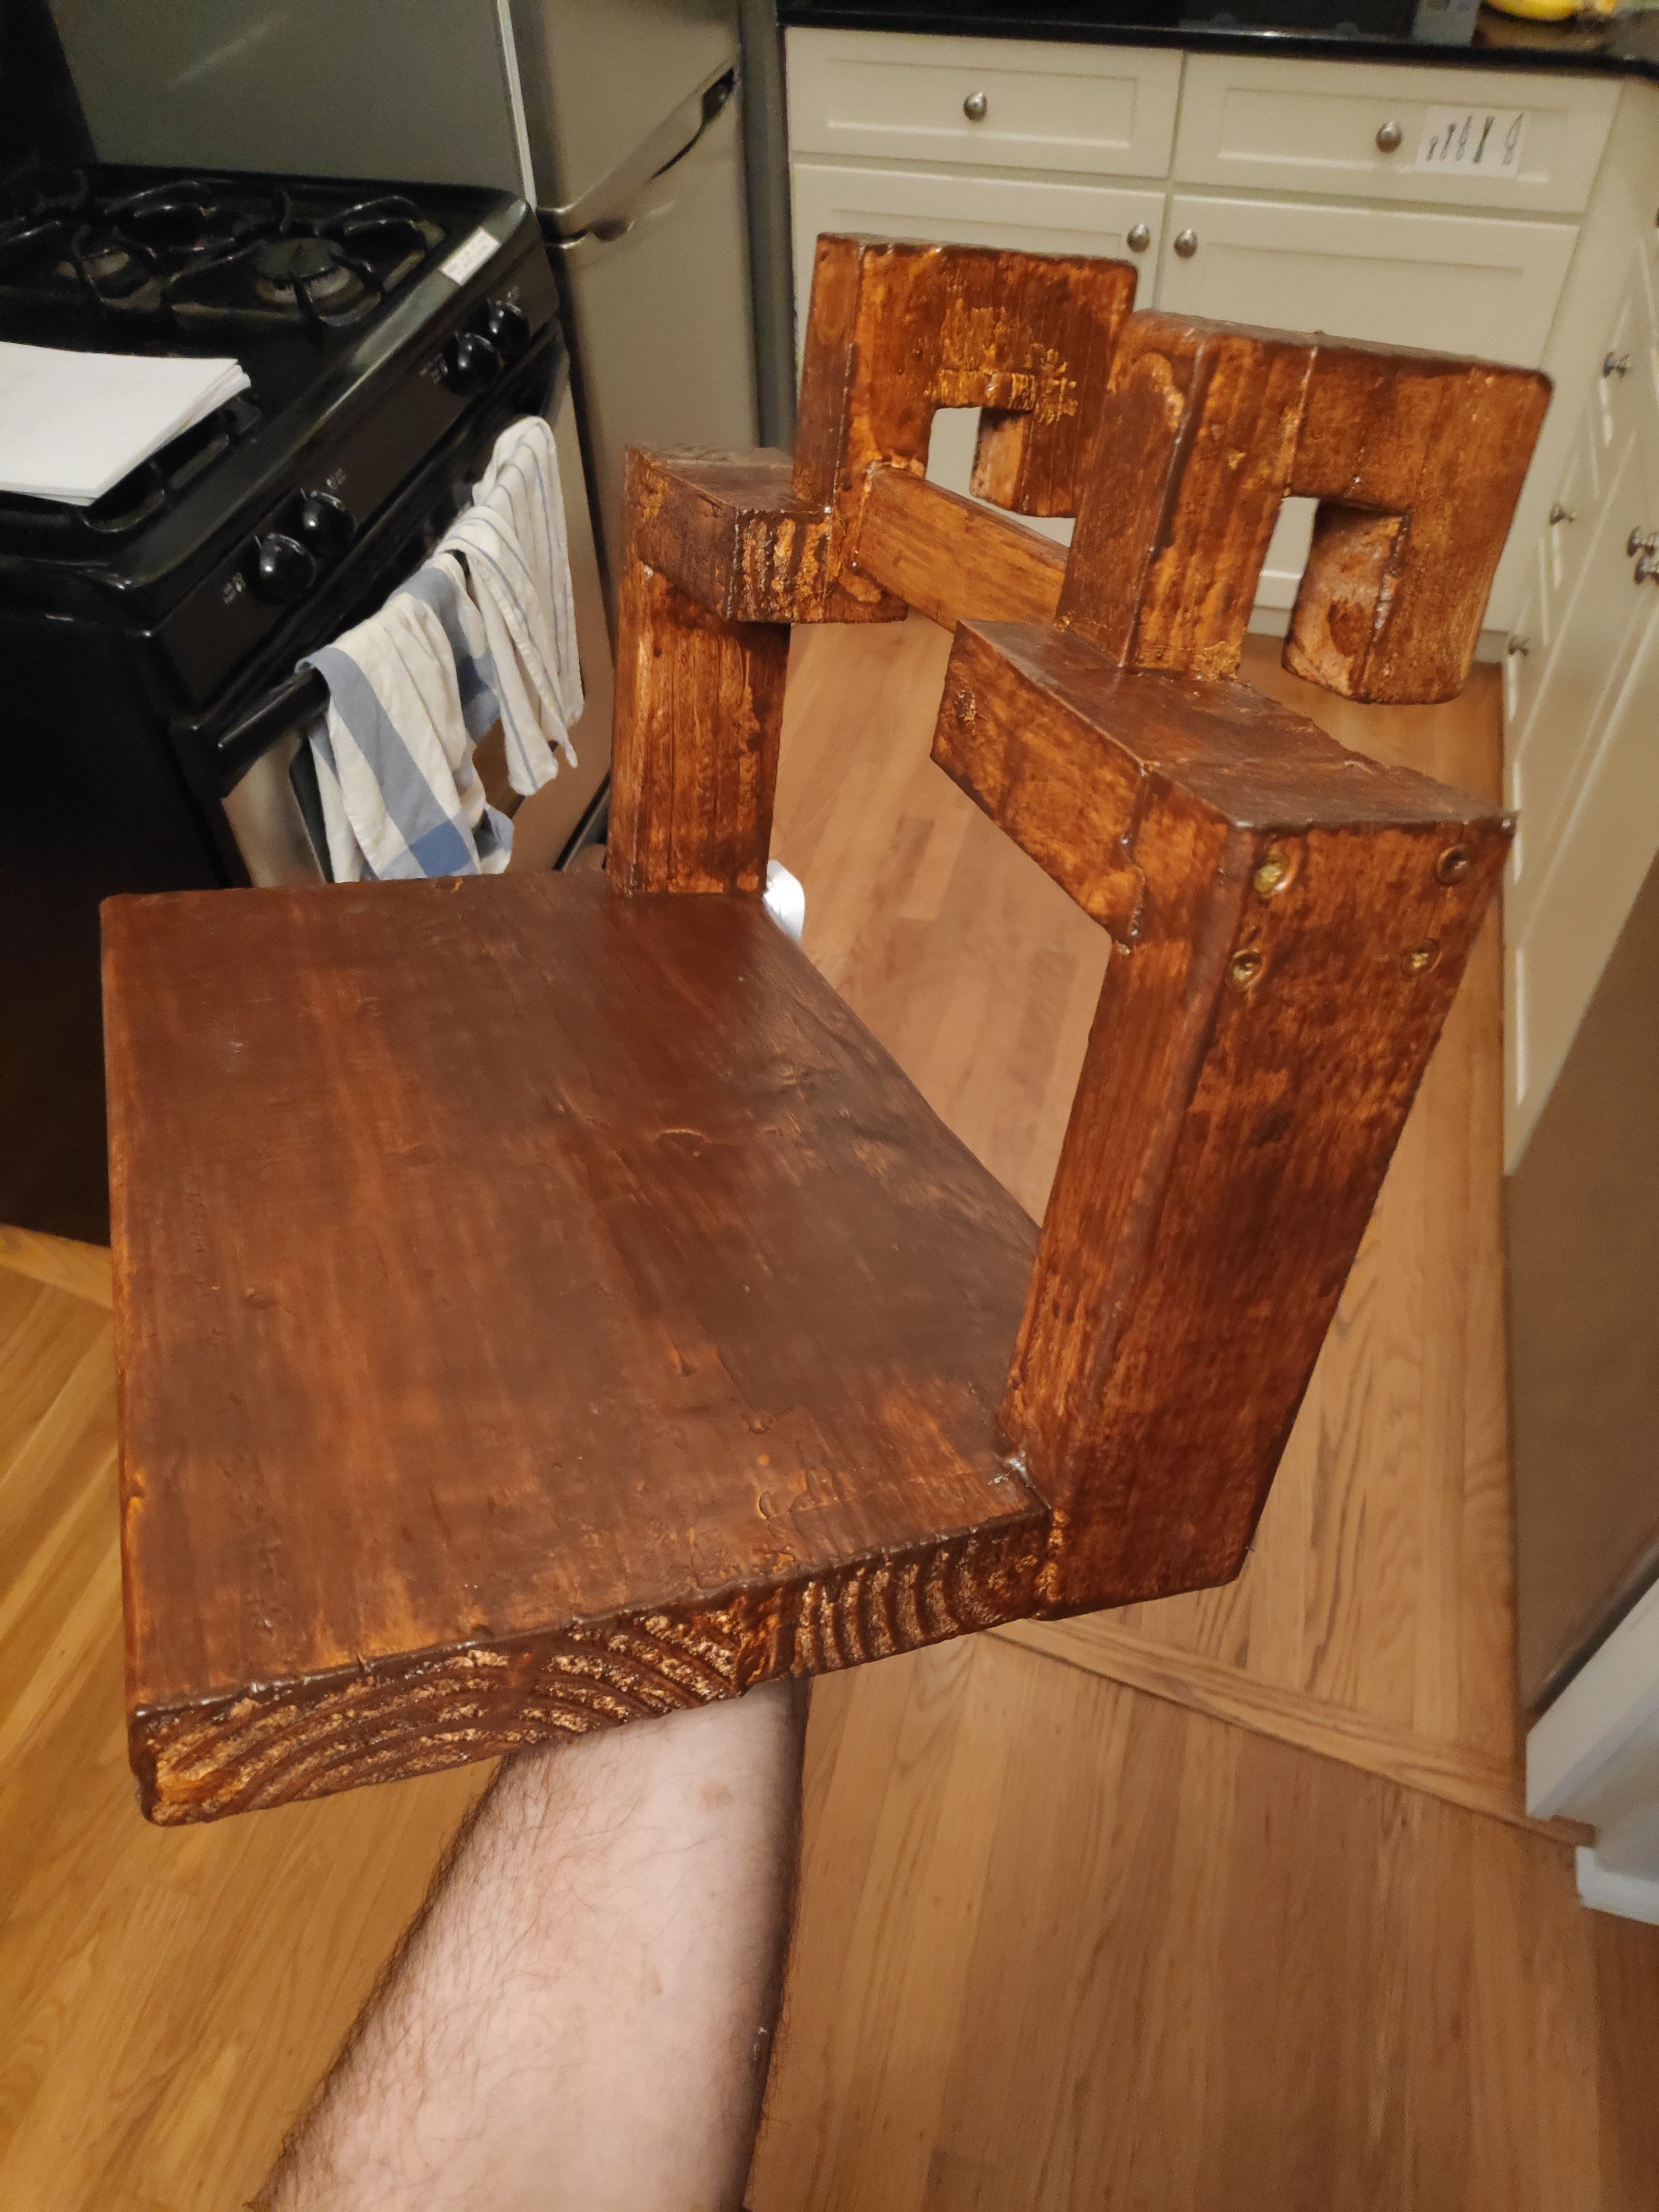
Then I watched a bunch of videos online to educate myself about “wood joinery”. Turns out this is practically a whole industry all by itself. I had until then used the most naive and worst joints such as the “butt joint” where you just stick two pieces of wood together and use screws or nails to keep them that way. That wasn’t going to fly for something this large, especially with a mattress and one or two people on it. Some wood joints are particularly sophisticated, both robust and esthetically pleasing. I had, however, only access to very simple tools and I didn’t want to turn my small apartment into a workshop or get a PhD in woodworking before I could make this. So I did my own thing, which is a combination of a “lap joint” (for the leg) and a “miter joint” for the rail and spacer. The sharp end of the miter joint is trimmed so that it can connect to the leg part.
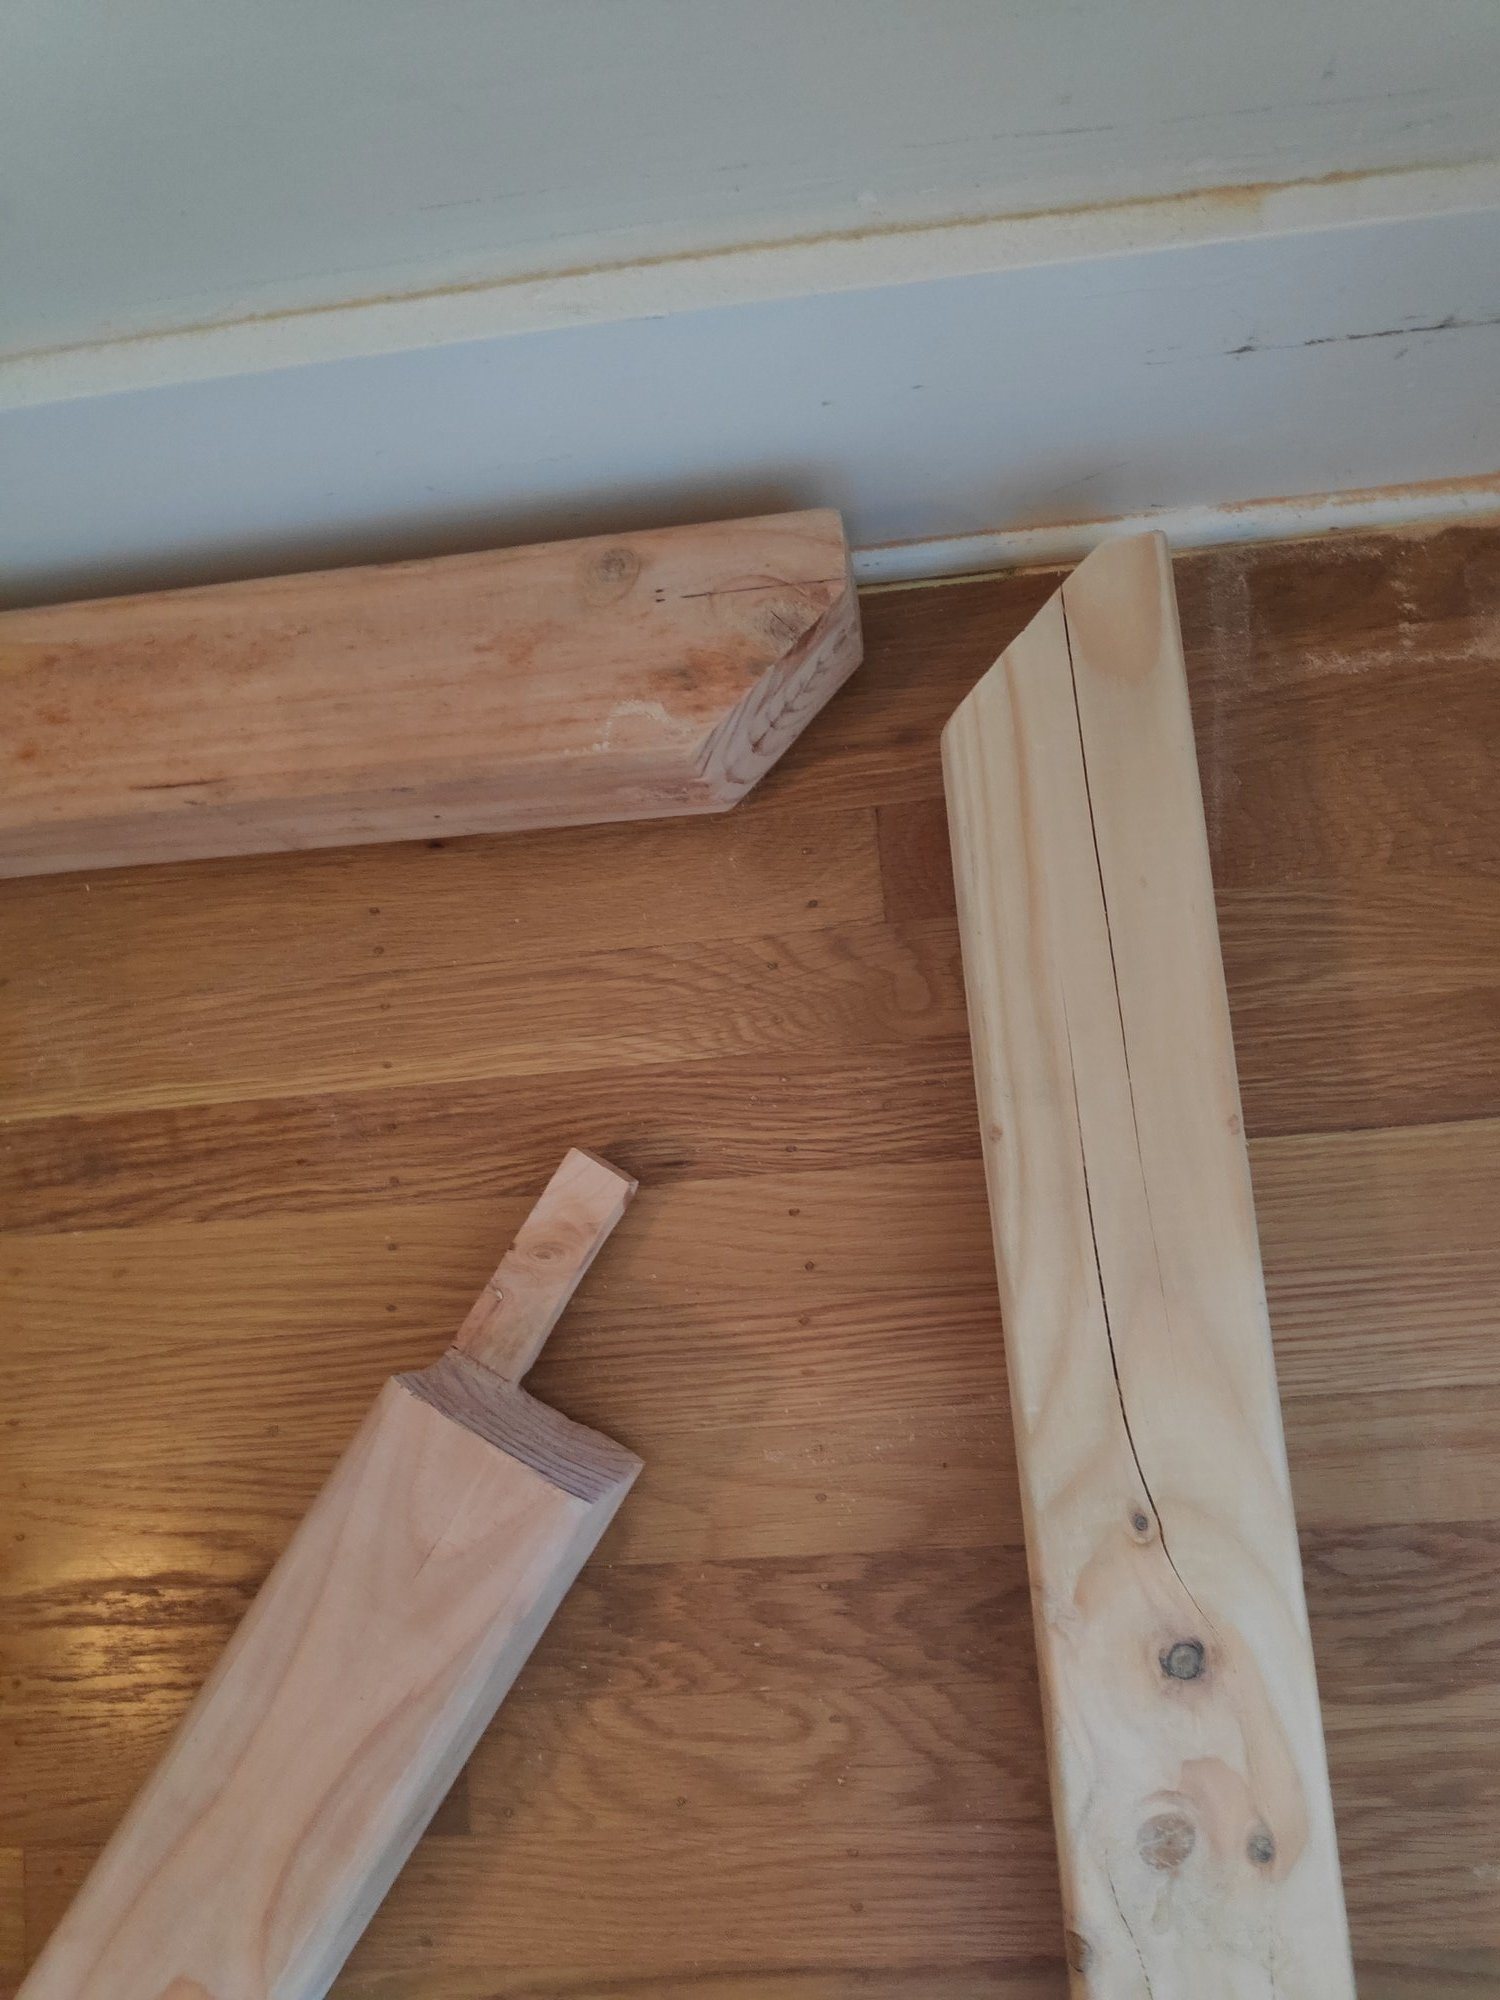
Esthetics weren’t really a concern, as I would likely fill any gaps with wood filler and add wood stain on the whole thing. Solidity was my priority; this joint, albeit weird, dedicates the largest contact surfaces to where most of the weight was going to be.
A common theme in wood joinery is apparently to use “tenons and mortises” (fancy name for “pegs and holes”, are they trying to disguise the obvious sexual similarities with technical names?) to strengthen the whole thing by increasing the contact surface. So I drilled some holes and added some pre-made wood dowels that were first dipped in wood glue. And before assembling each “three way joint” I would smear each surface with wood glue.
Looks like Ikea stuff now, doesn’t it?
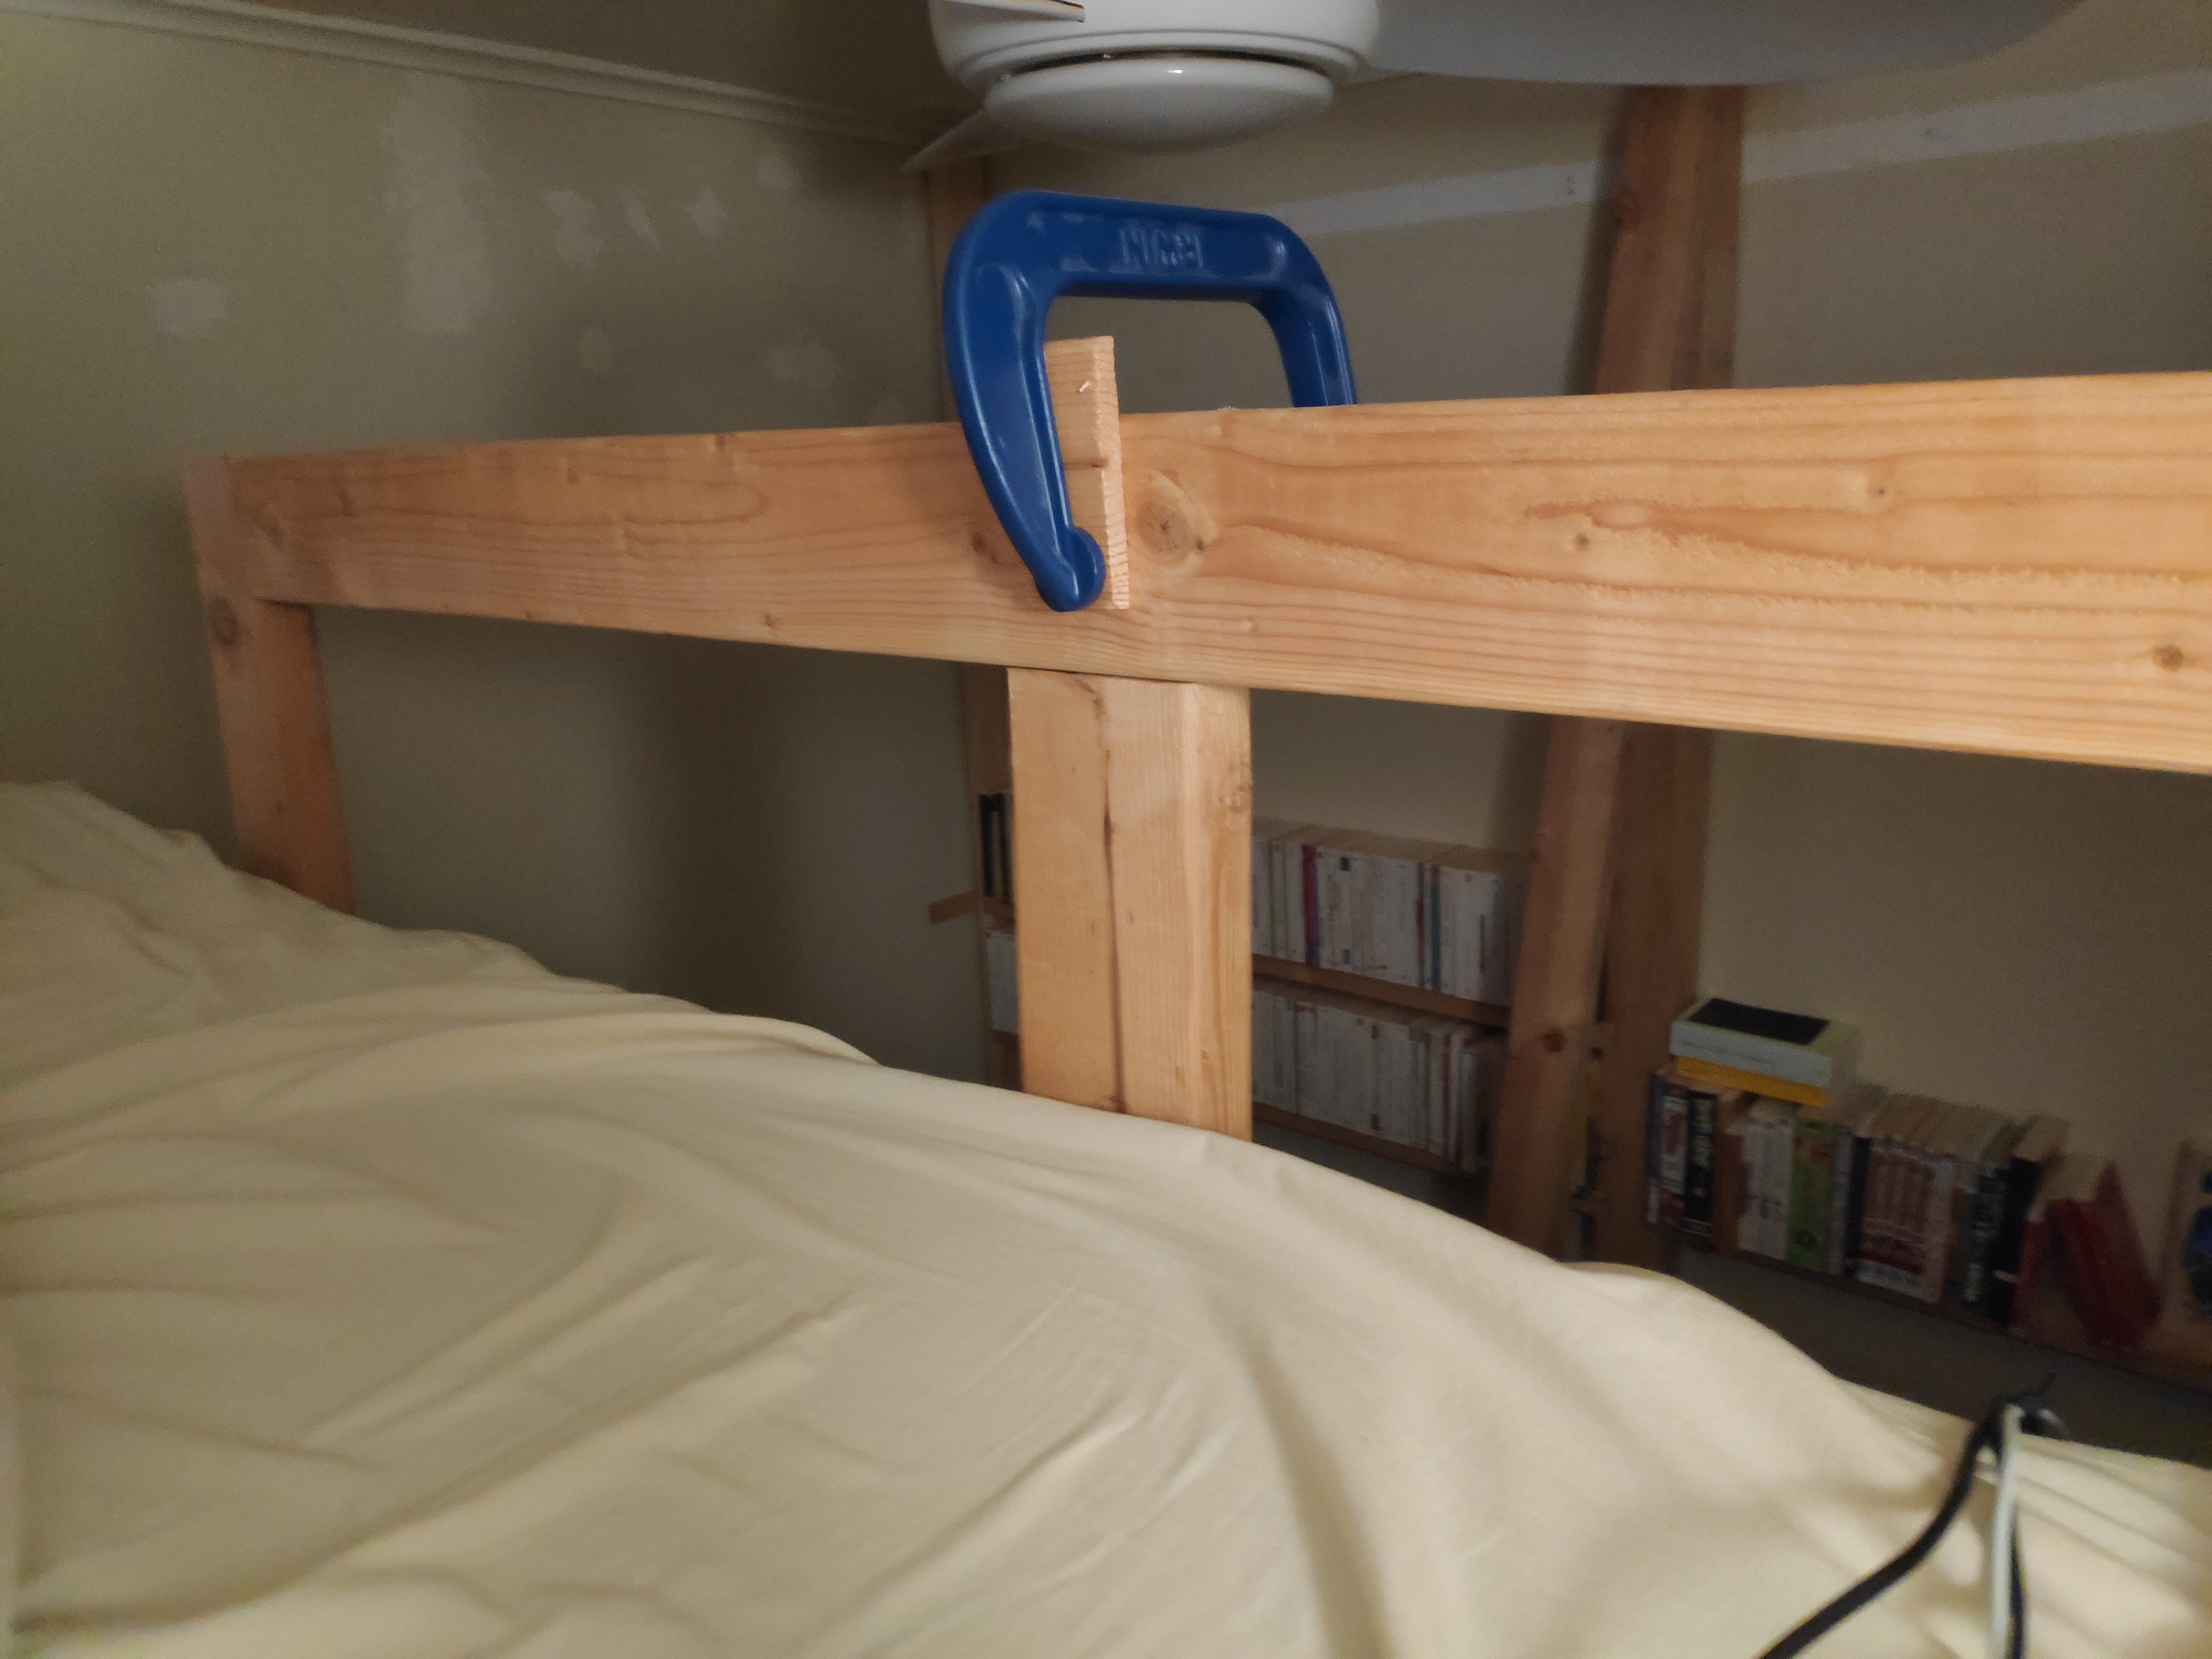
Professionals would then clamp the whole thing, but this would have required a huge 90-degree clamp that I didn’t have (nor wanted to clutter my apartment with), and I figured the weight of the wood itself was already doing a fairly good job.
At this point I could assemble the two pairs of legs into arches.
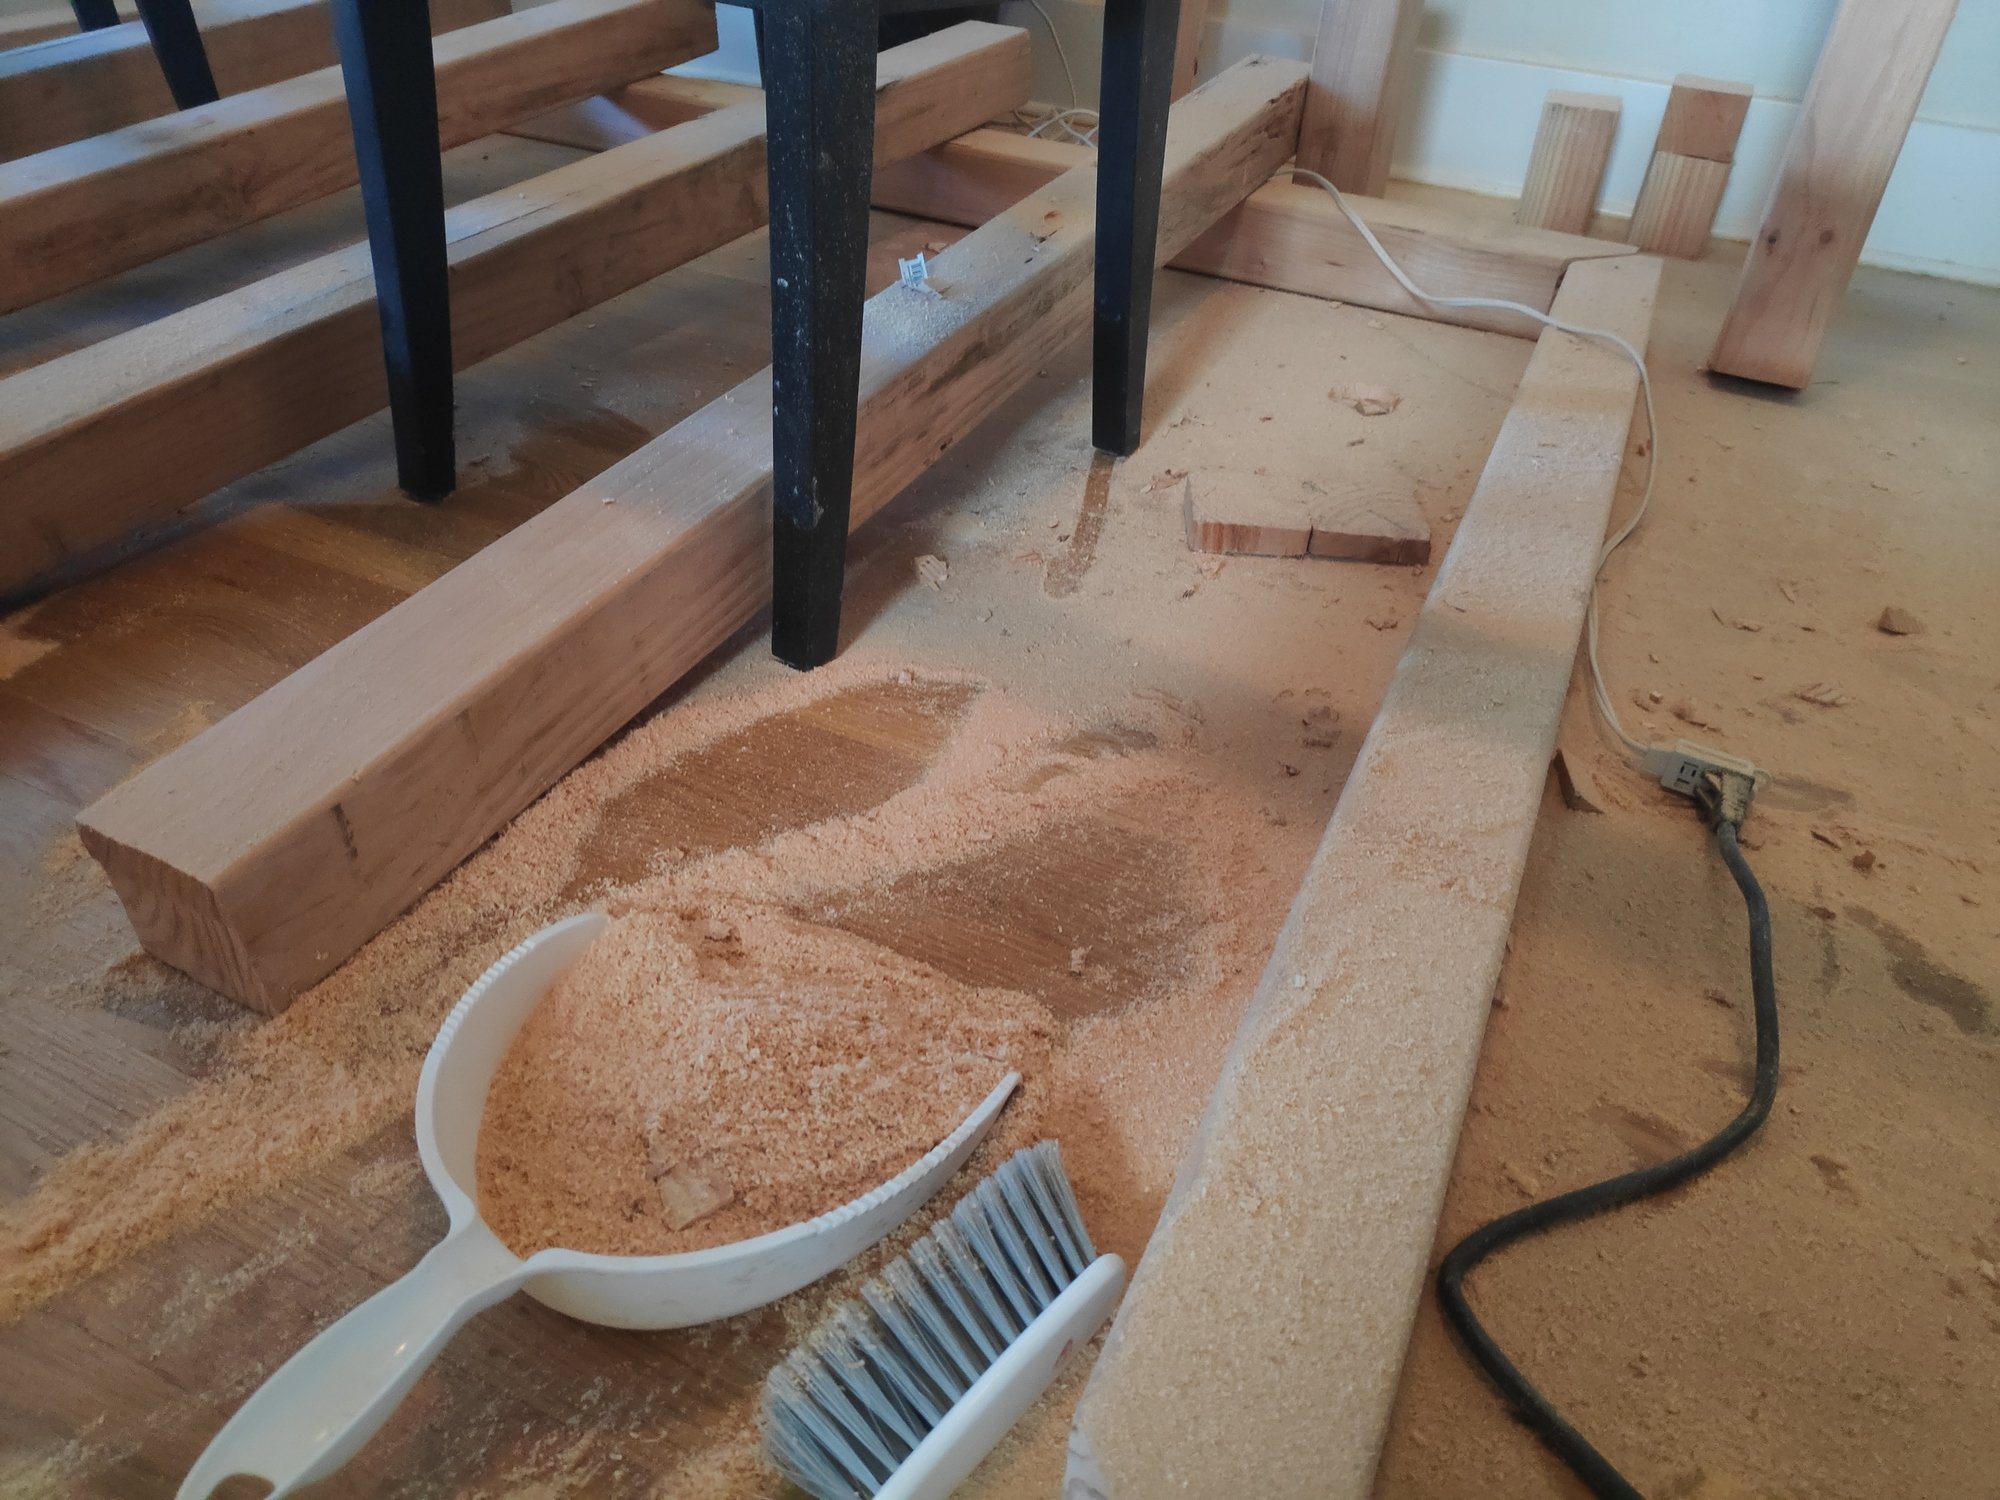
Of course all of this generated copious amounts of wood dust, so I ran to the nearby hardware store and got a respirator so that I wouldn’t die of lung cancer within five years.
I also realized that unless you have access to some fancy wood cutting machinery, if you want to cut a large rectangular indentation in the middle of a beam you have to do silly things like this:
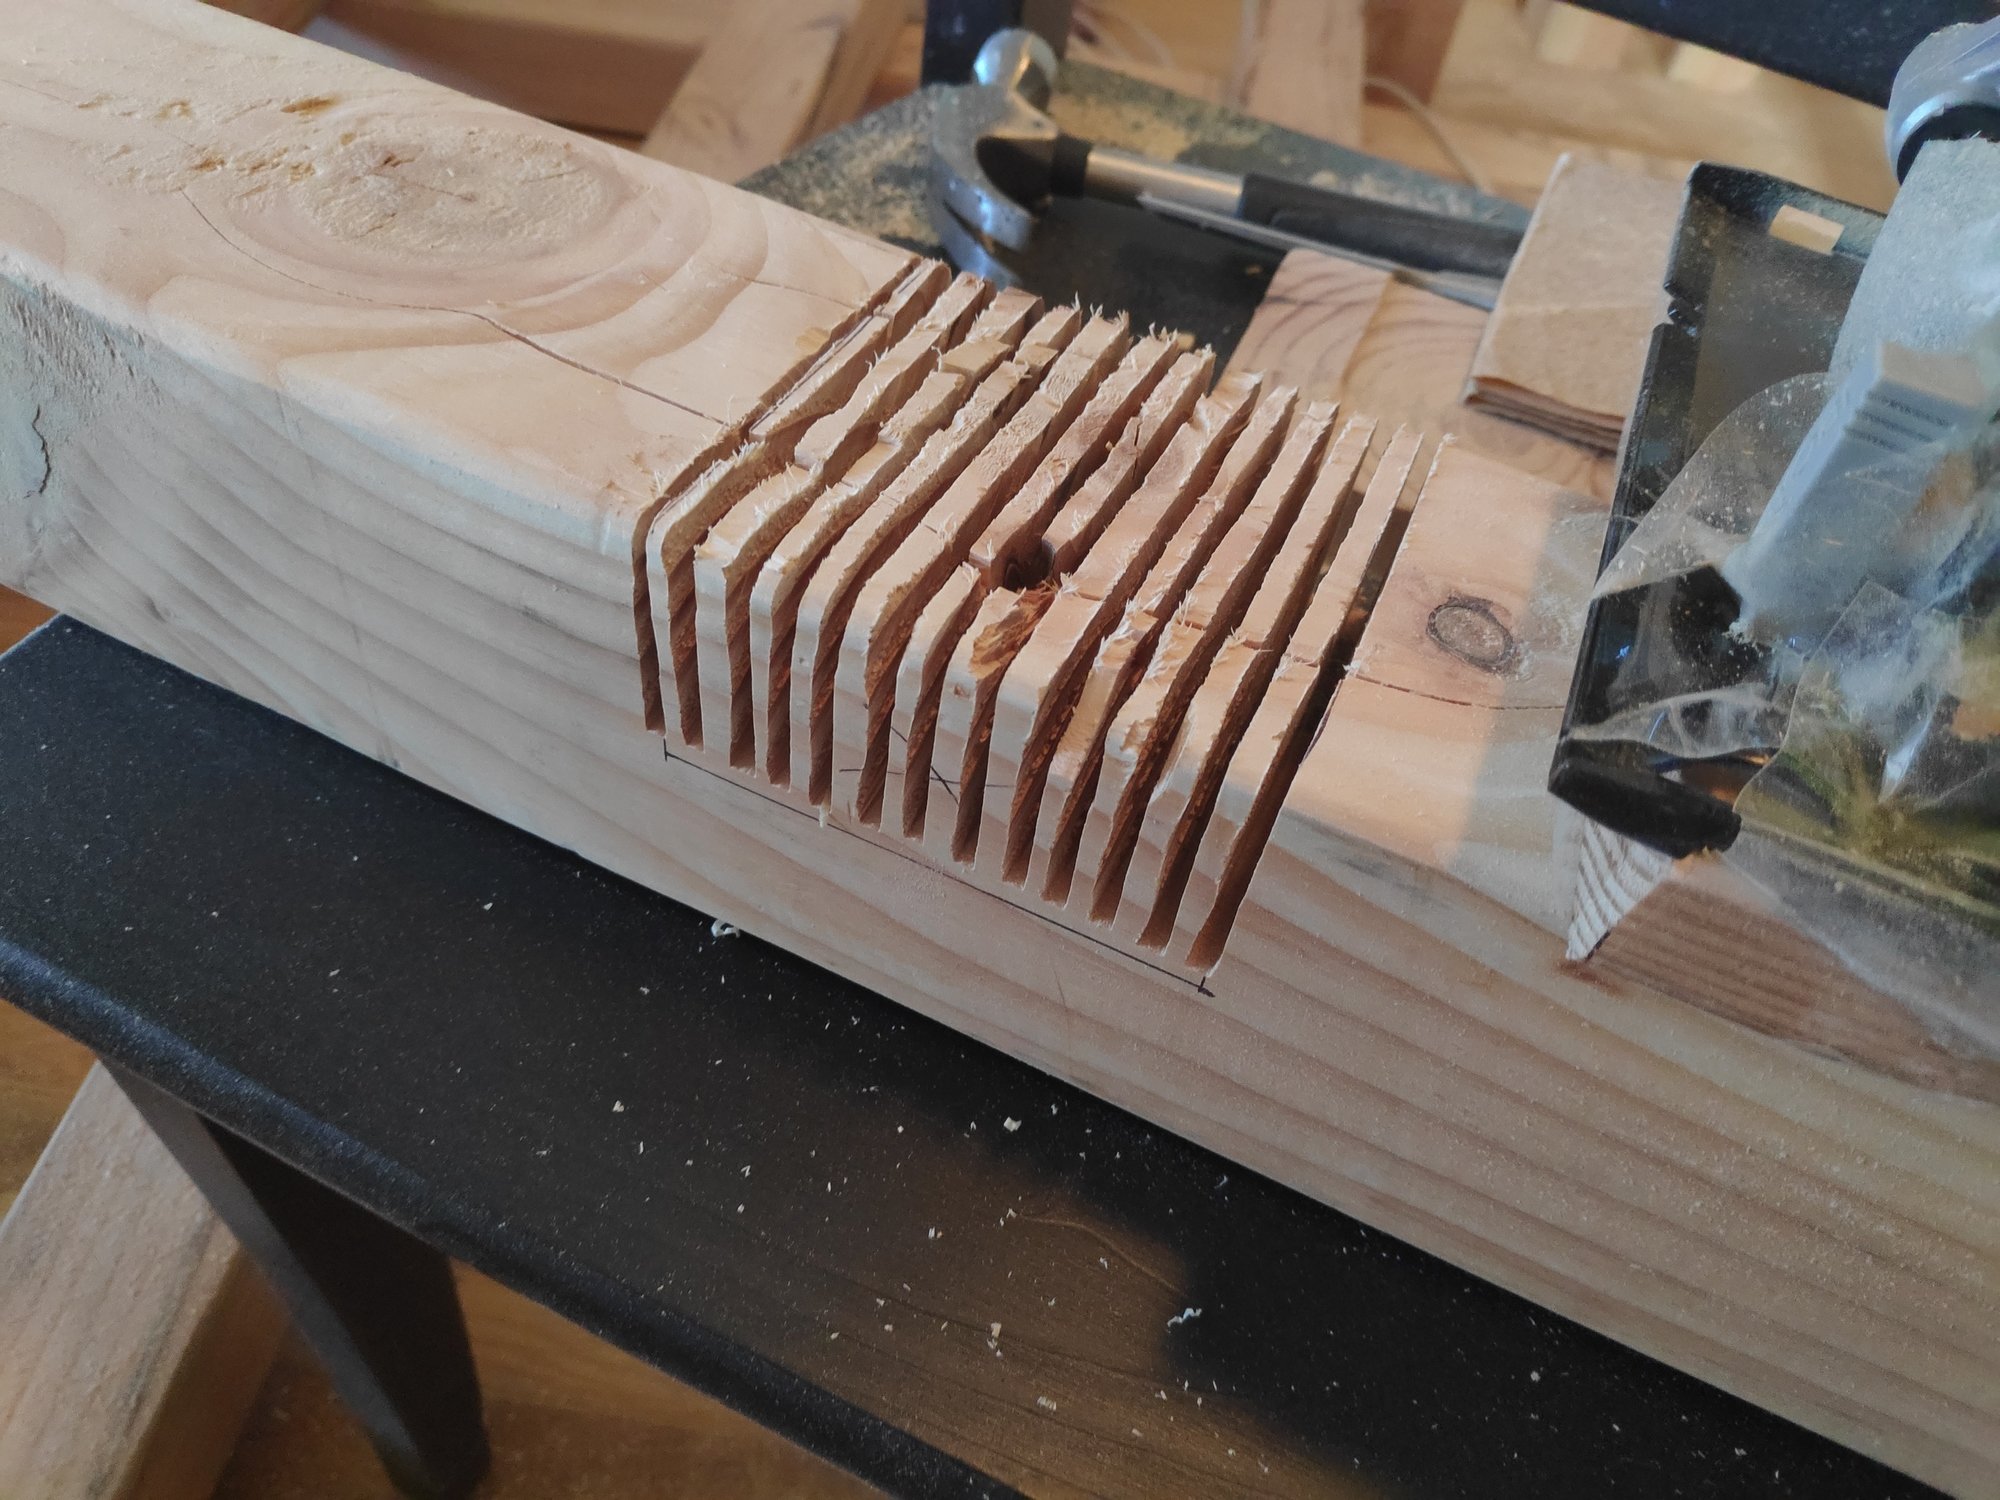
And then smash the layers off with a hammer and smoothen the result with a chisel (okay okay, I’ll buy a chisel).
With that part done, I could assemble the whole outside structure.
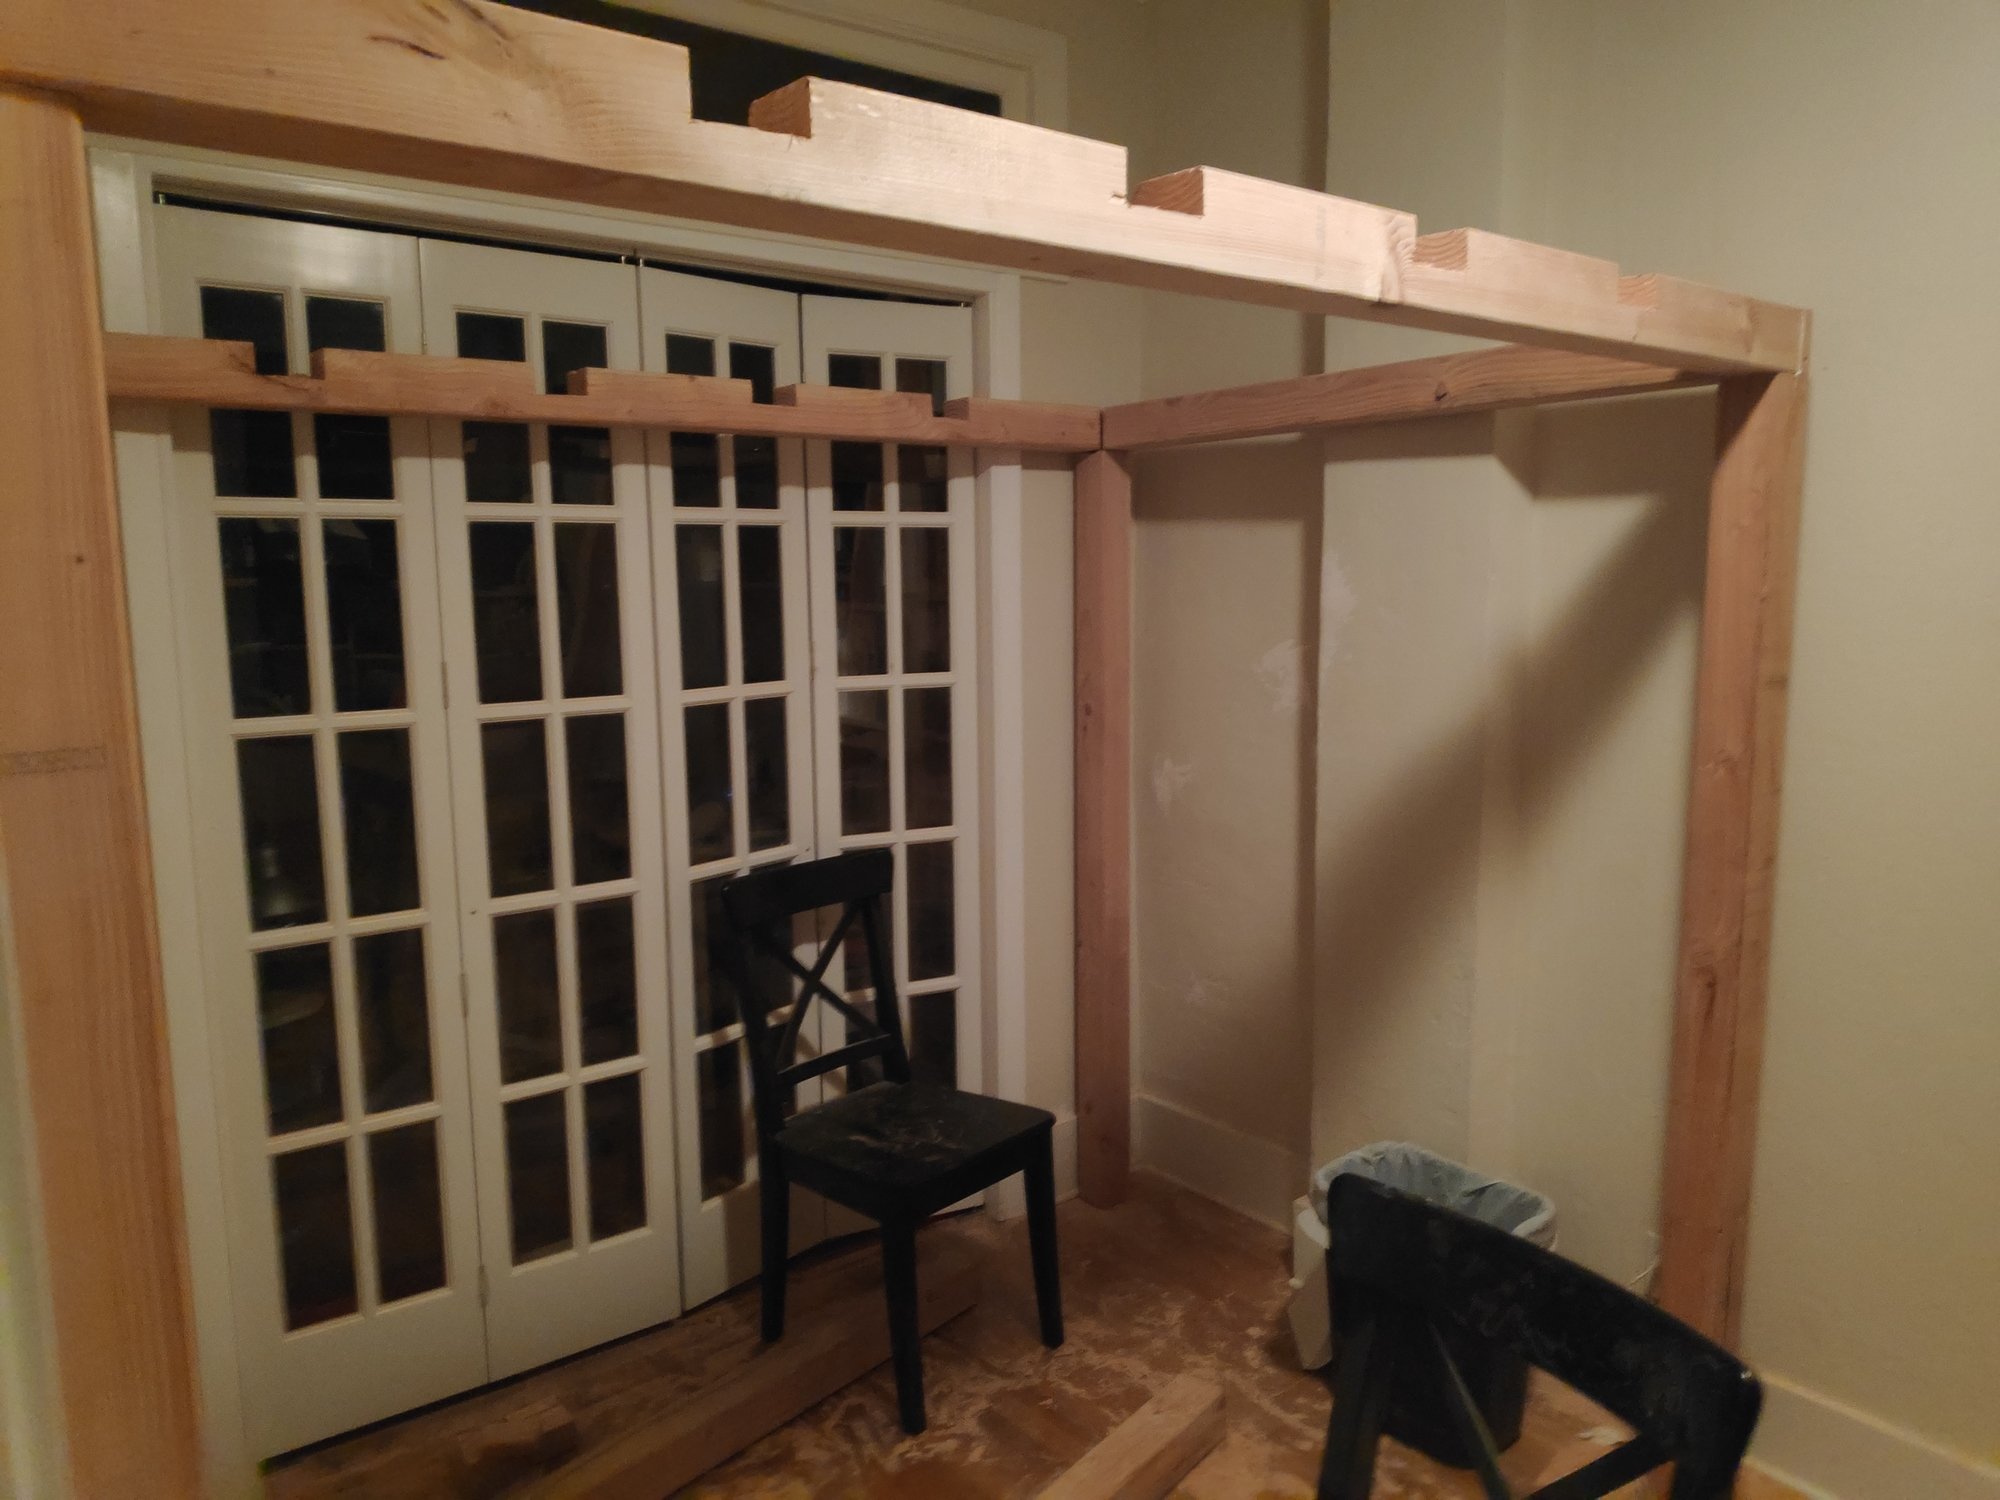
I added the pieces in this order because I don’t think I could have lifted the horizontal bed frame onto the legs by myself.
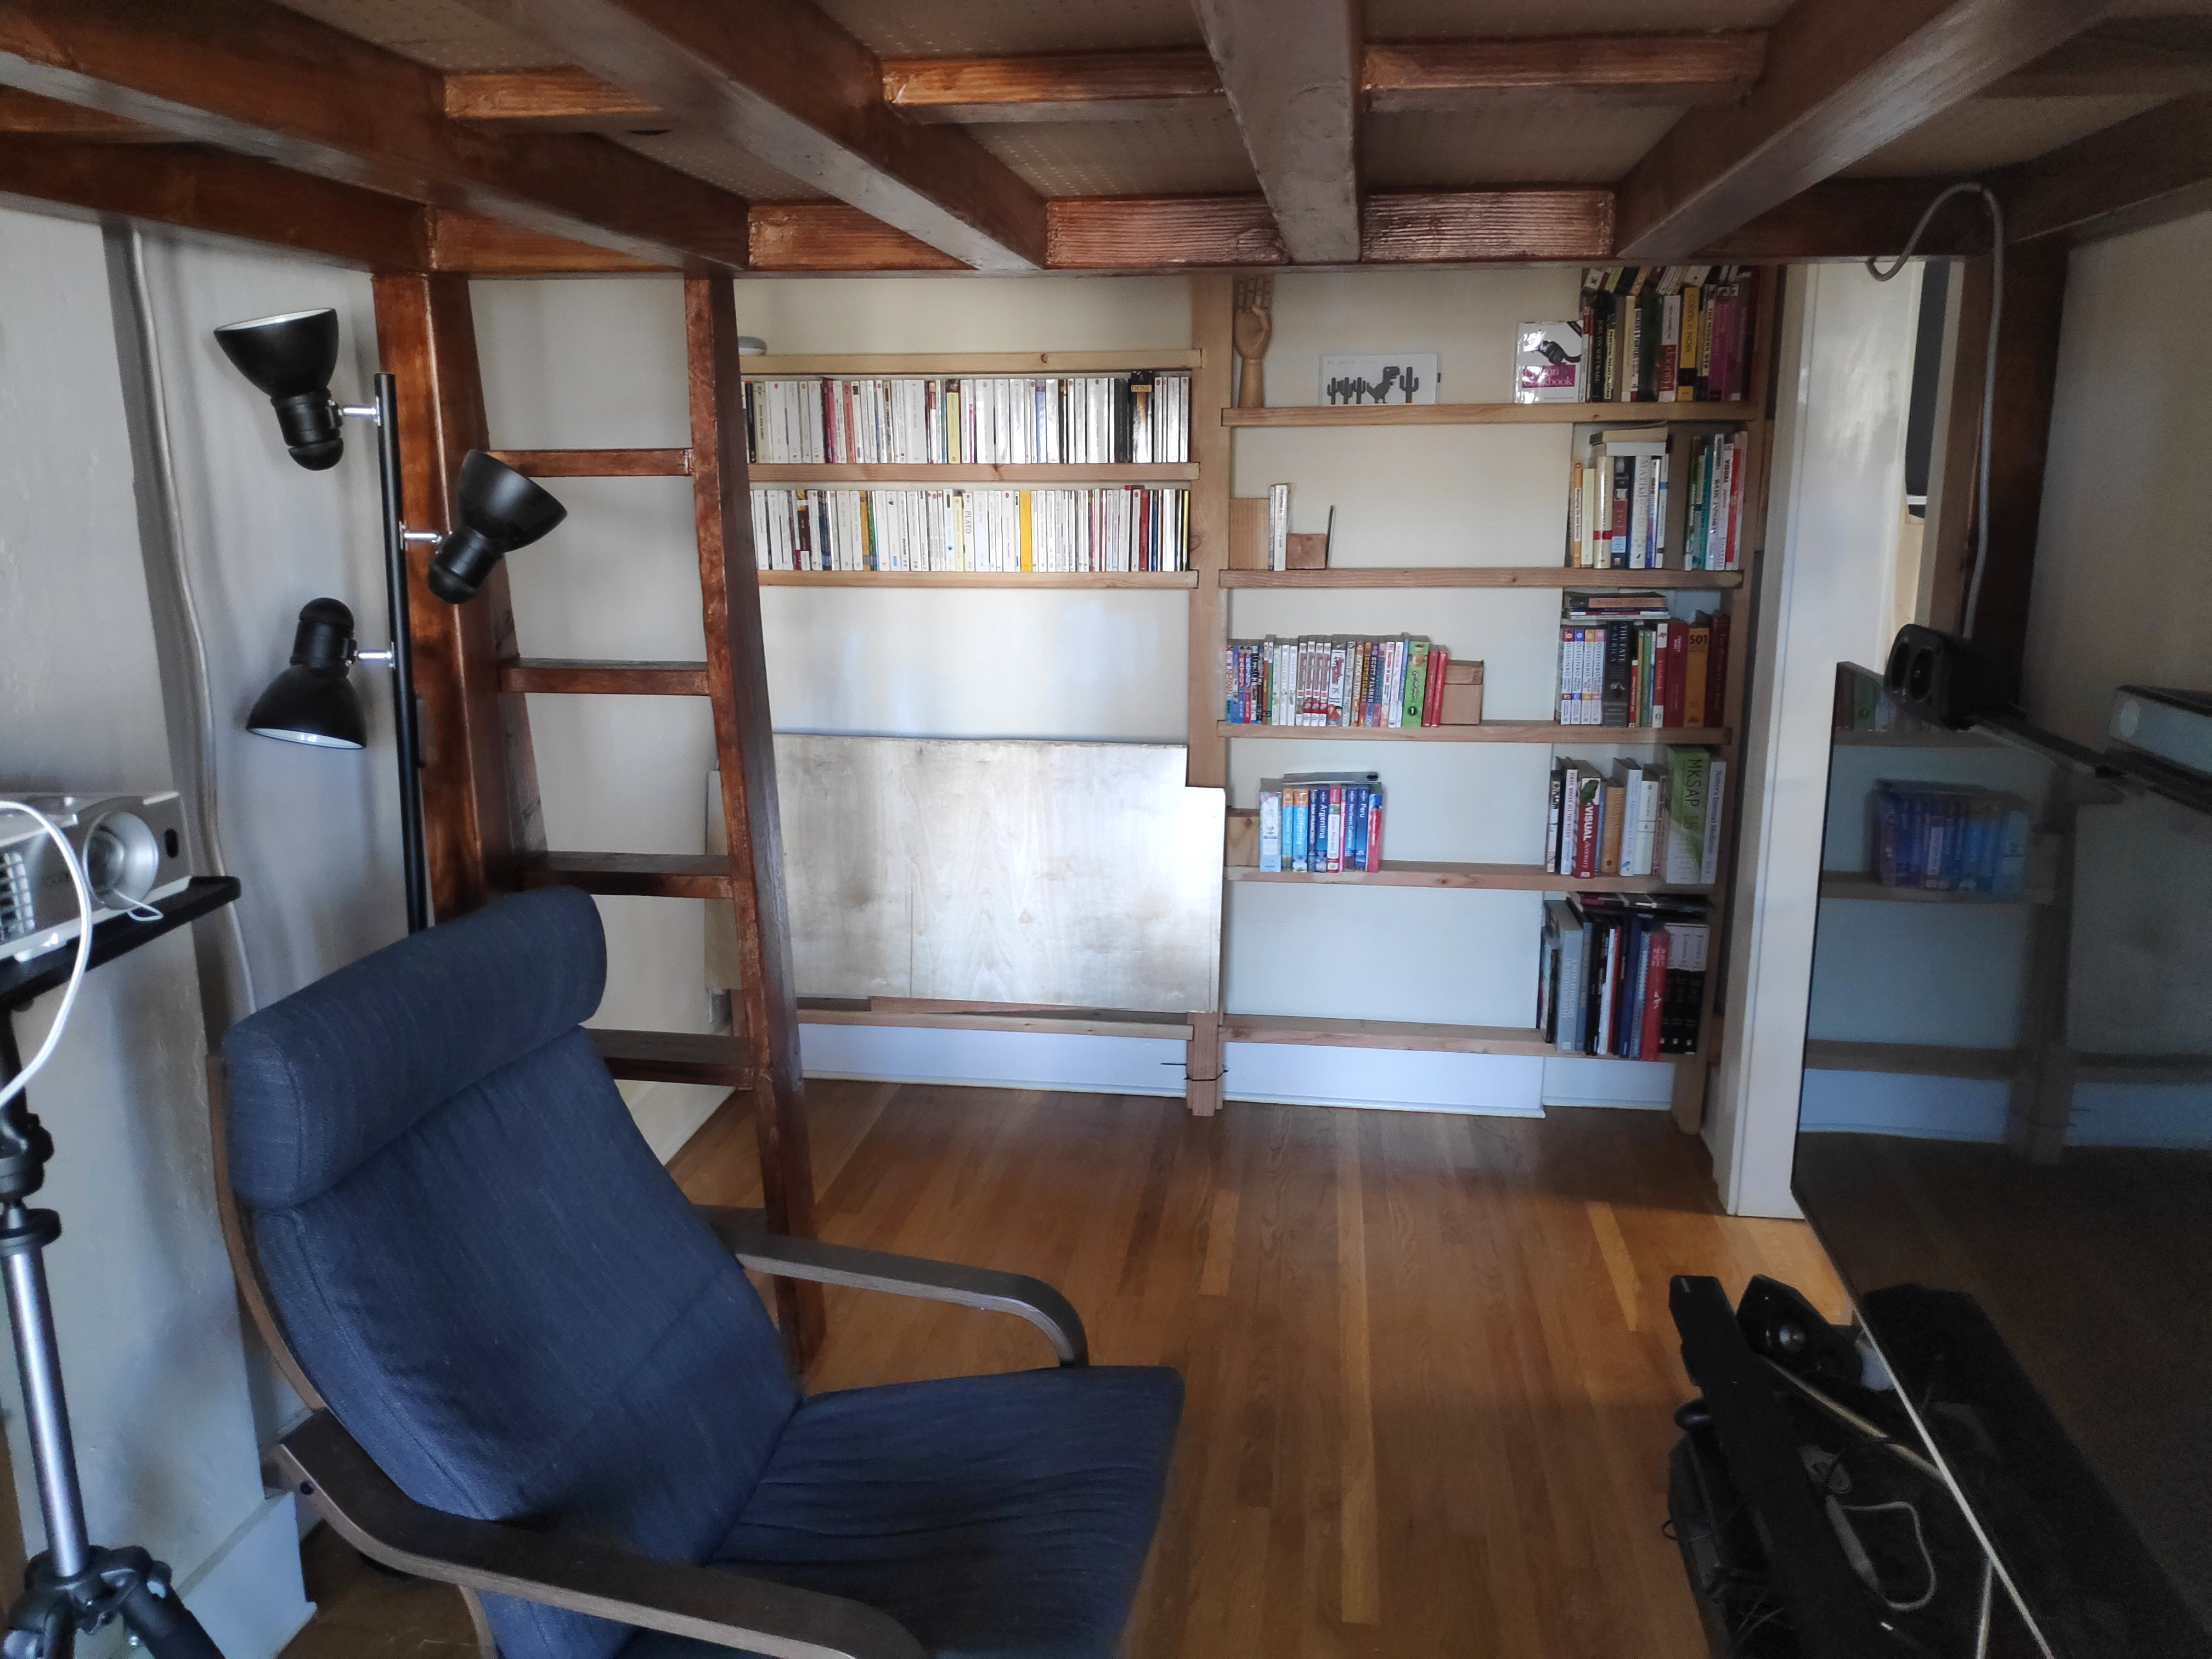
It helps that I’m using the entirety of the room in at least one dimension, so that at least two sides of the structure are leaning against a wall (adapting the bottom of the legs to the baseboards if needed). I had originally planned on adding spacers between the legs around mid-height, but it wasn’t necessary: the structure would not budge at all as is.
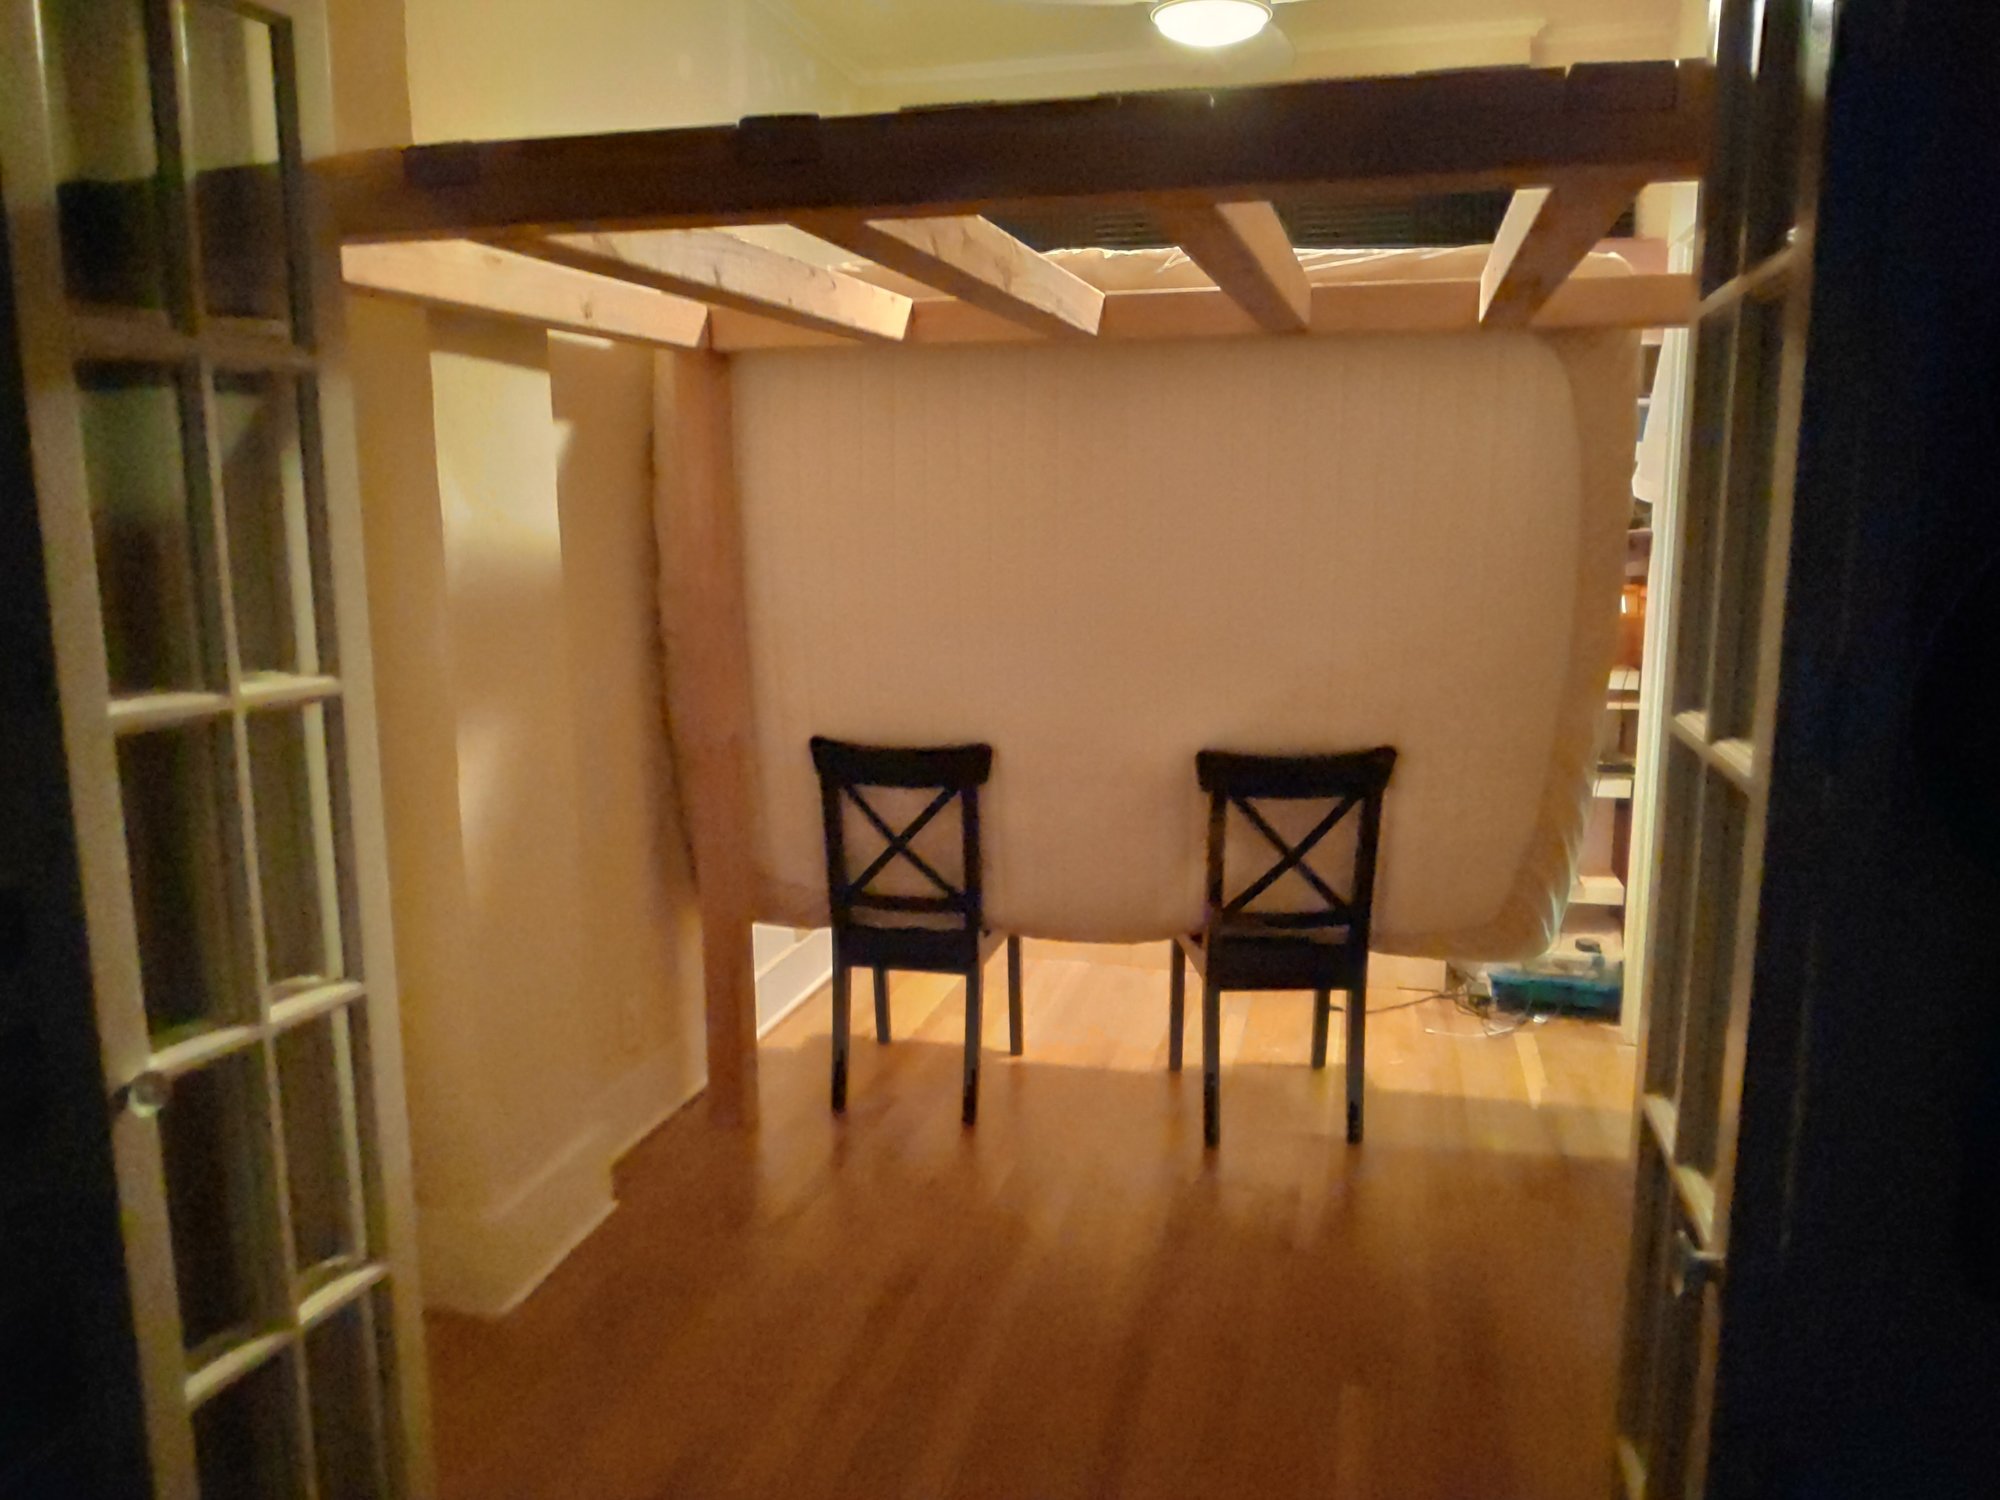
I could already get a feeling of the finished bed even before cutting the ends of the spacers:
![]()
… and the main part was done. Look ma, no screws or nails! Uh, but wait, I need to hoist my mattress onto this! It weighs about 31 kg (60 pounds). Oops.
Time for another hack: progressively increasing stacks of books.
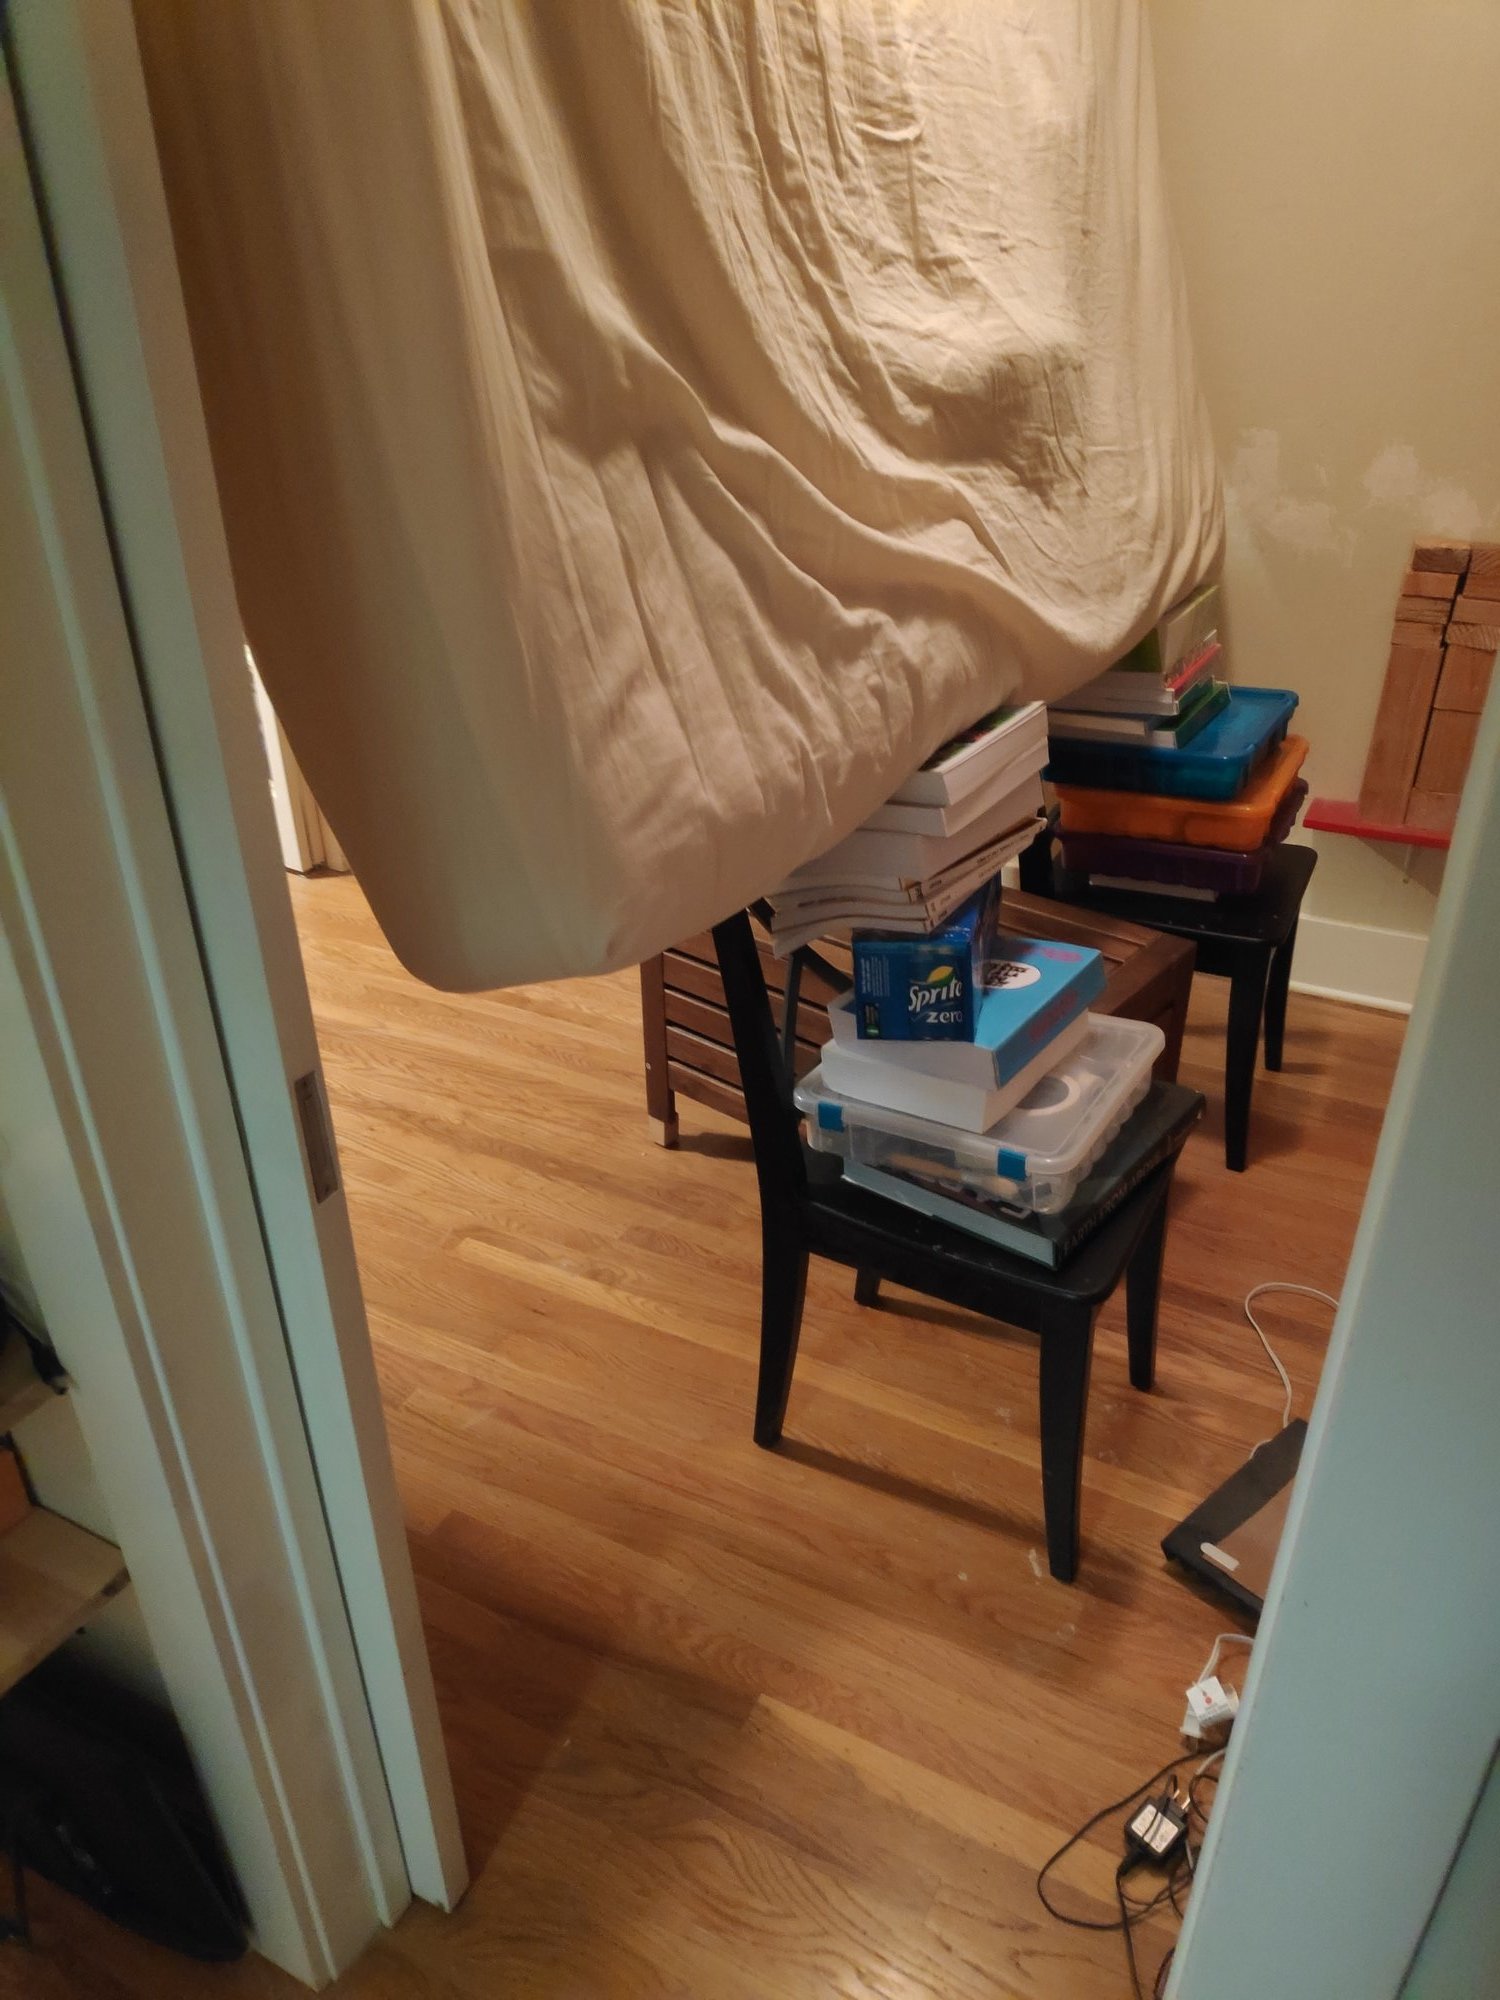
Phew. I should probably get myself a thinner mattress and get back a little more space under the ceiling.
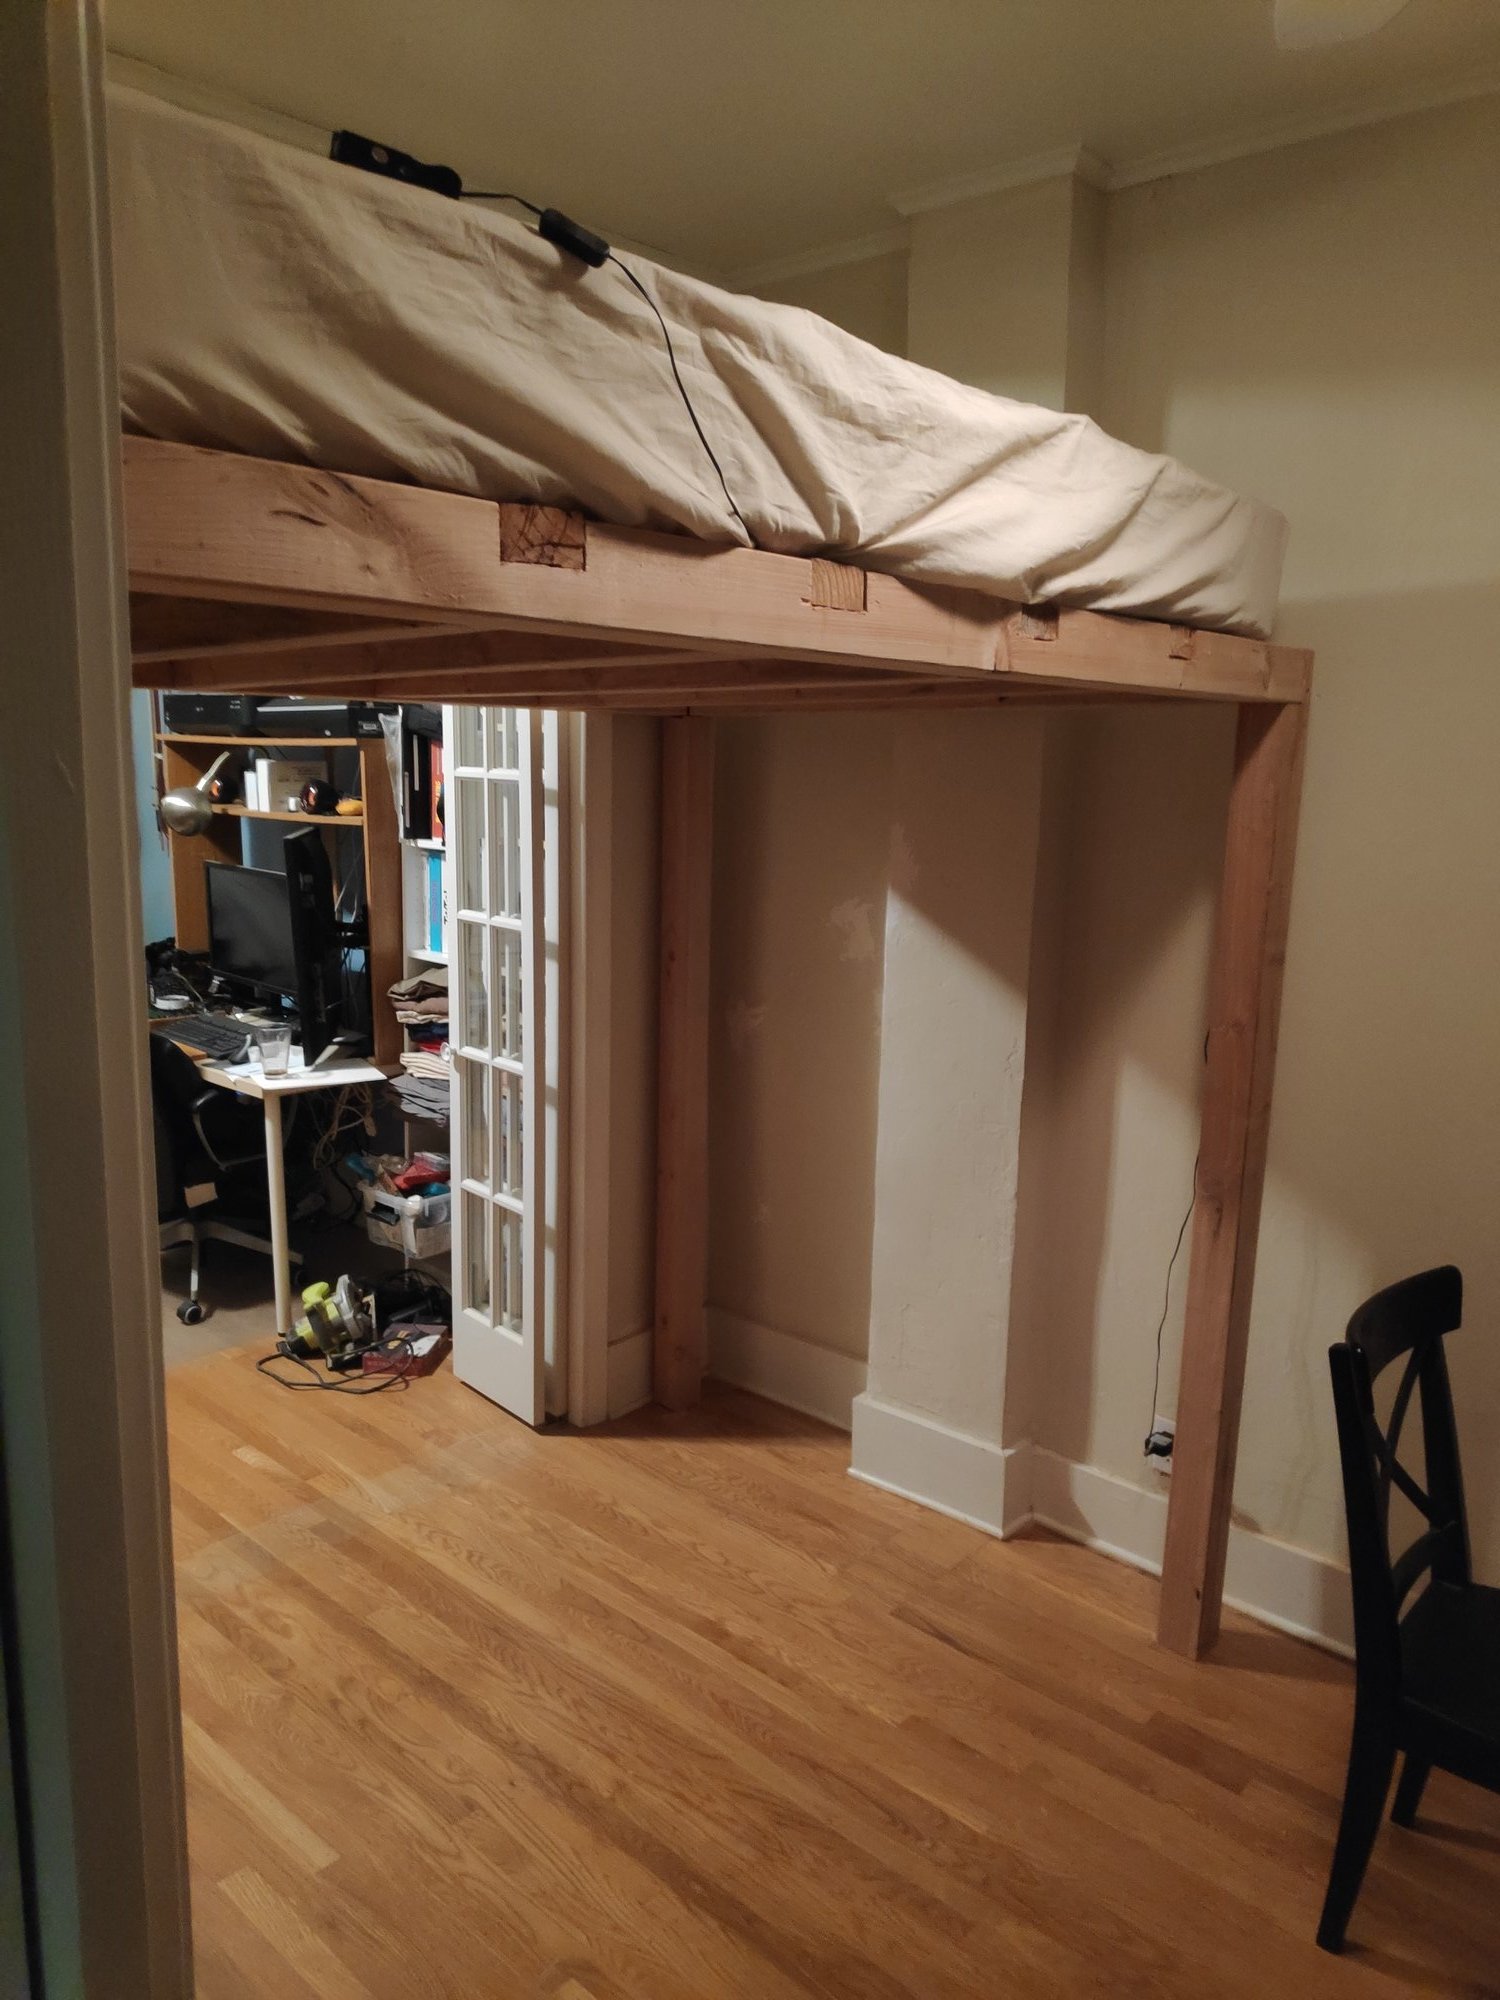
Looking promising:
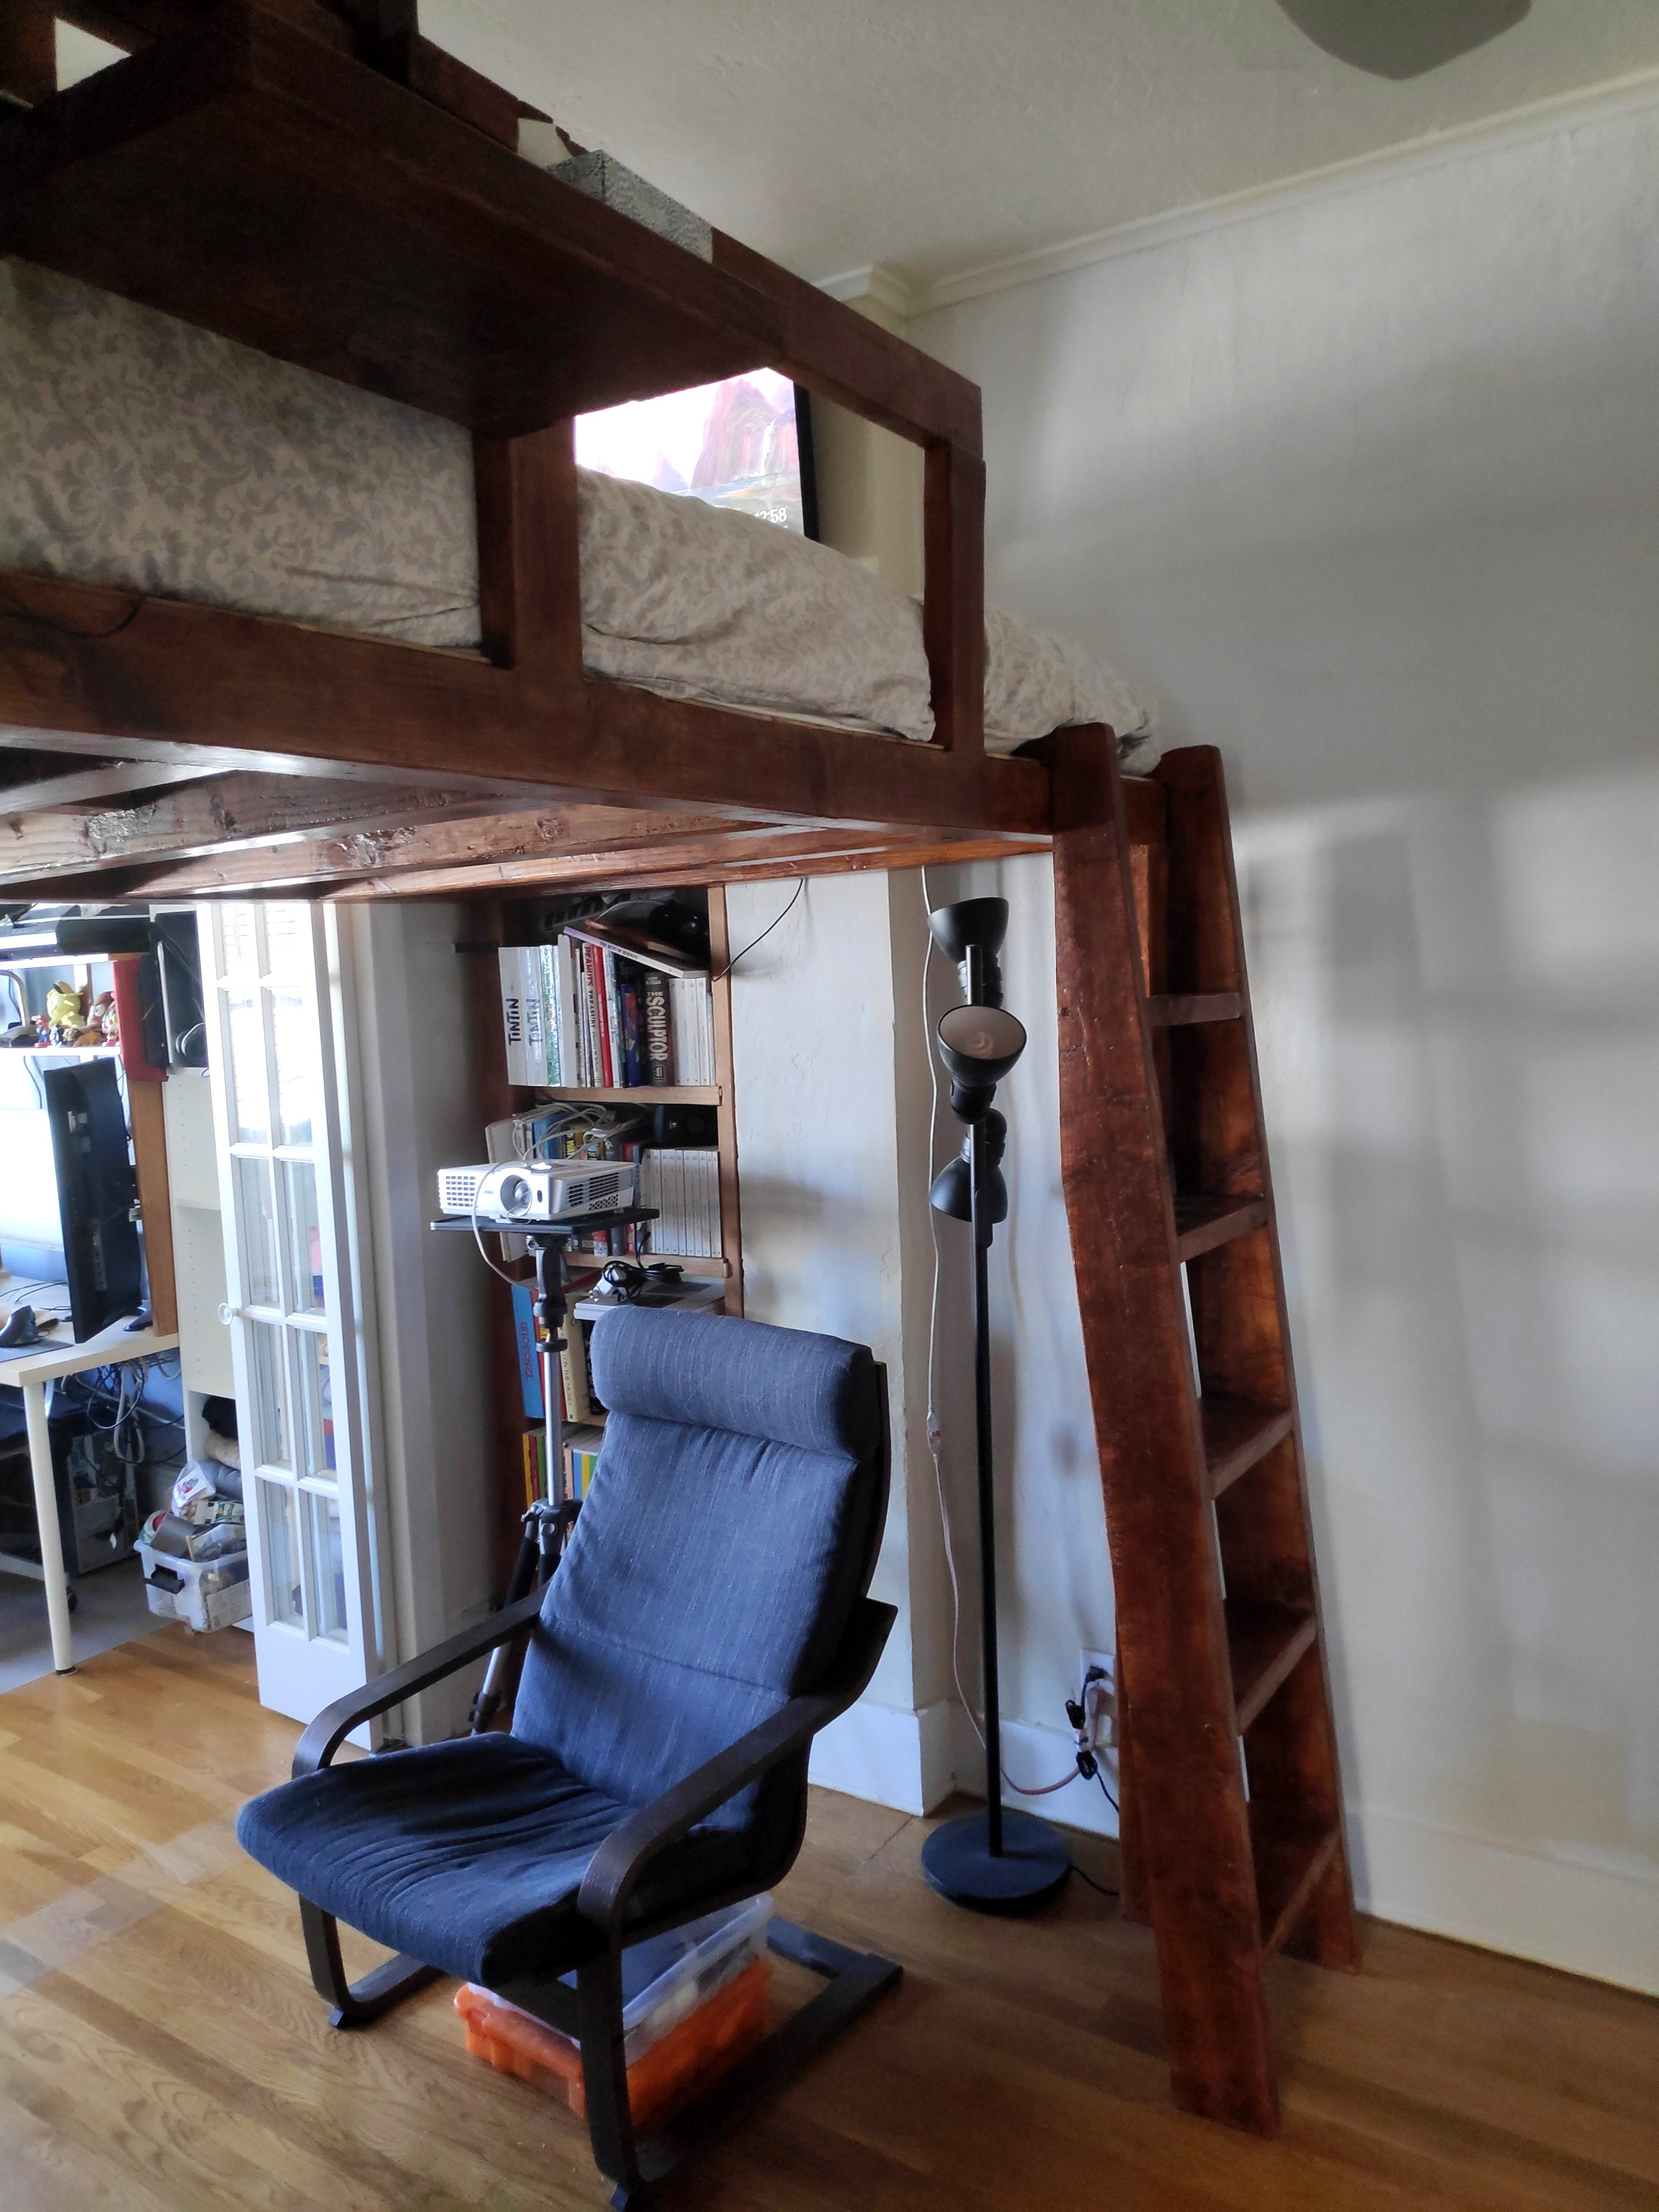
Now I’m going to need a simple ladder and a guard rail.

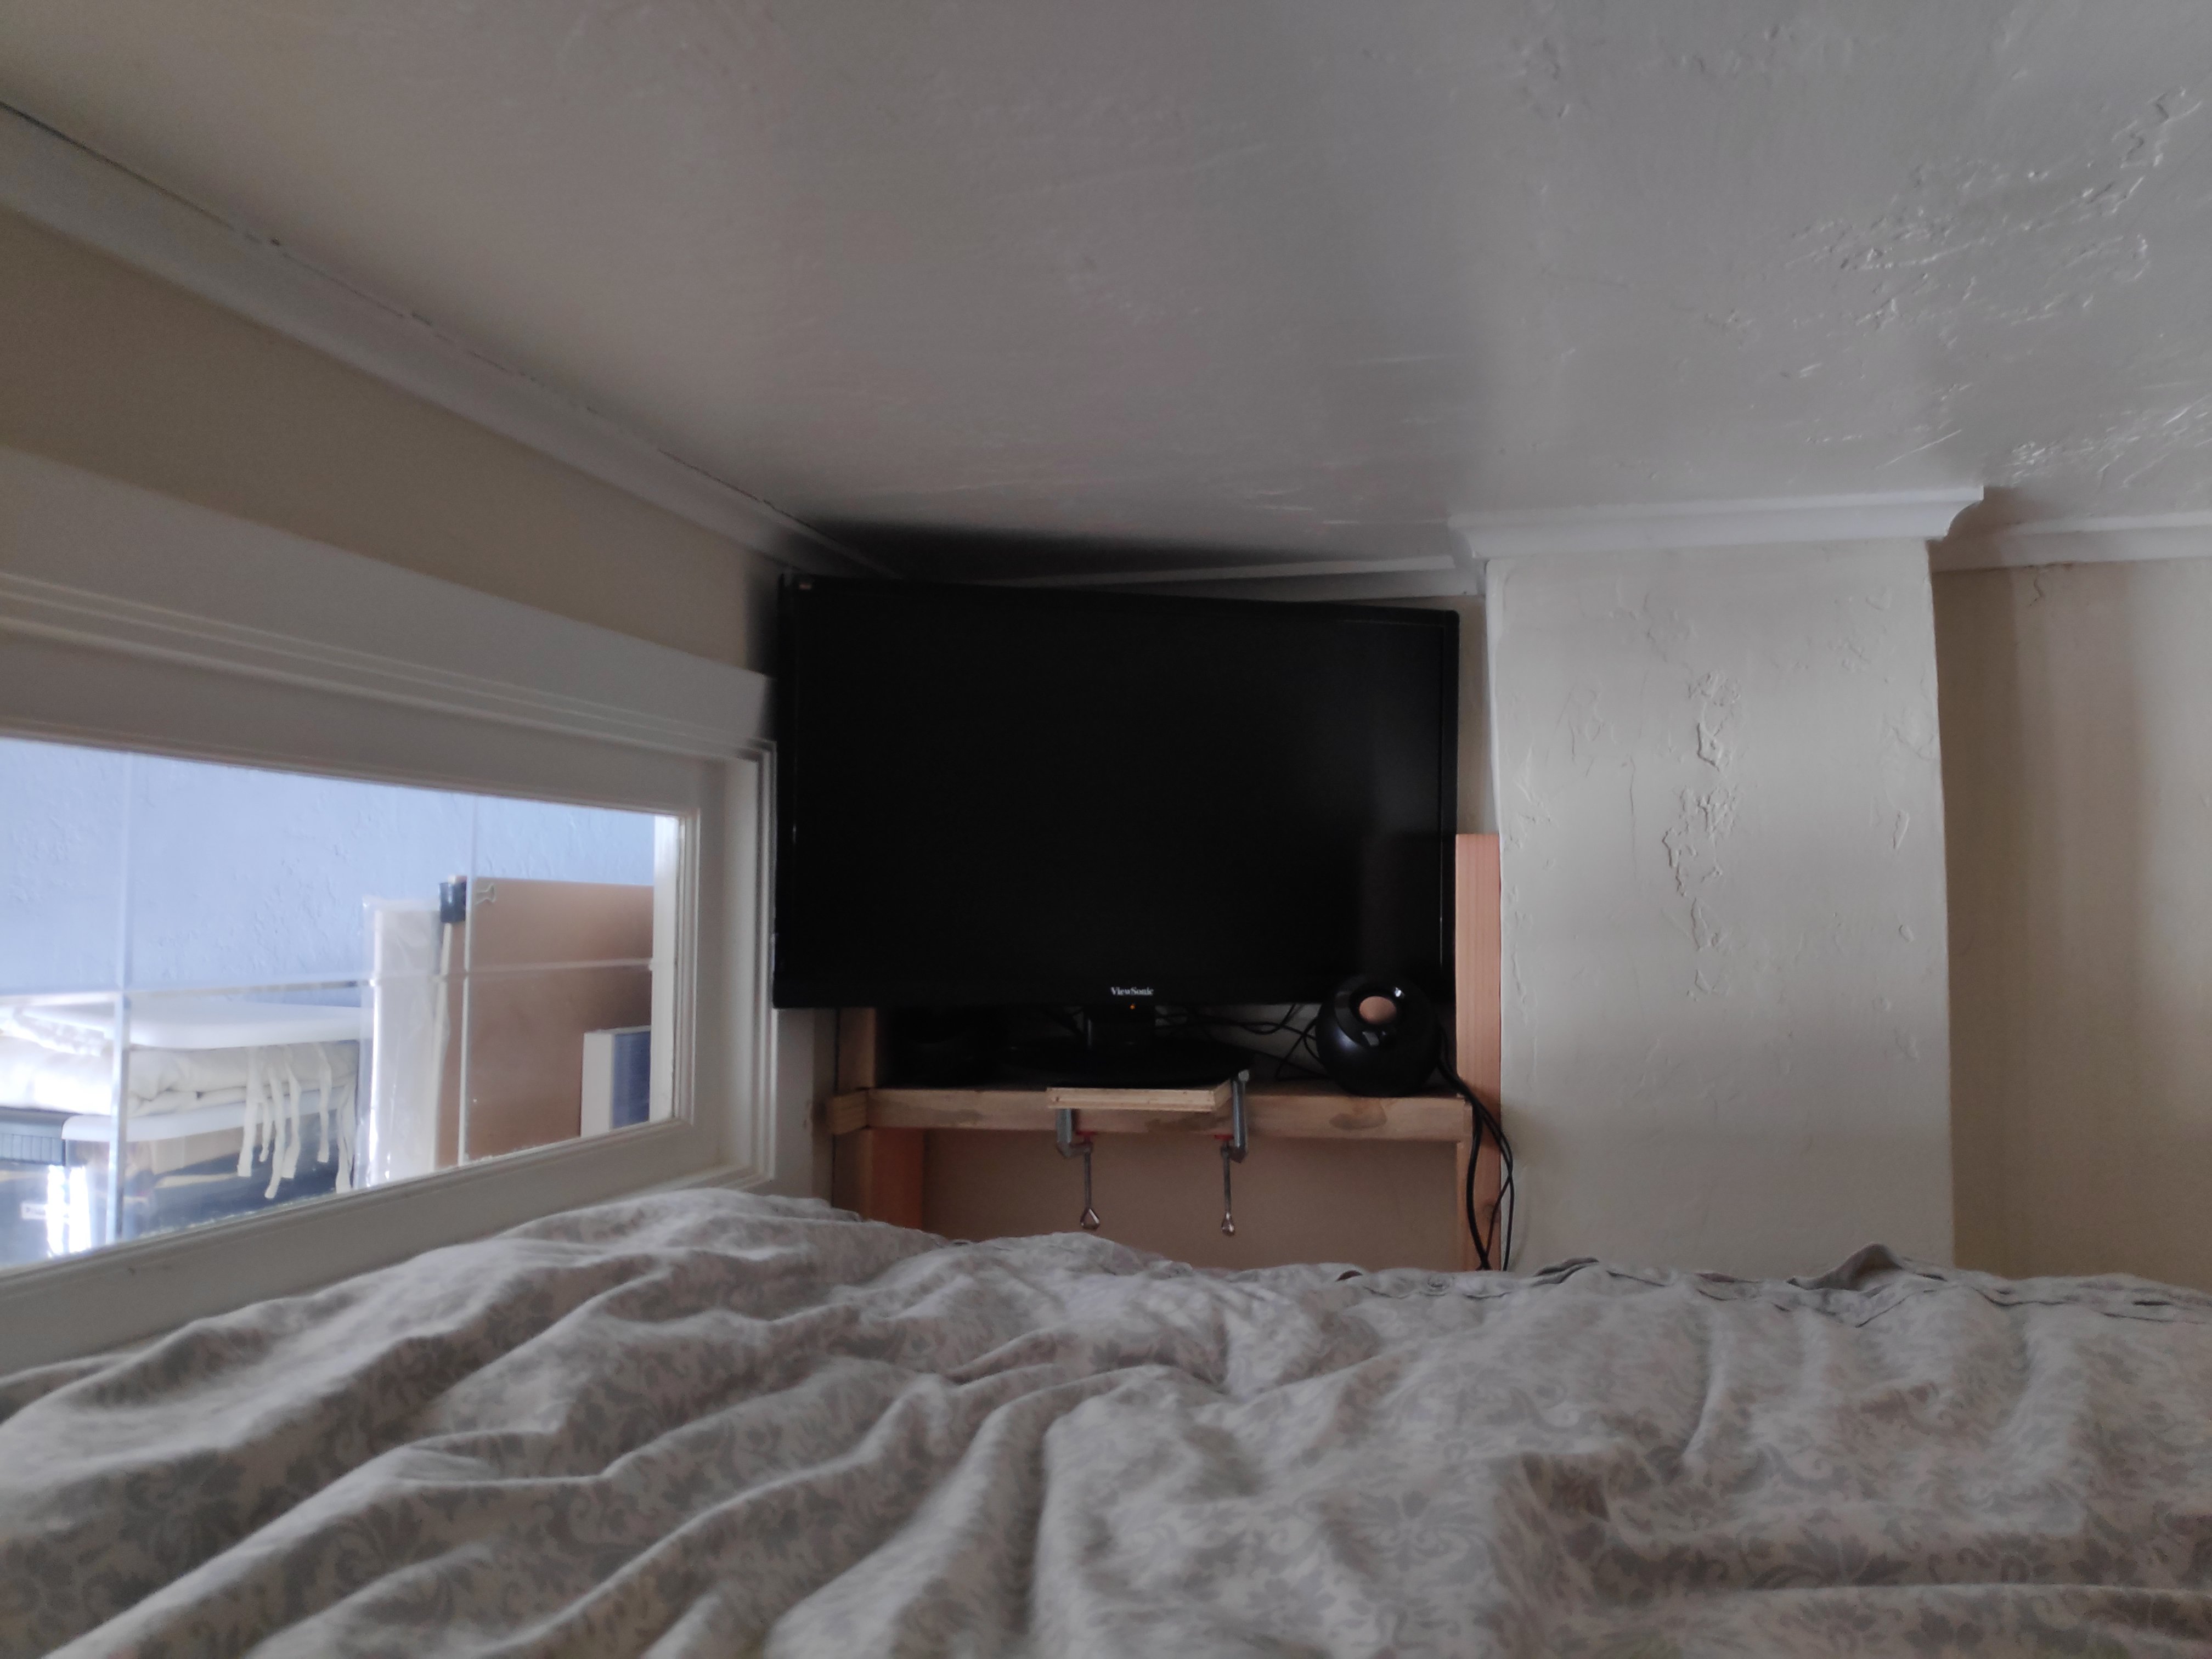
I also added a shelf at the foot of the bed so I could add a monitor to watch TV or movies in “super couch potato mode”.
I also realized the mattress would tend to sink very slightly into the void areas. I could probably add a thin layer of wood on top of the whole thing, but for starters I’m going to add a middle transverse, which should fix the problem while also providing more robustness. Time for more silly notch-making:
![]()
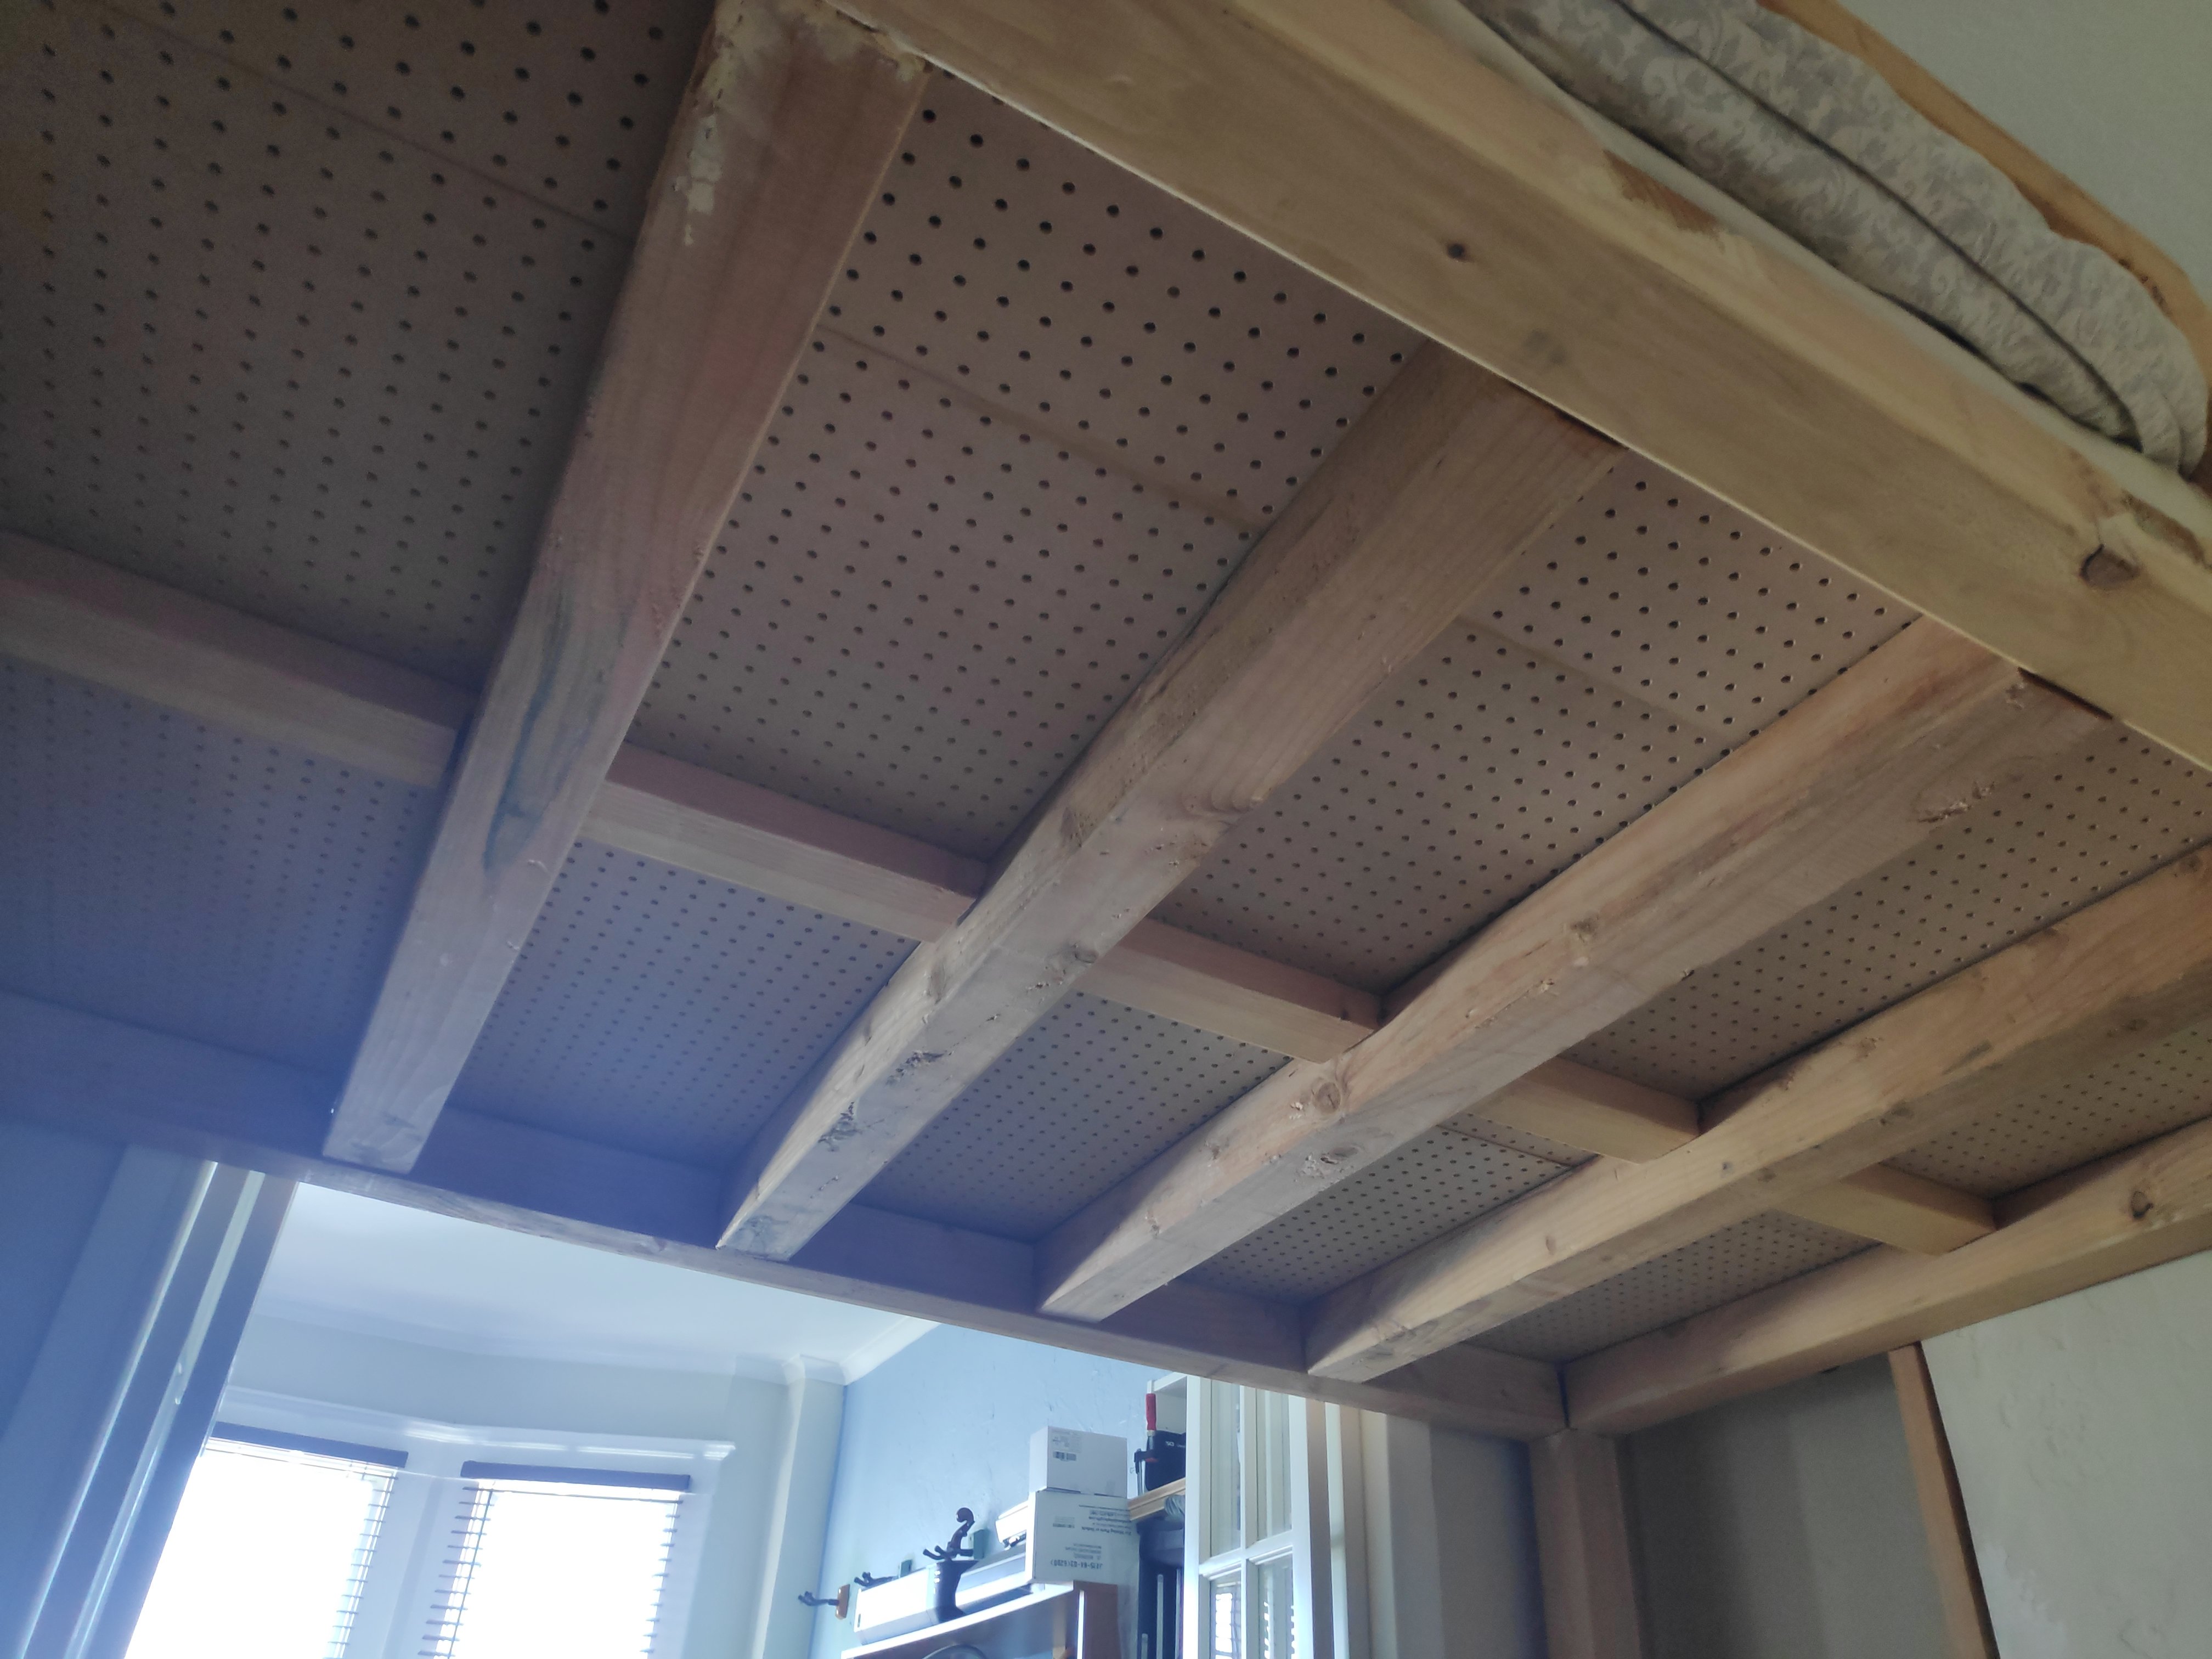
And then I did end up adding a thin layer of wood on top of the platform. I used “peg boards”:
Now we’re getting into “fine-tuning” territory, with a “floating bedside table” (that can be flipped for a ‘beverage and breakfast in bed platform’ :-D):
Last, a bit of polishing, filling holes and imperfections, sanding, and staining.
Phew.