Building a queen-sized foldable bed
2023-04-06
This is still 🚧 !
When I got myself (lucky me!) a teeny tiny apartment in Tokyo, I had the Western reflex of buying a queen-sized bed.
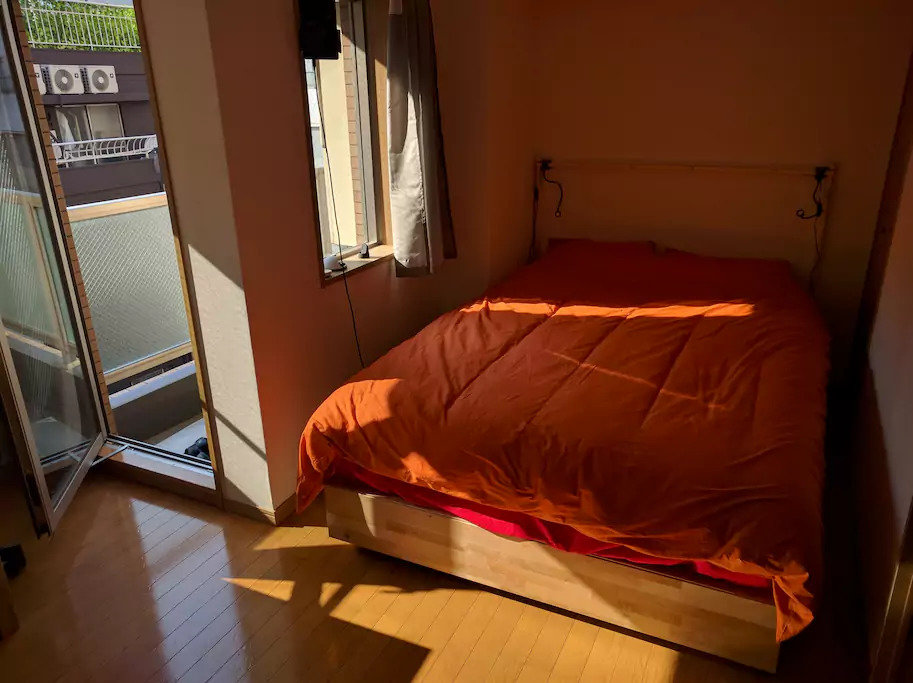
Actually, since I took that photo I expanded a little bit on the headboard/shelf:

A Japanese person may have, instead, got themselves a rollable futon. I realized that a little too late, and now I’d like to find a solution to 1) regain some of that precious space during the day and 2) reuse the bed frame I already have. So: foldable bed, a.k.a. “Murphy” bed.
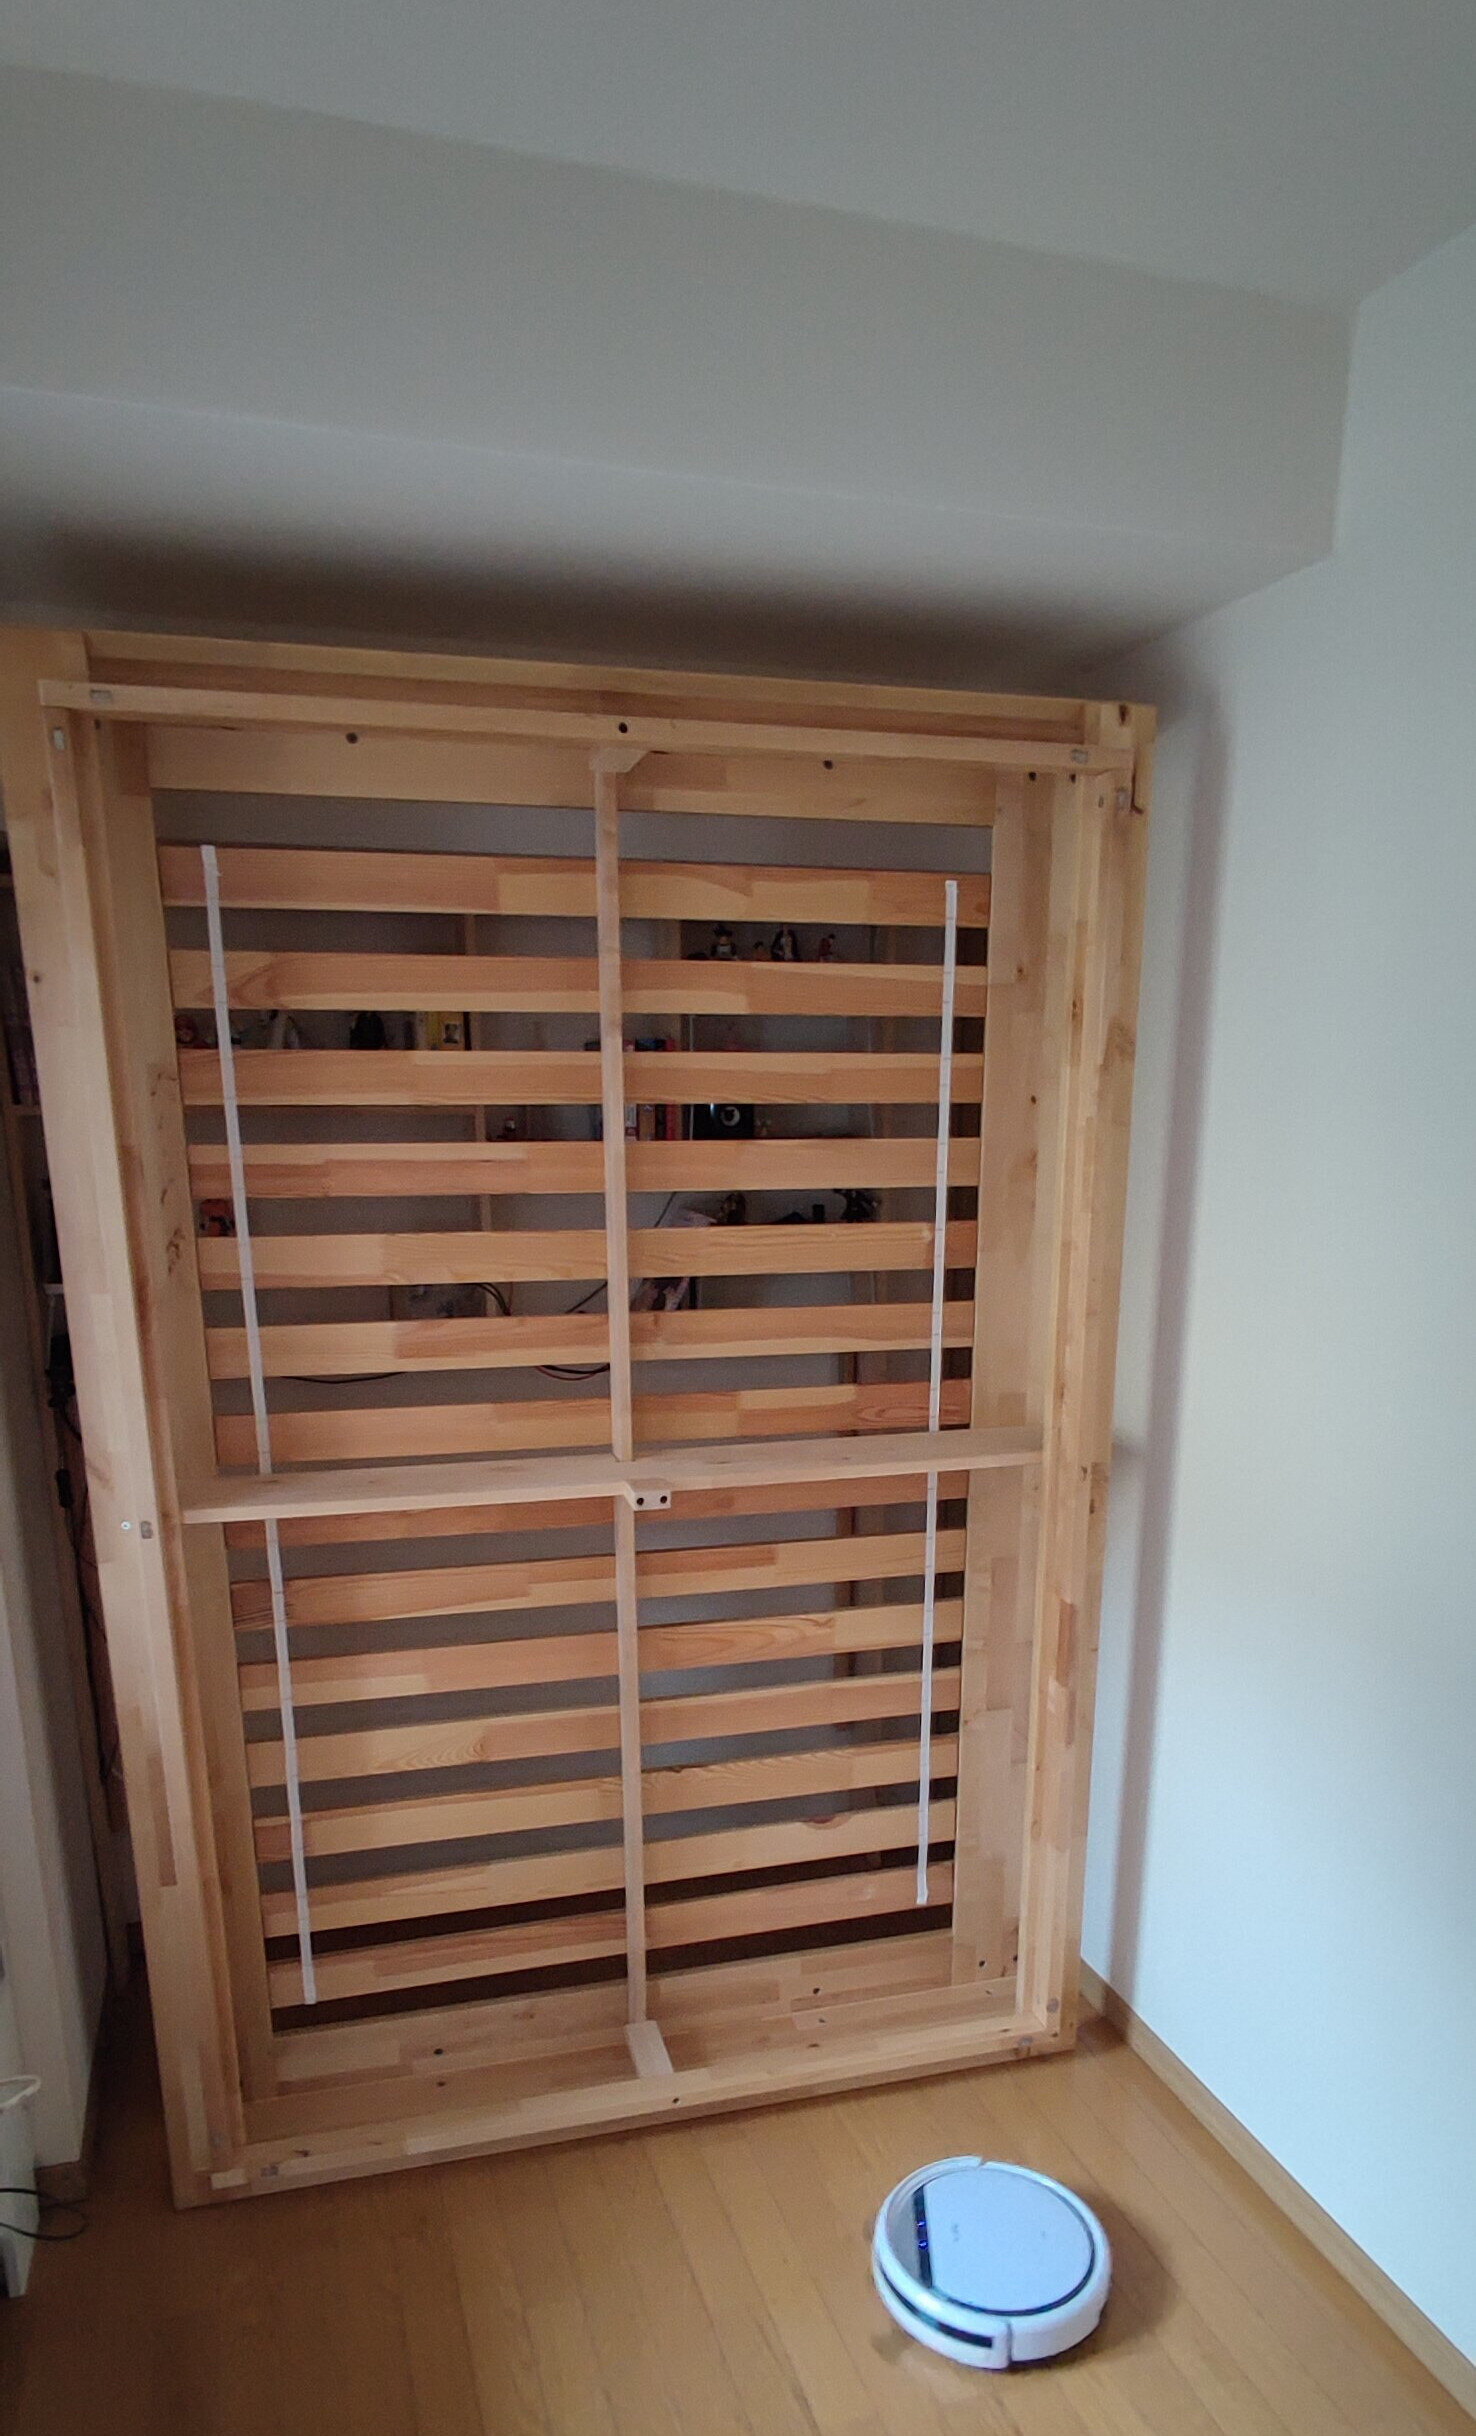
First step: get rid of the drawers embedded in this Ikea bed (I didn’t really use them much anyway). Second step, remove the mattress and place the frame upright to see what will fit where. Oh, and let my little robot get rid of the accumulated dust down there.
There are some ready-made “Murphy hardware kits” on the market, but… meh. I kind of like to do stuff myself, and the dimensions and use case I’m dealing with is somehow always not that suitable for what I can find. Thankfully, I have some experience with a much more ambitious project a few years ago.
One issue with putting the bed upright is that the slats won’t stay in place and will rattle a bit. So let’s fix those:
Next, there is this extra layer at the bottom of the frame which elevates it a little more, and I think it will make my life harder.
So, off it goes. Okay it may also add some robustness and some structure. How much of that will matter? Well, we shall see 😁 I can always re-add some pieces here and there later (most likely some metal brackets), in a way that doesn’t make the frame taller nor complicate its shape.
Can you see the piece I removed?
The frame will still lay happily on the floor, except for a small stabilizer in the center, which I need to trim down to match the new height:
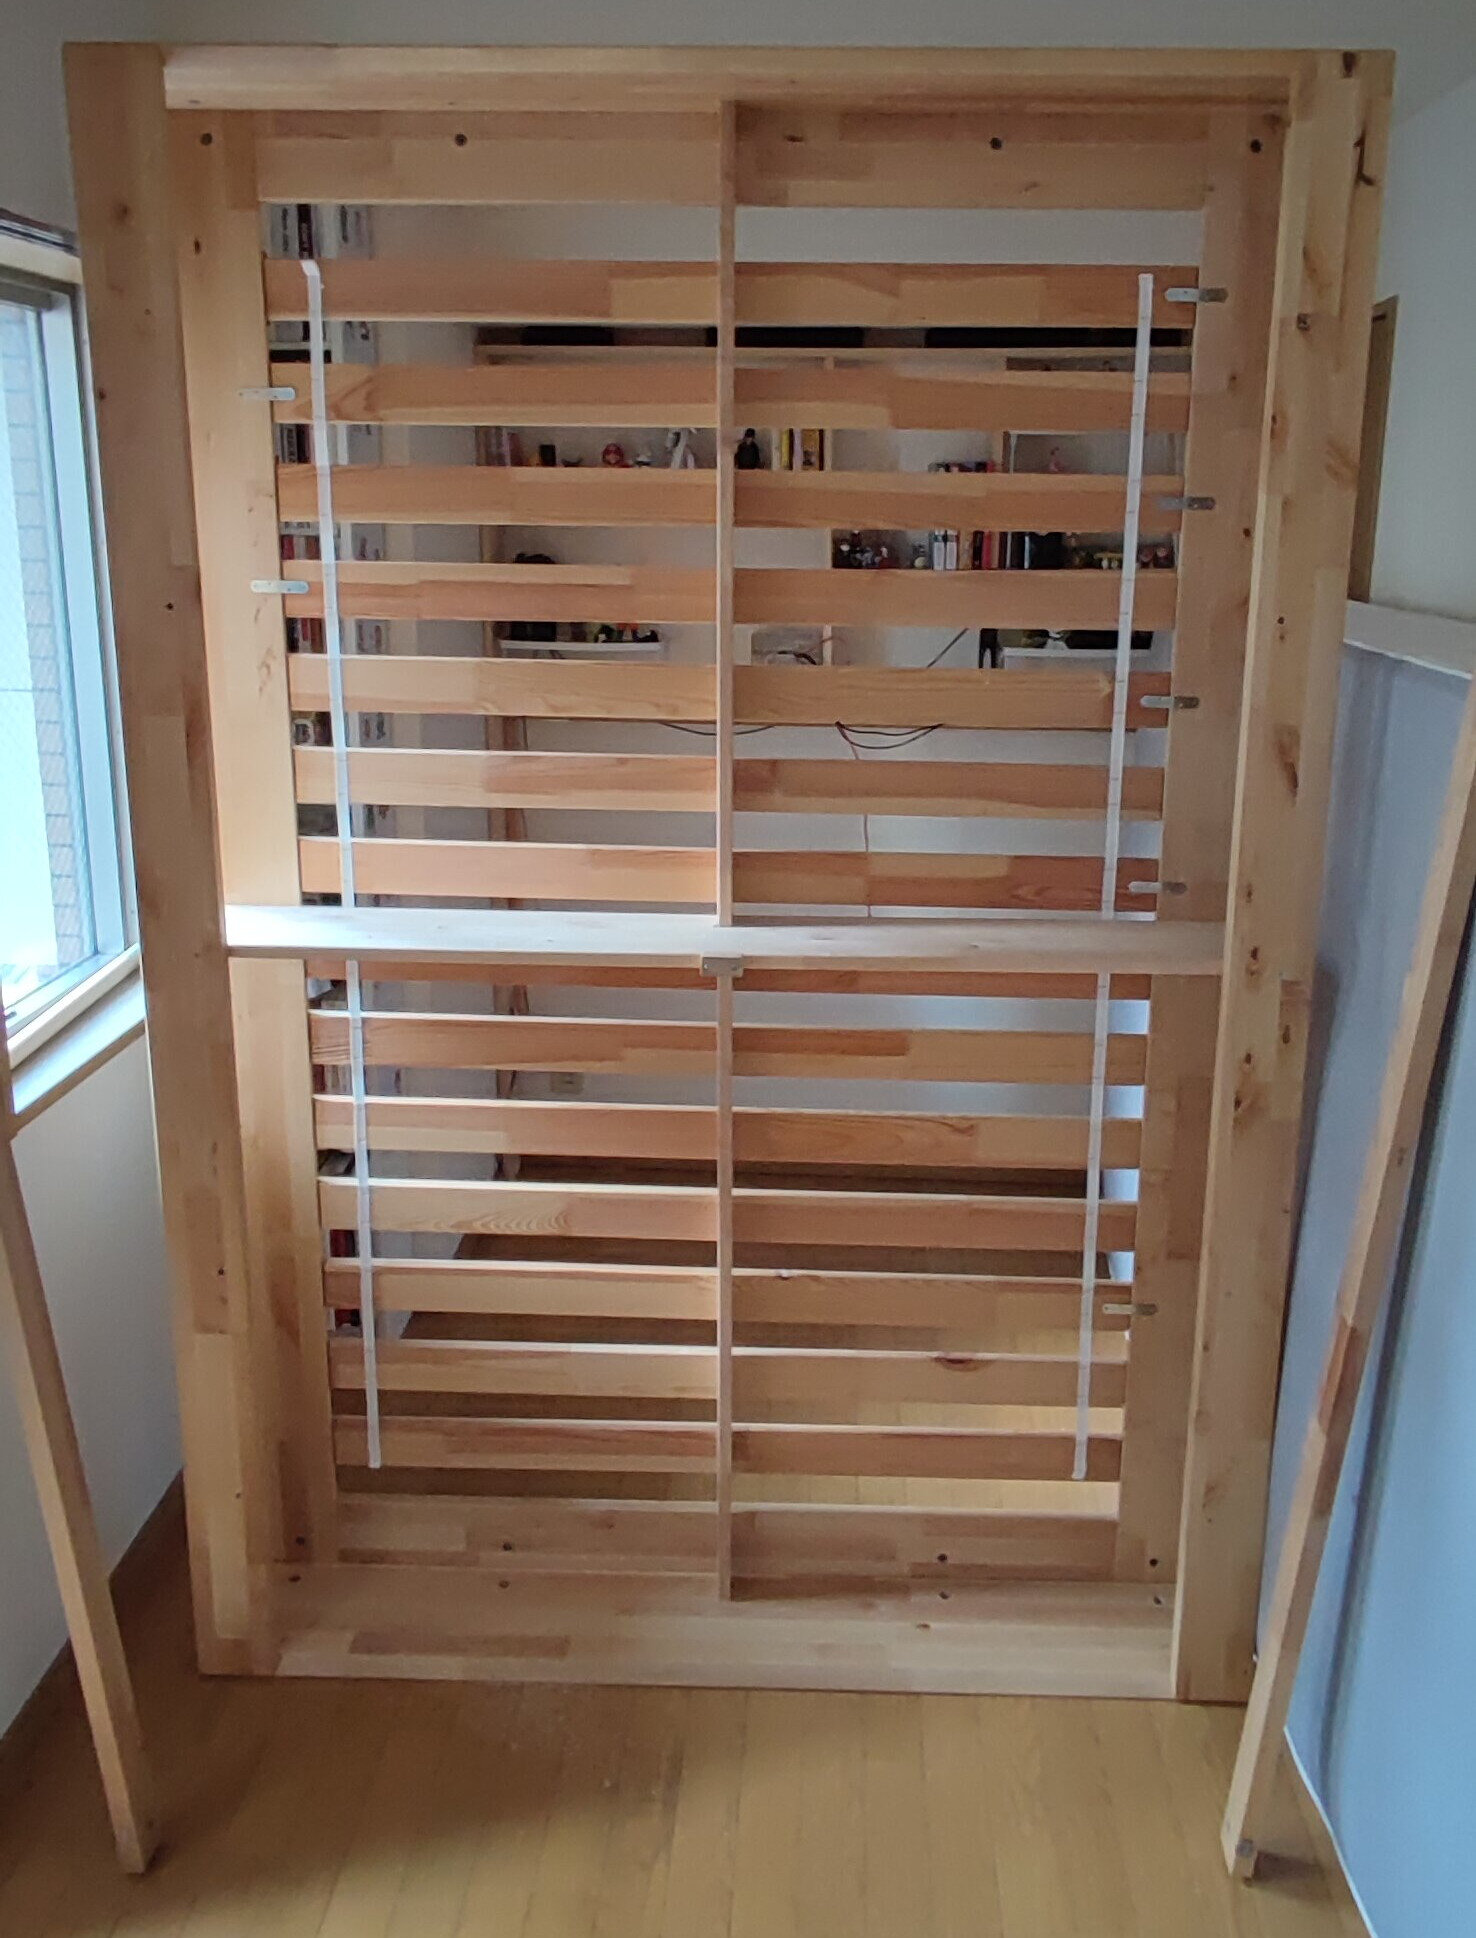
We have this so far (some slats still needs attaching properly! that will be done soon).
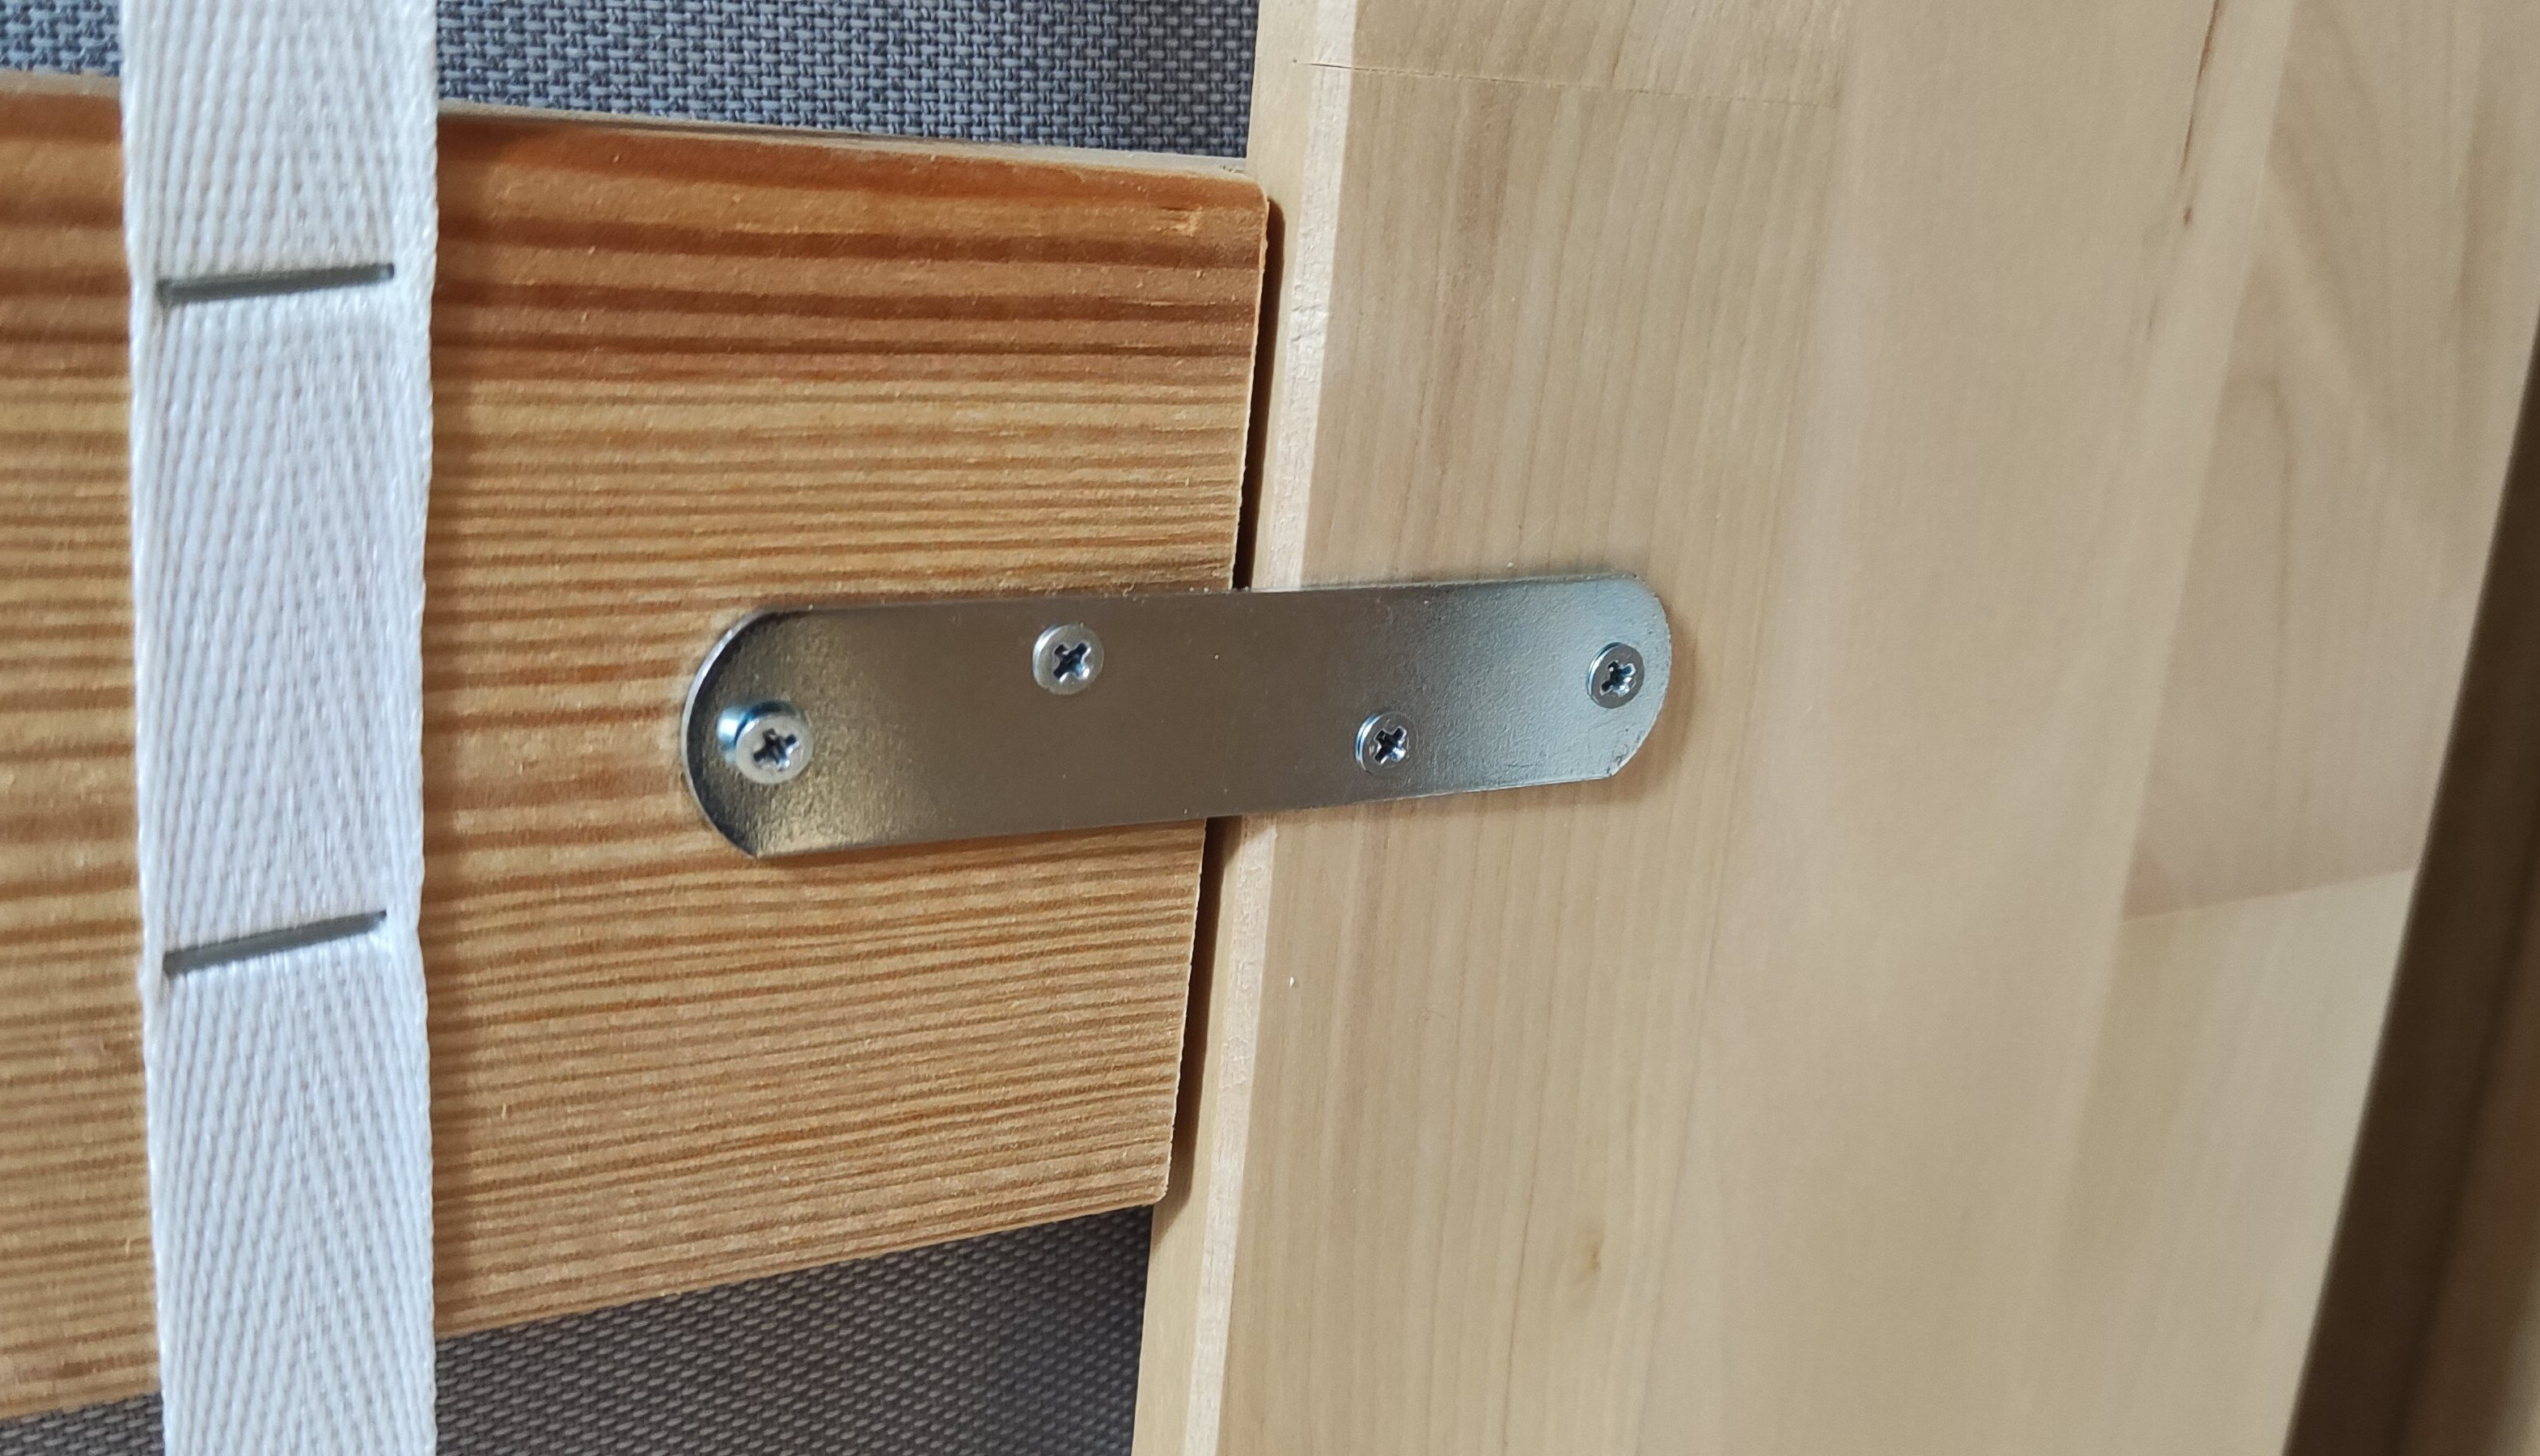
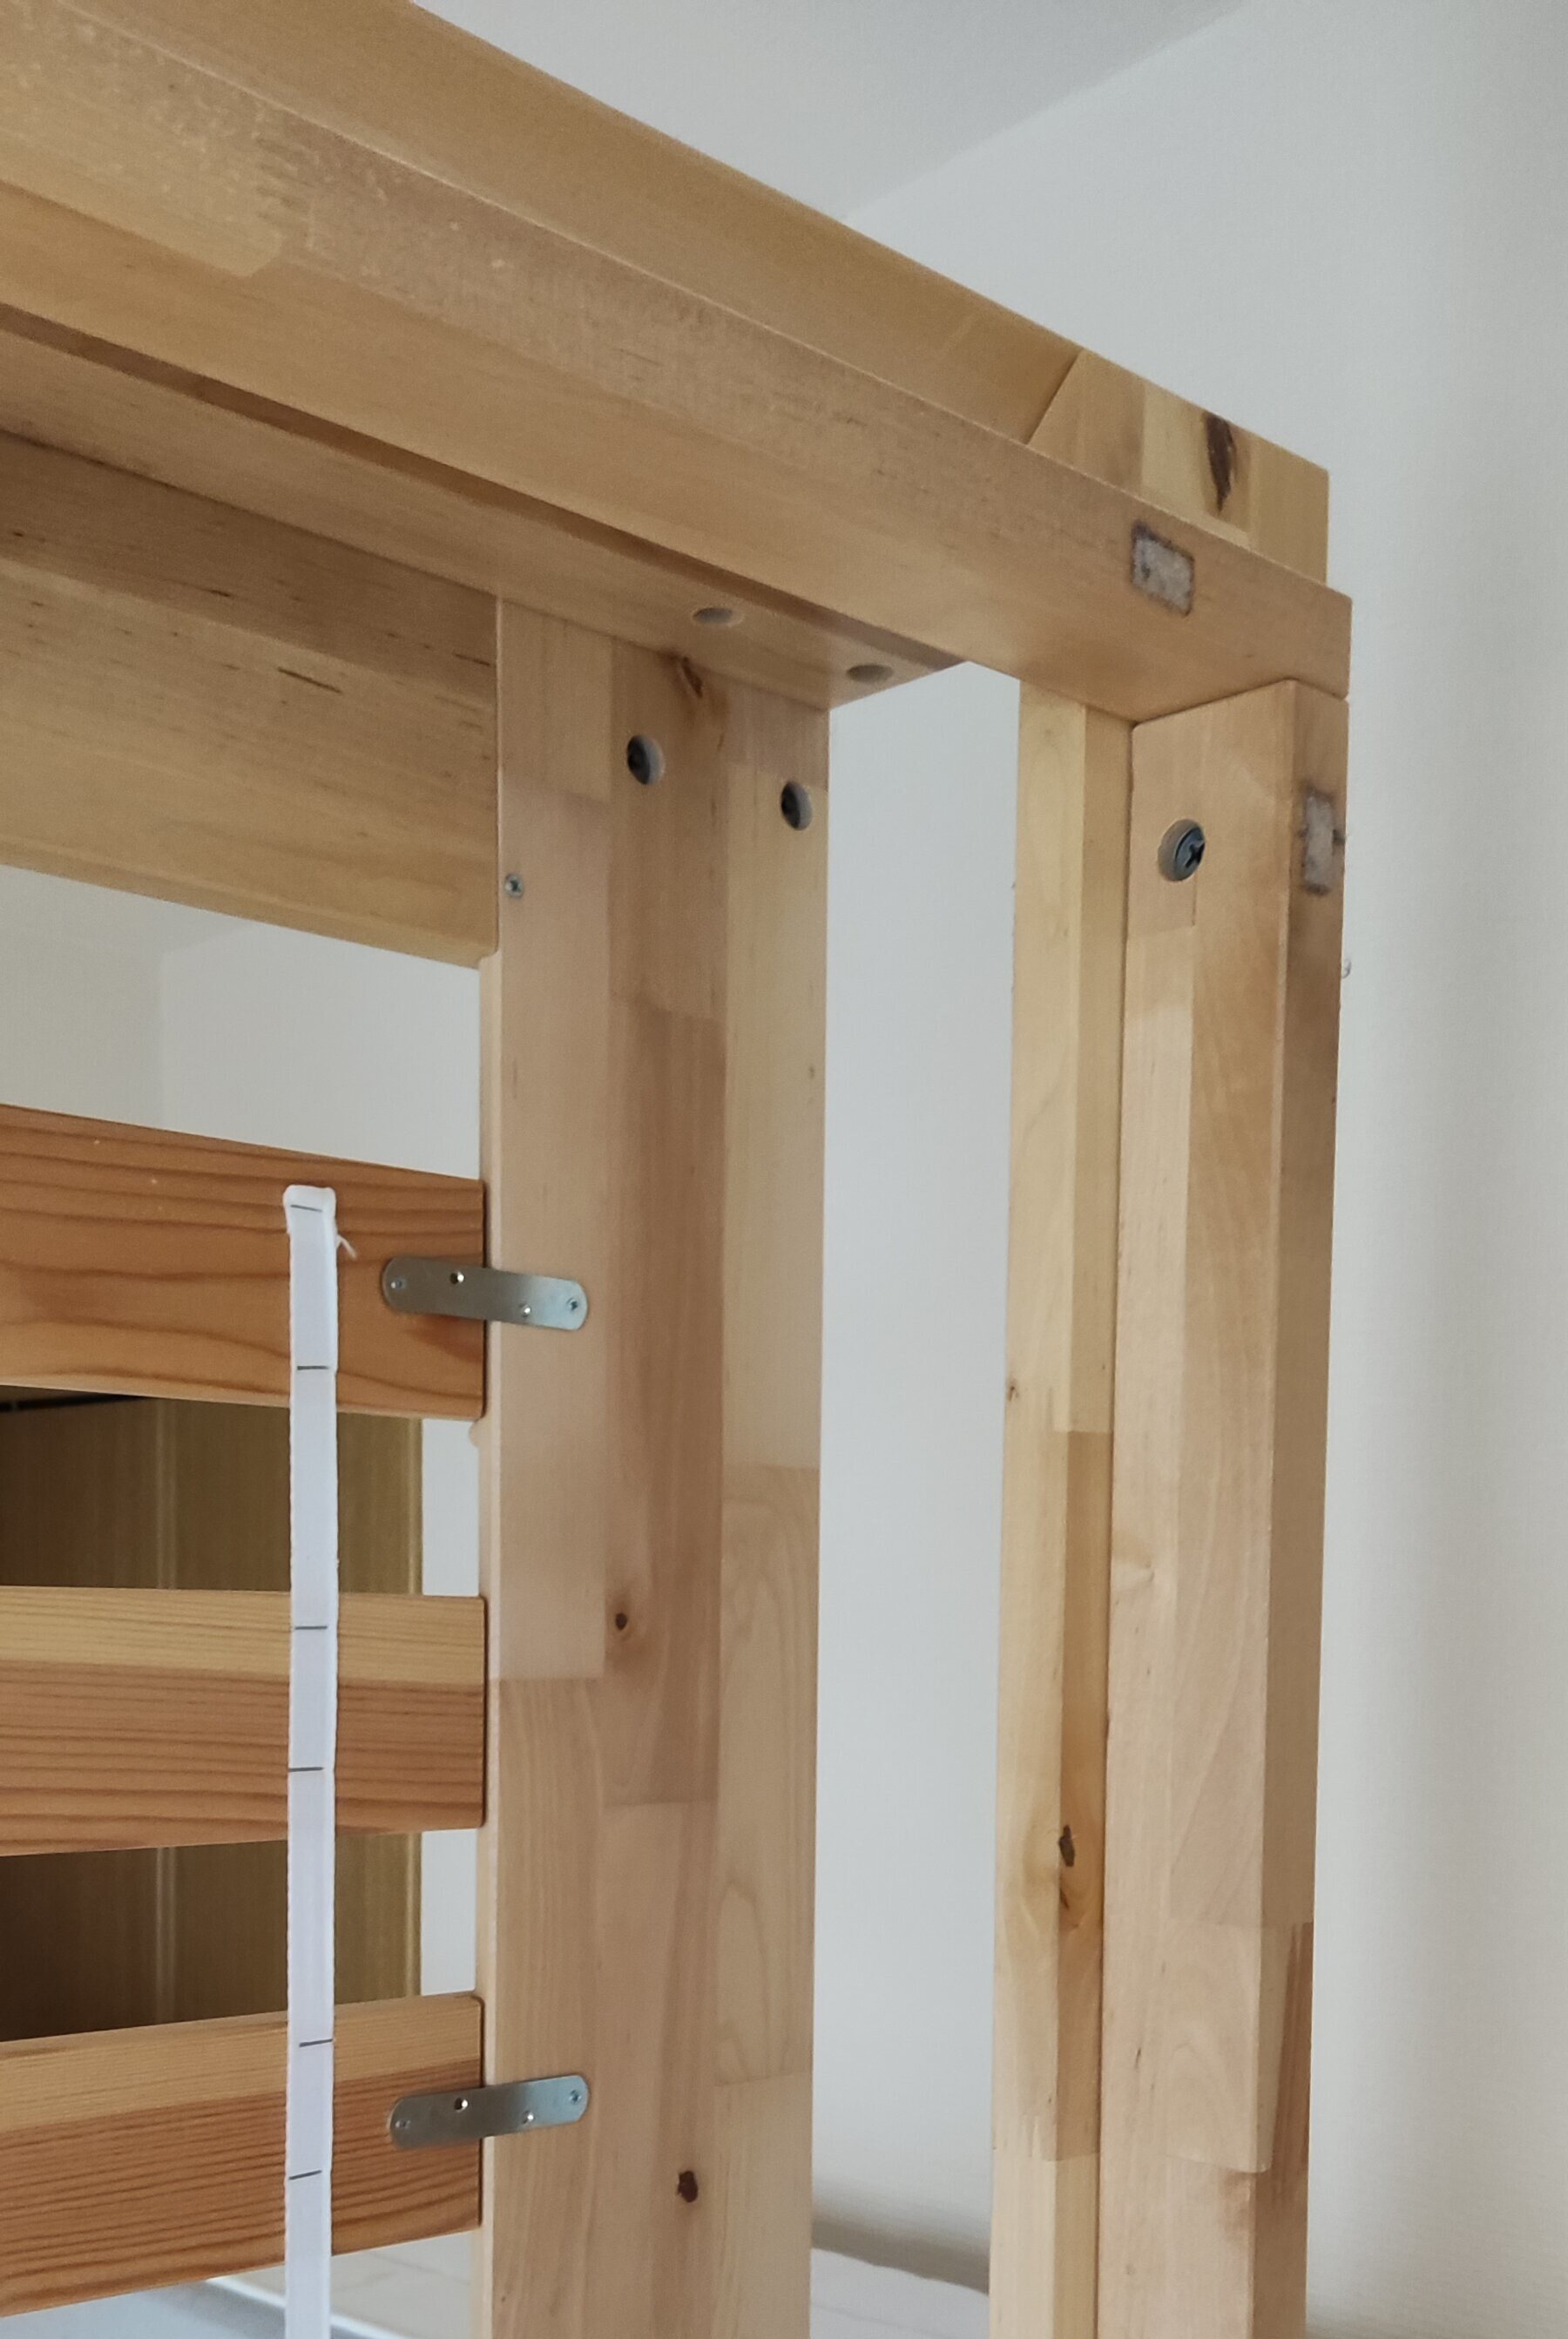
Now, one issue is that when moving the frame from a horizontal to a vertical position and back, the way it moves against the floor will likely cause some damage in the long run. So let’s add some hinges and attach those to a separate piece of wood (actually two pieces that I connected with two pegs).
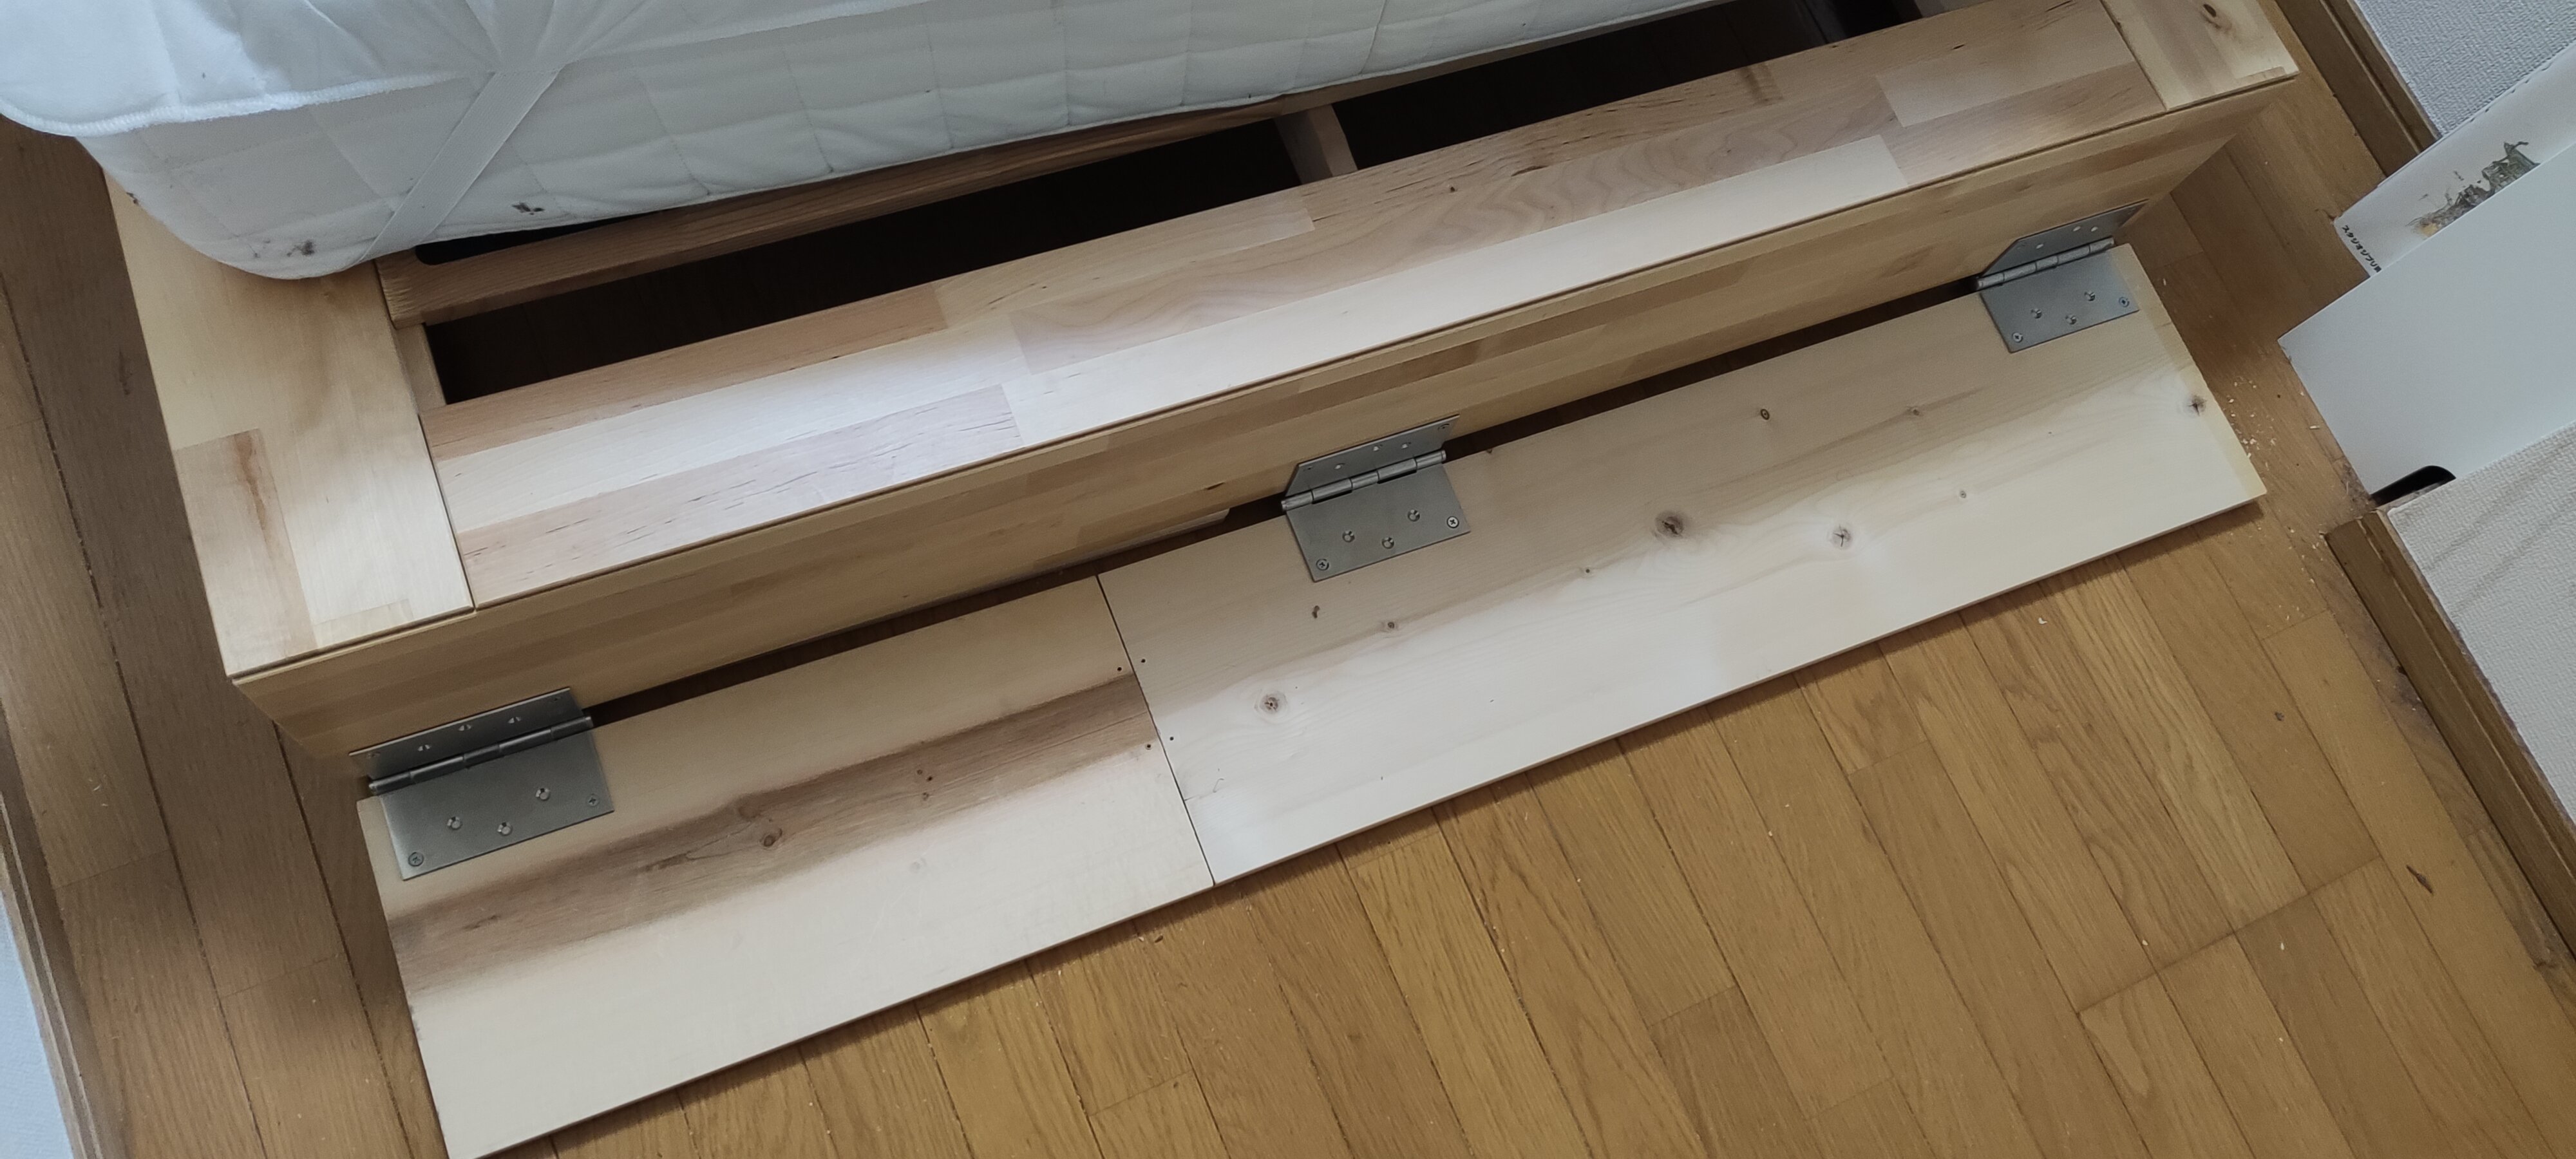
“Huh”, you might say, “but this new piece isn’t attached to anything!” to which I will reply: indeed! And I have no idea to what yet. I didn’t think that far. To make this smooth I will also need to elevate slightly the back of the frame. I will add that later, it’s okay for now; thankfully there’s plenty of wood I can repurpose from the drawers I disassembled.
Another issue is that when I place the frame upright, the mattress tends to slide down. I will likely need to replace it with a lighter and thinner mattress, but for the time being let’s address the problem this way:
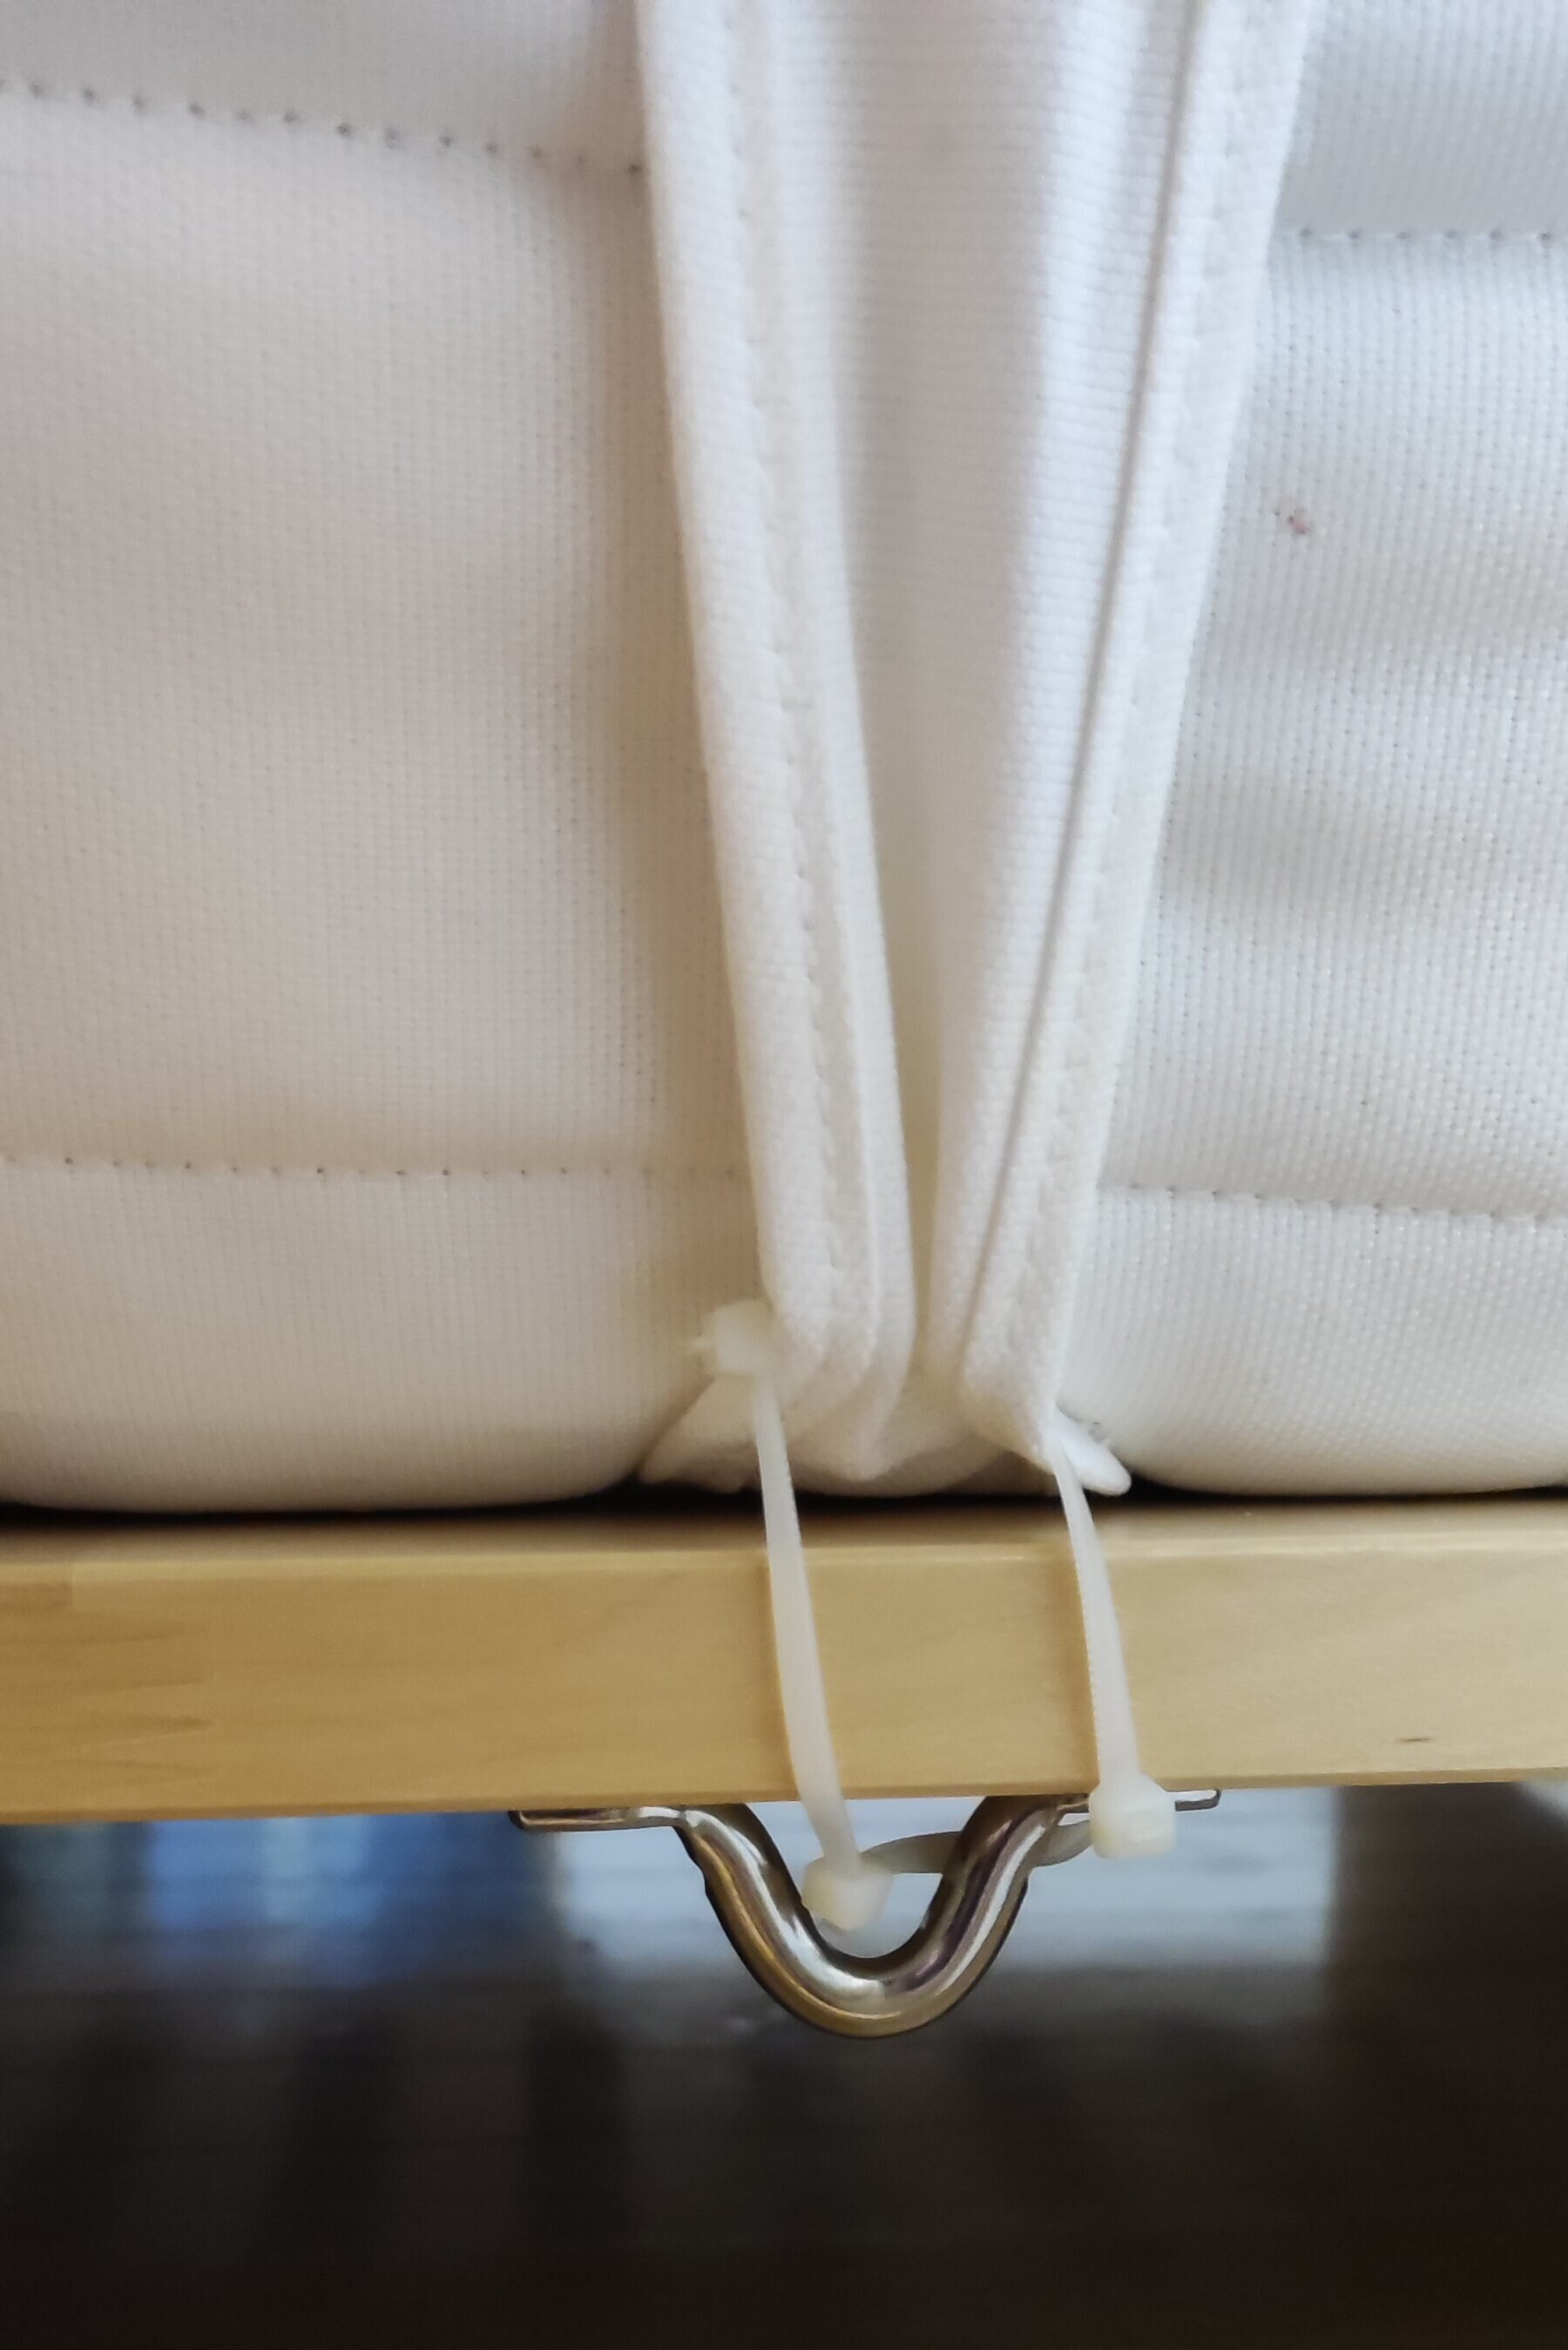
This makes use of two of the four handles on the mattress. That works fine for now, but I’ll need to do the same for the other two (I just need to get two more of those metal thingies first), and potentially add some sewing to reinforce the mattress handles (this thing is heavy!).
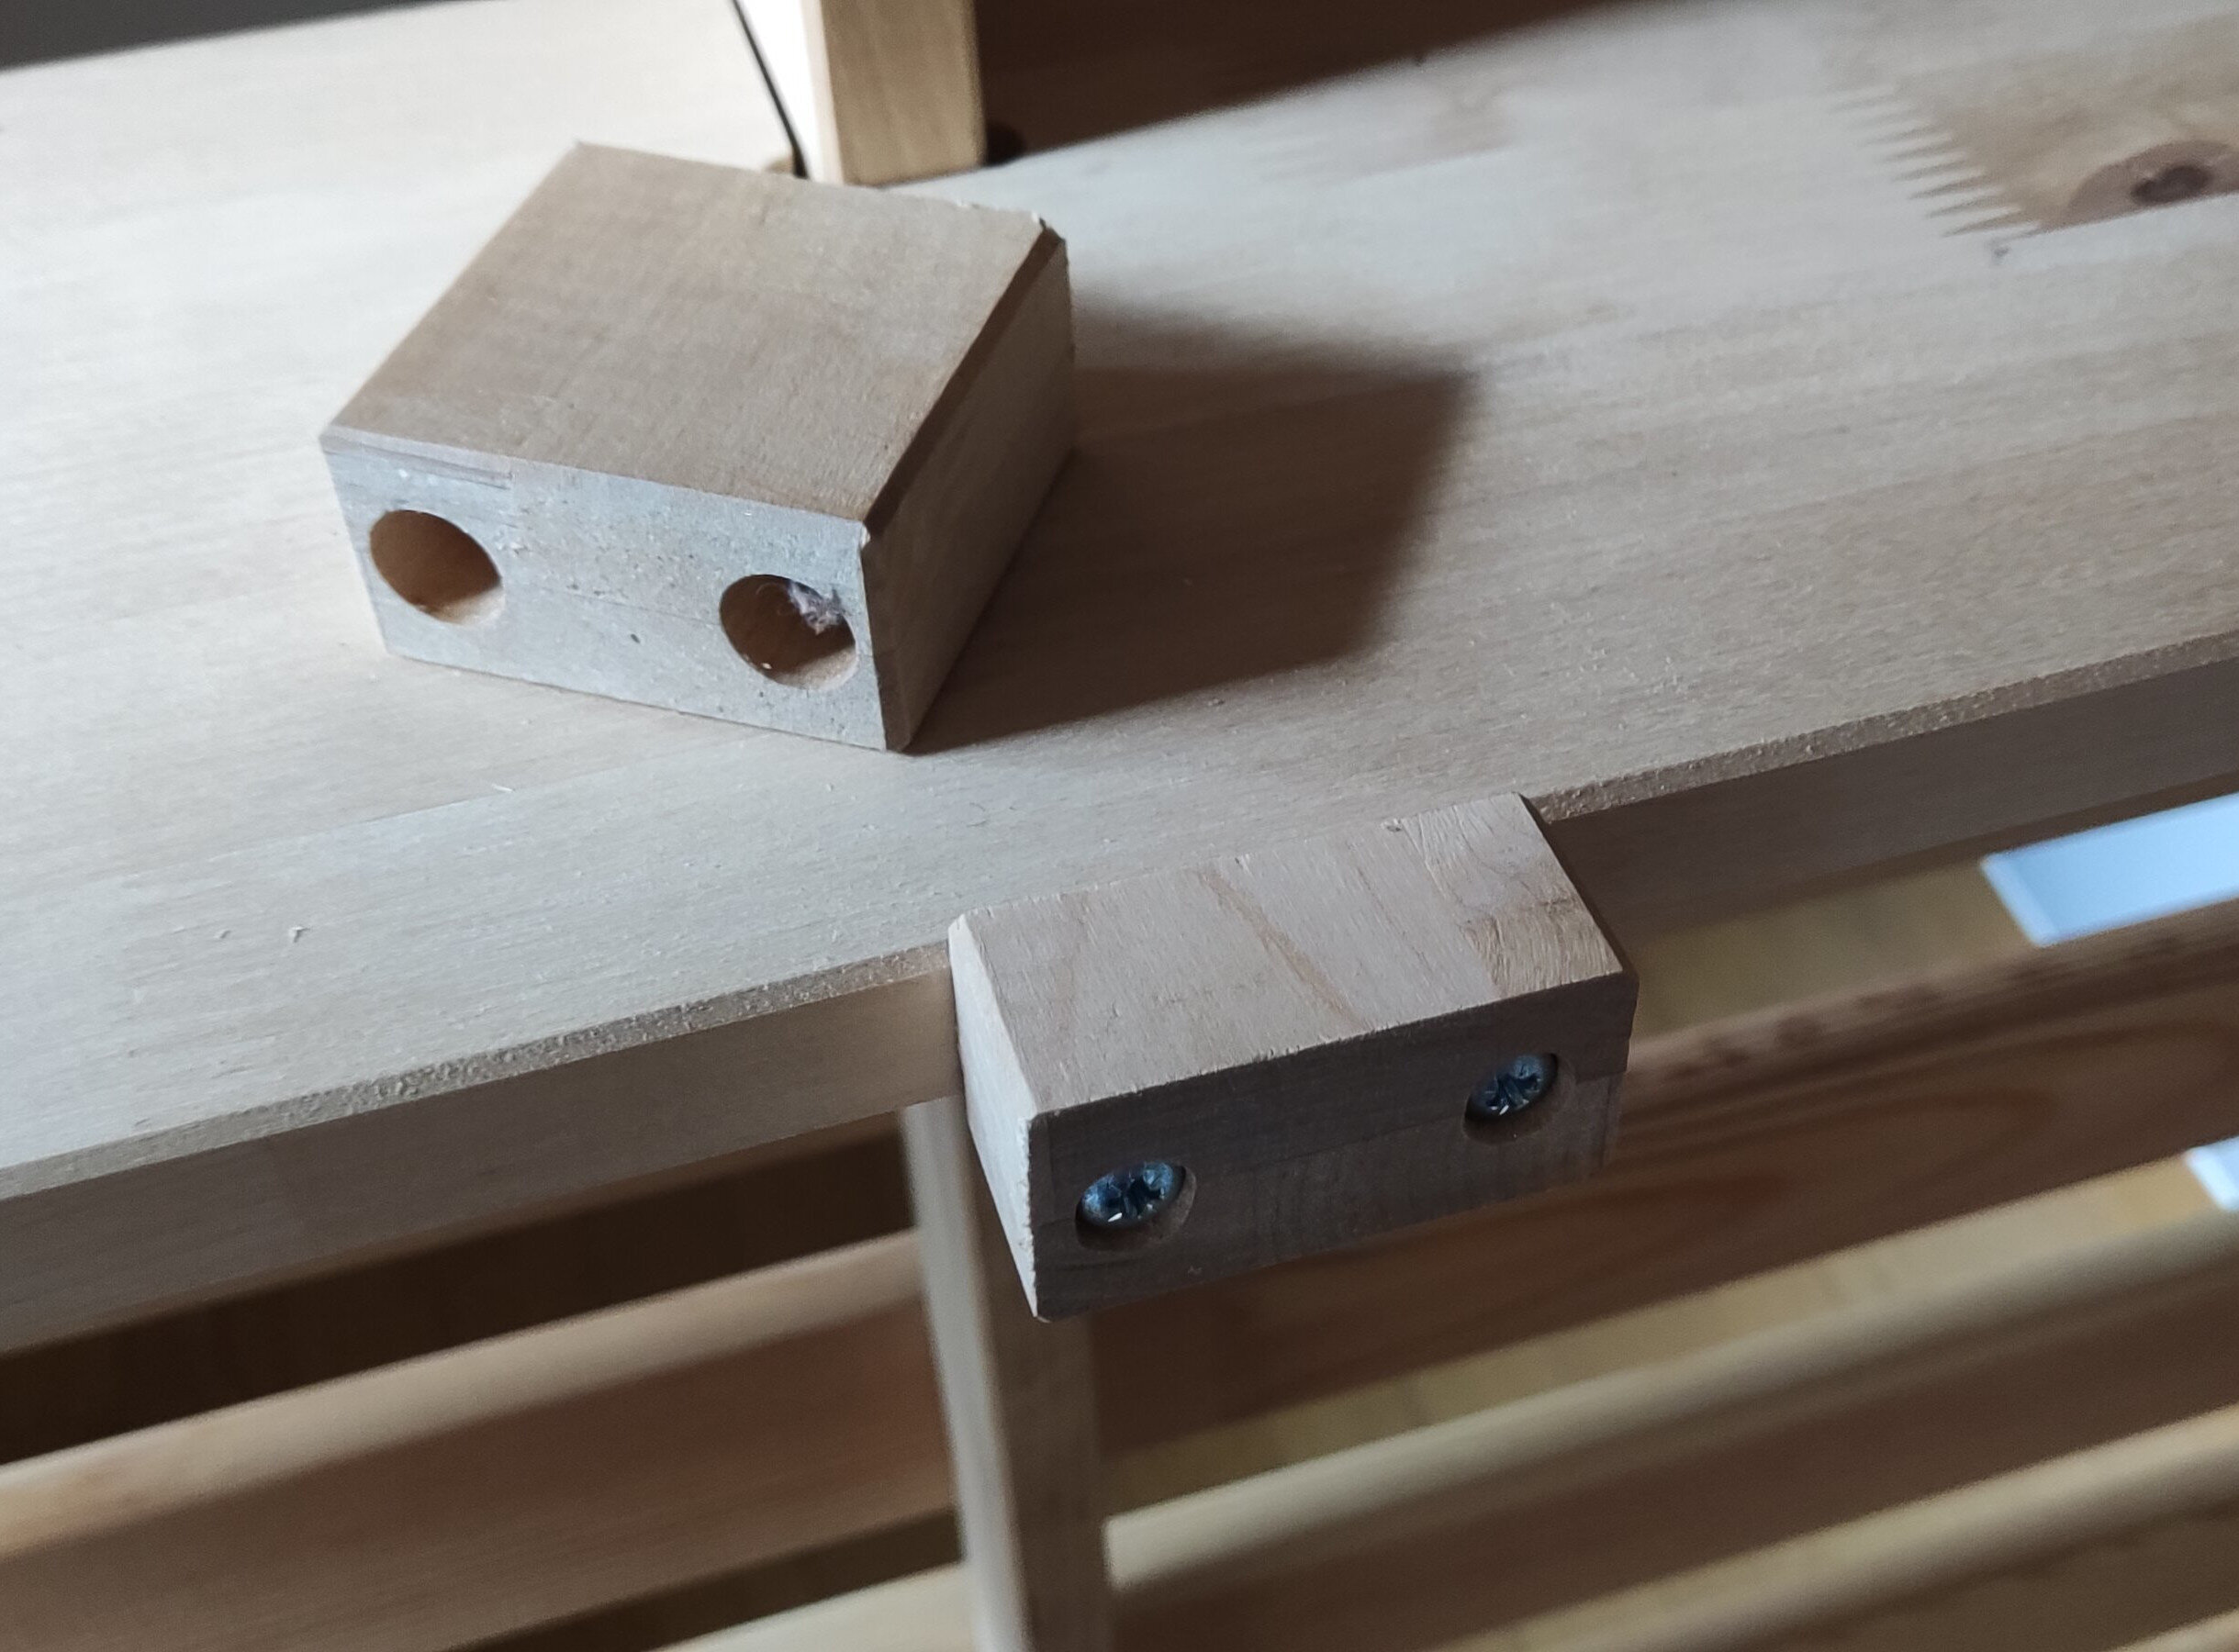
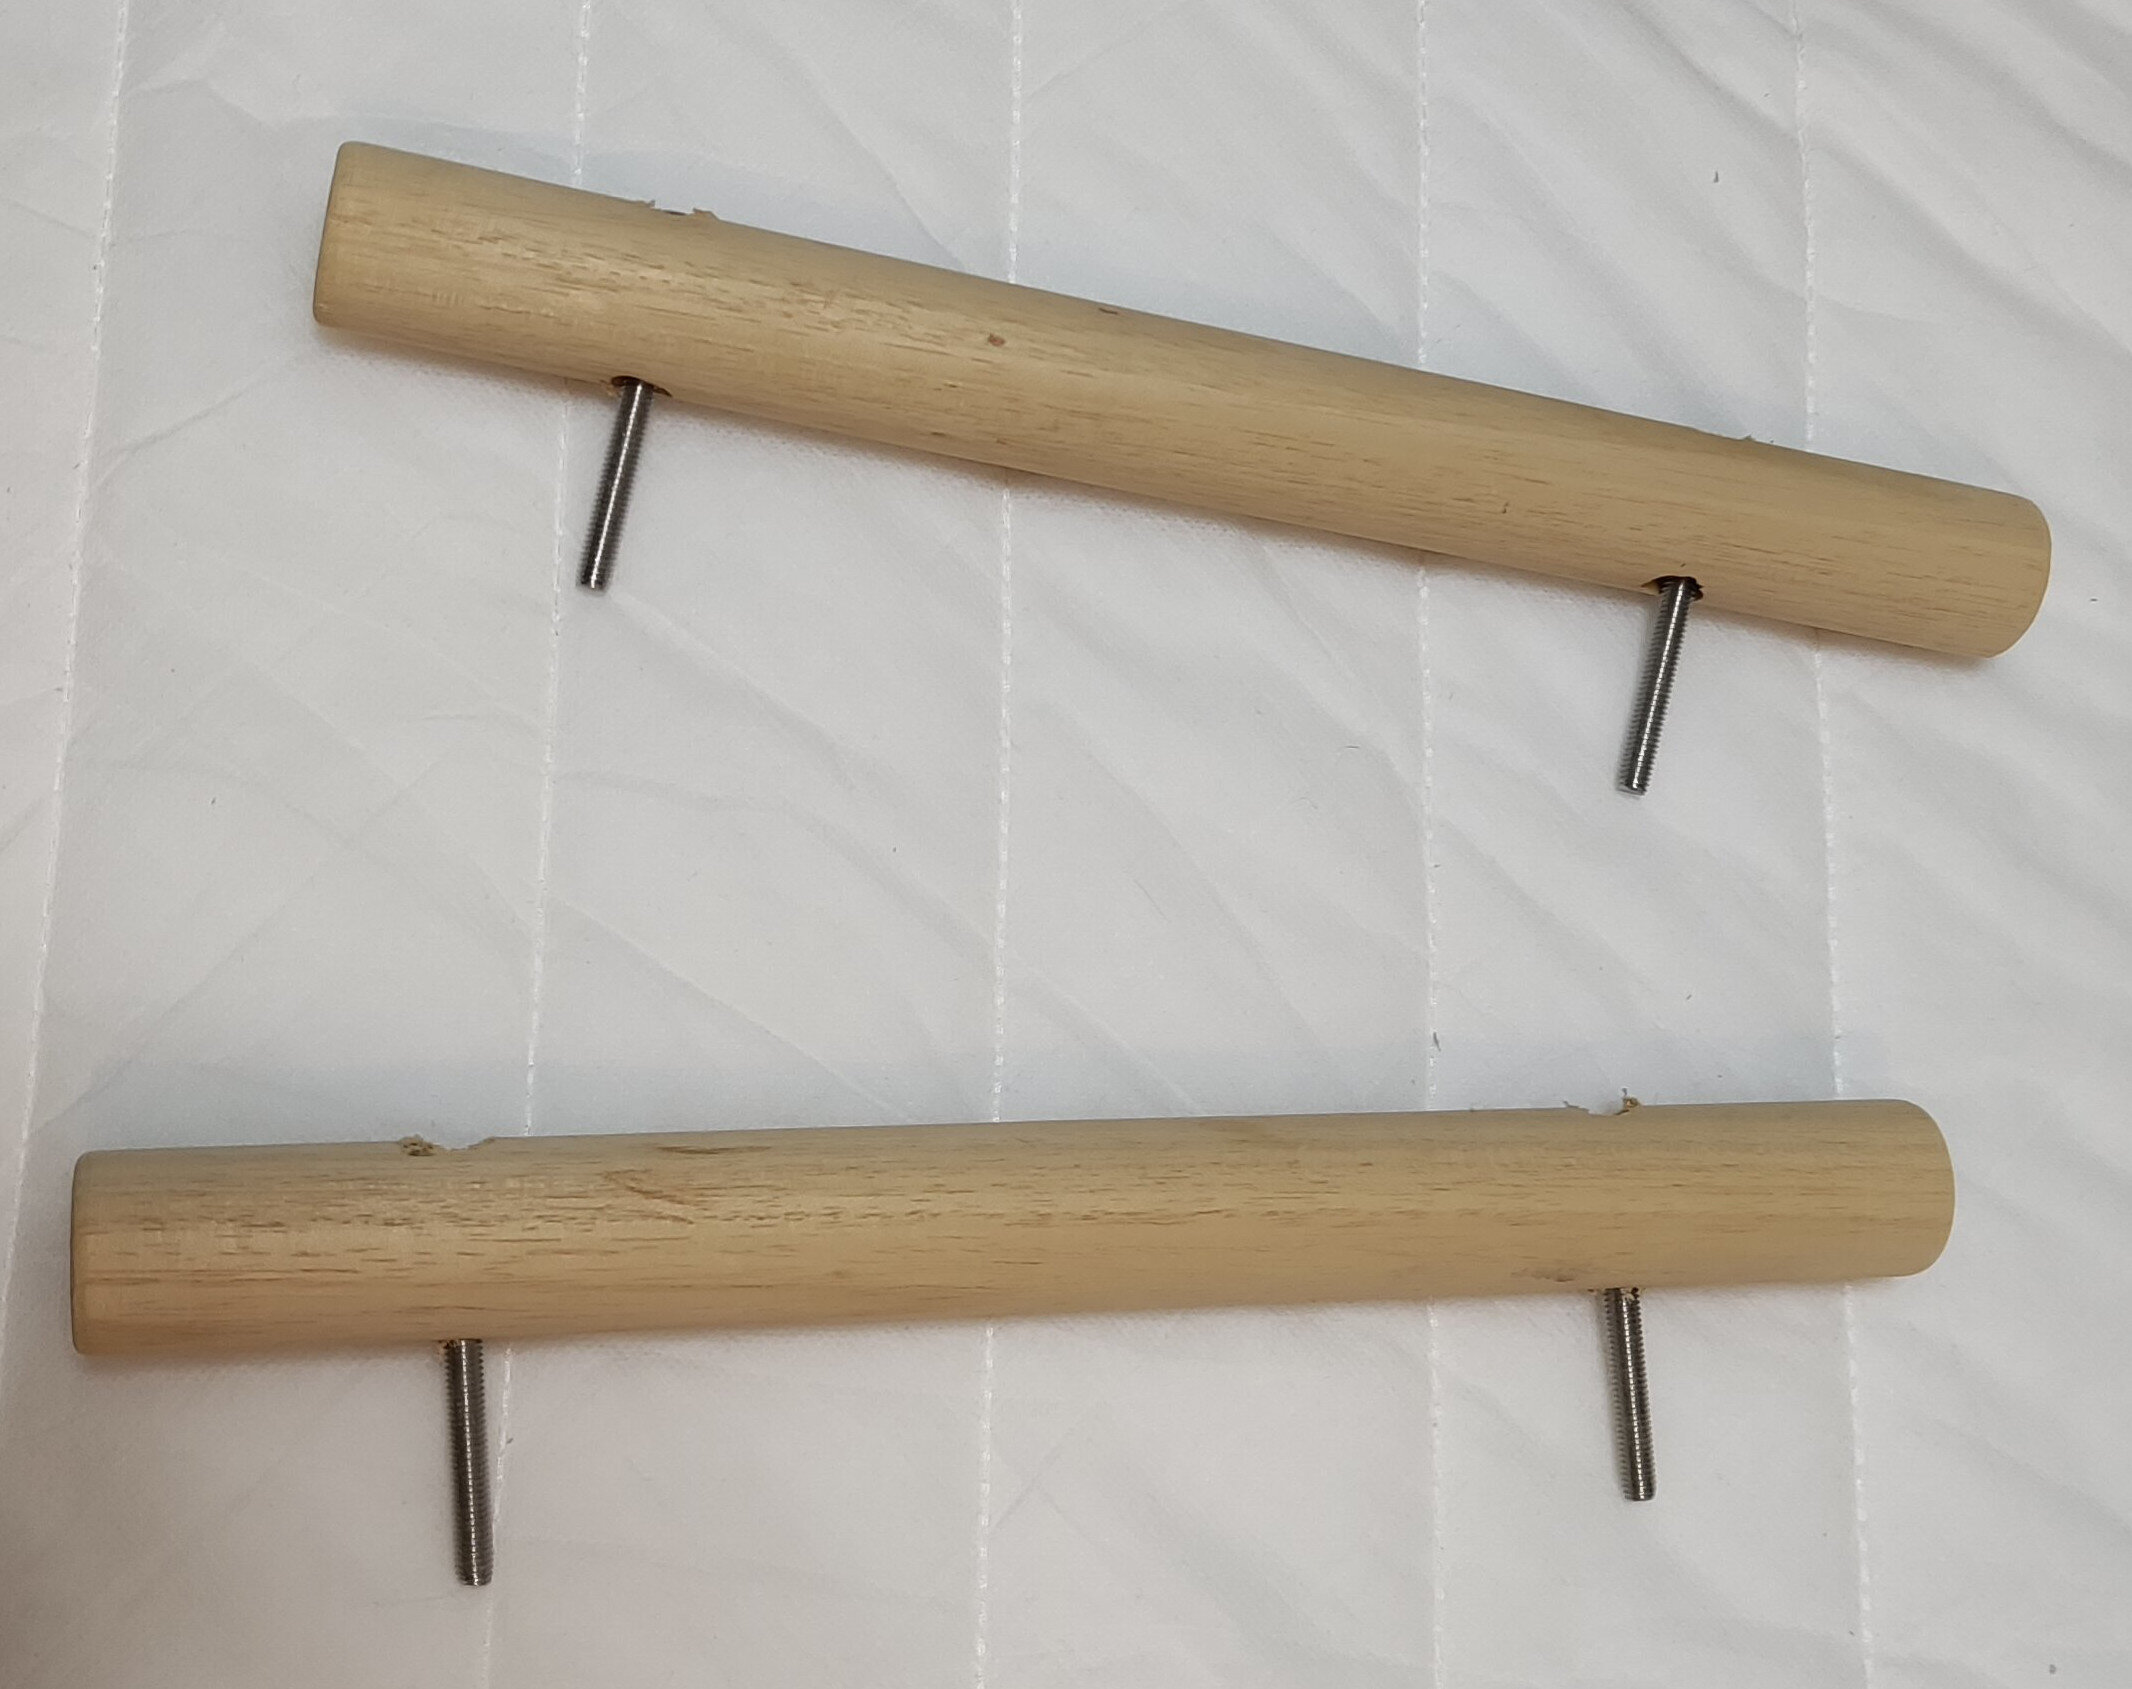
Next: I need some handles for moving the bed. Especially when lowering it to its horizontal position, my hands will get trapped underneath and ouchie. The metal handles I found in the hardware store didn’t seem quite heavy duty enough (probably made for cabinet doors), so I’m making those myself too.
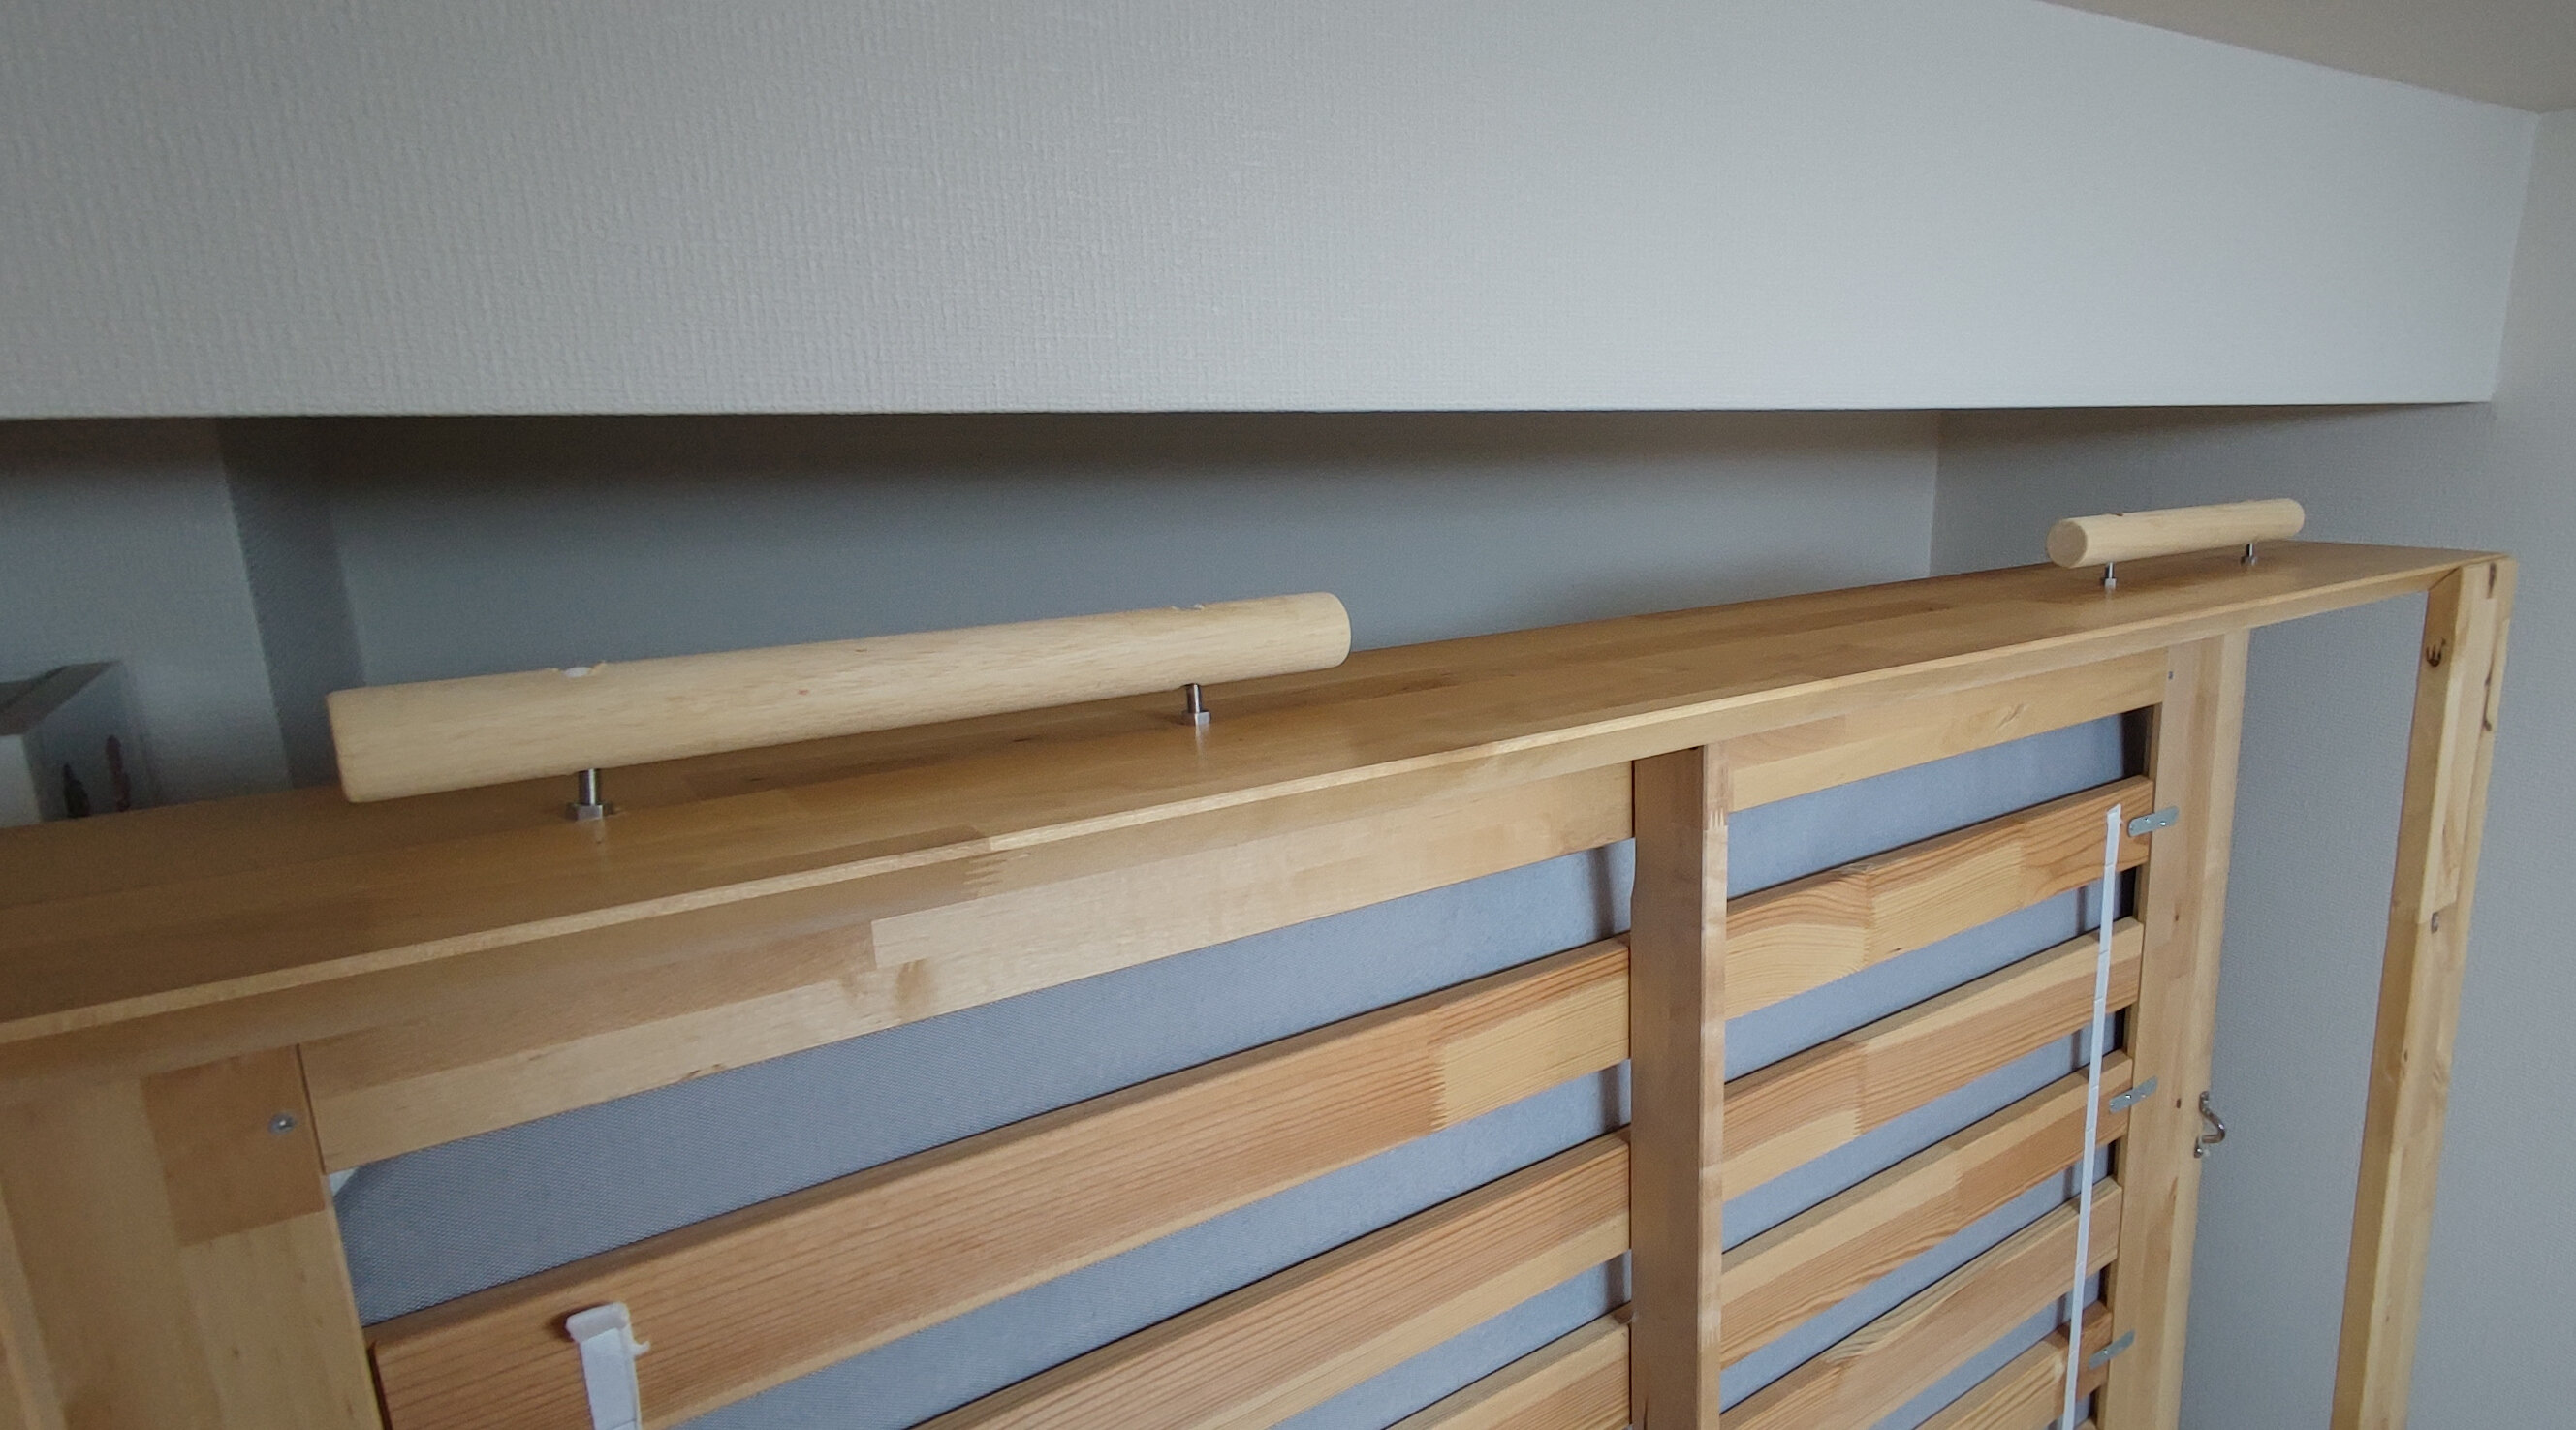
And once attached (I should probably stain them):
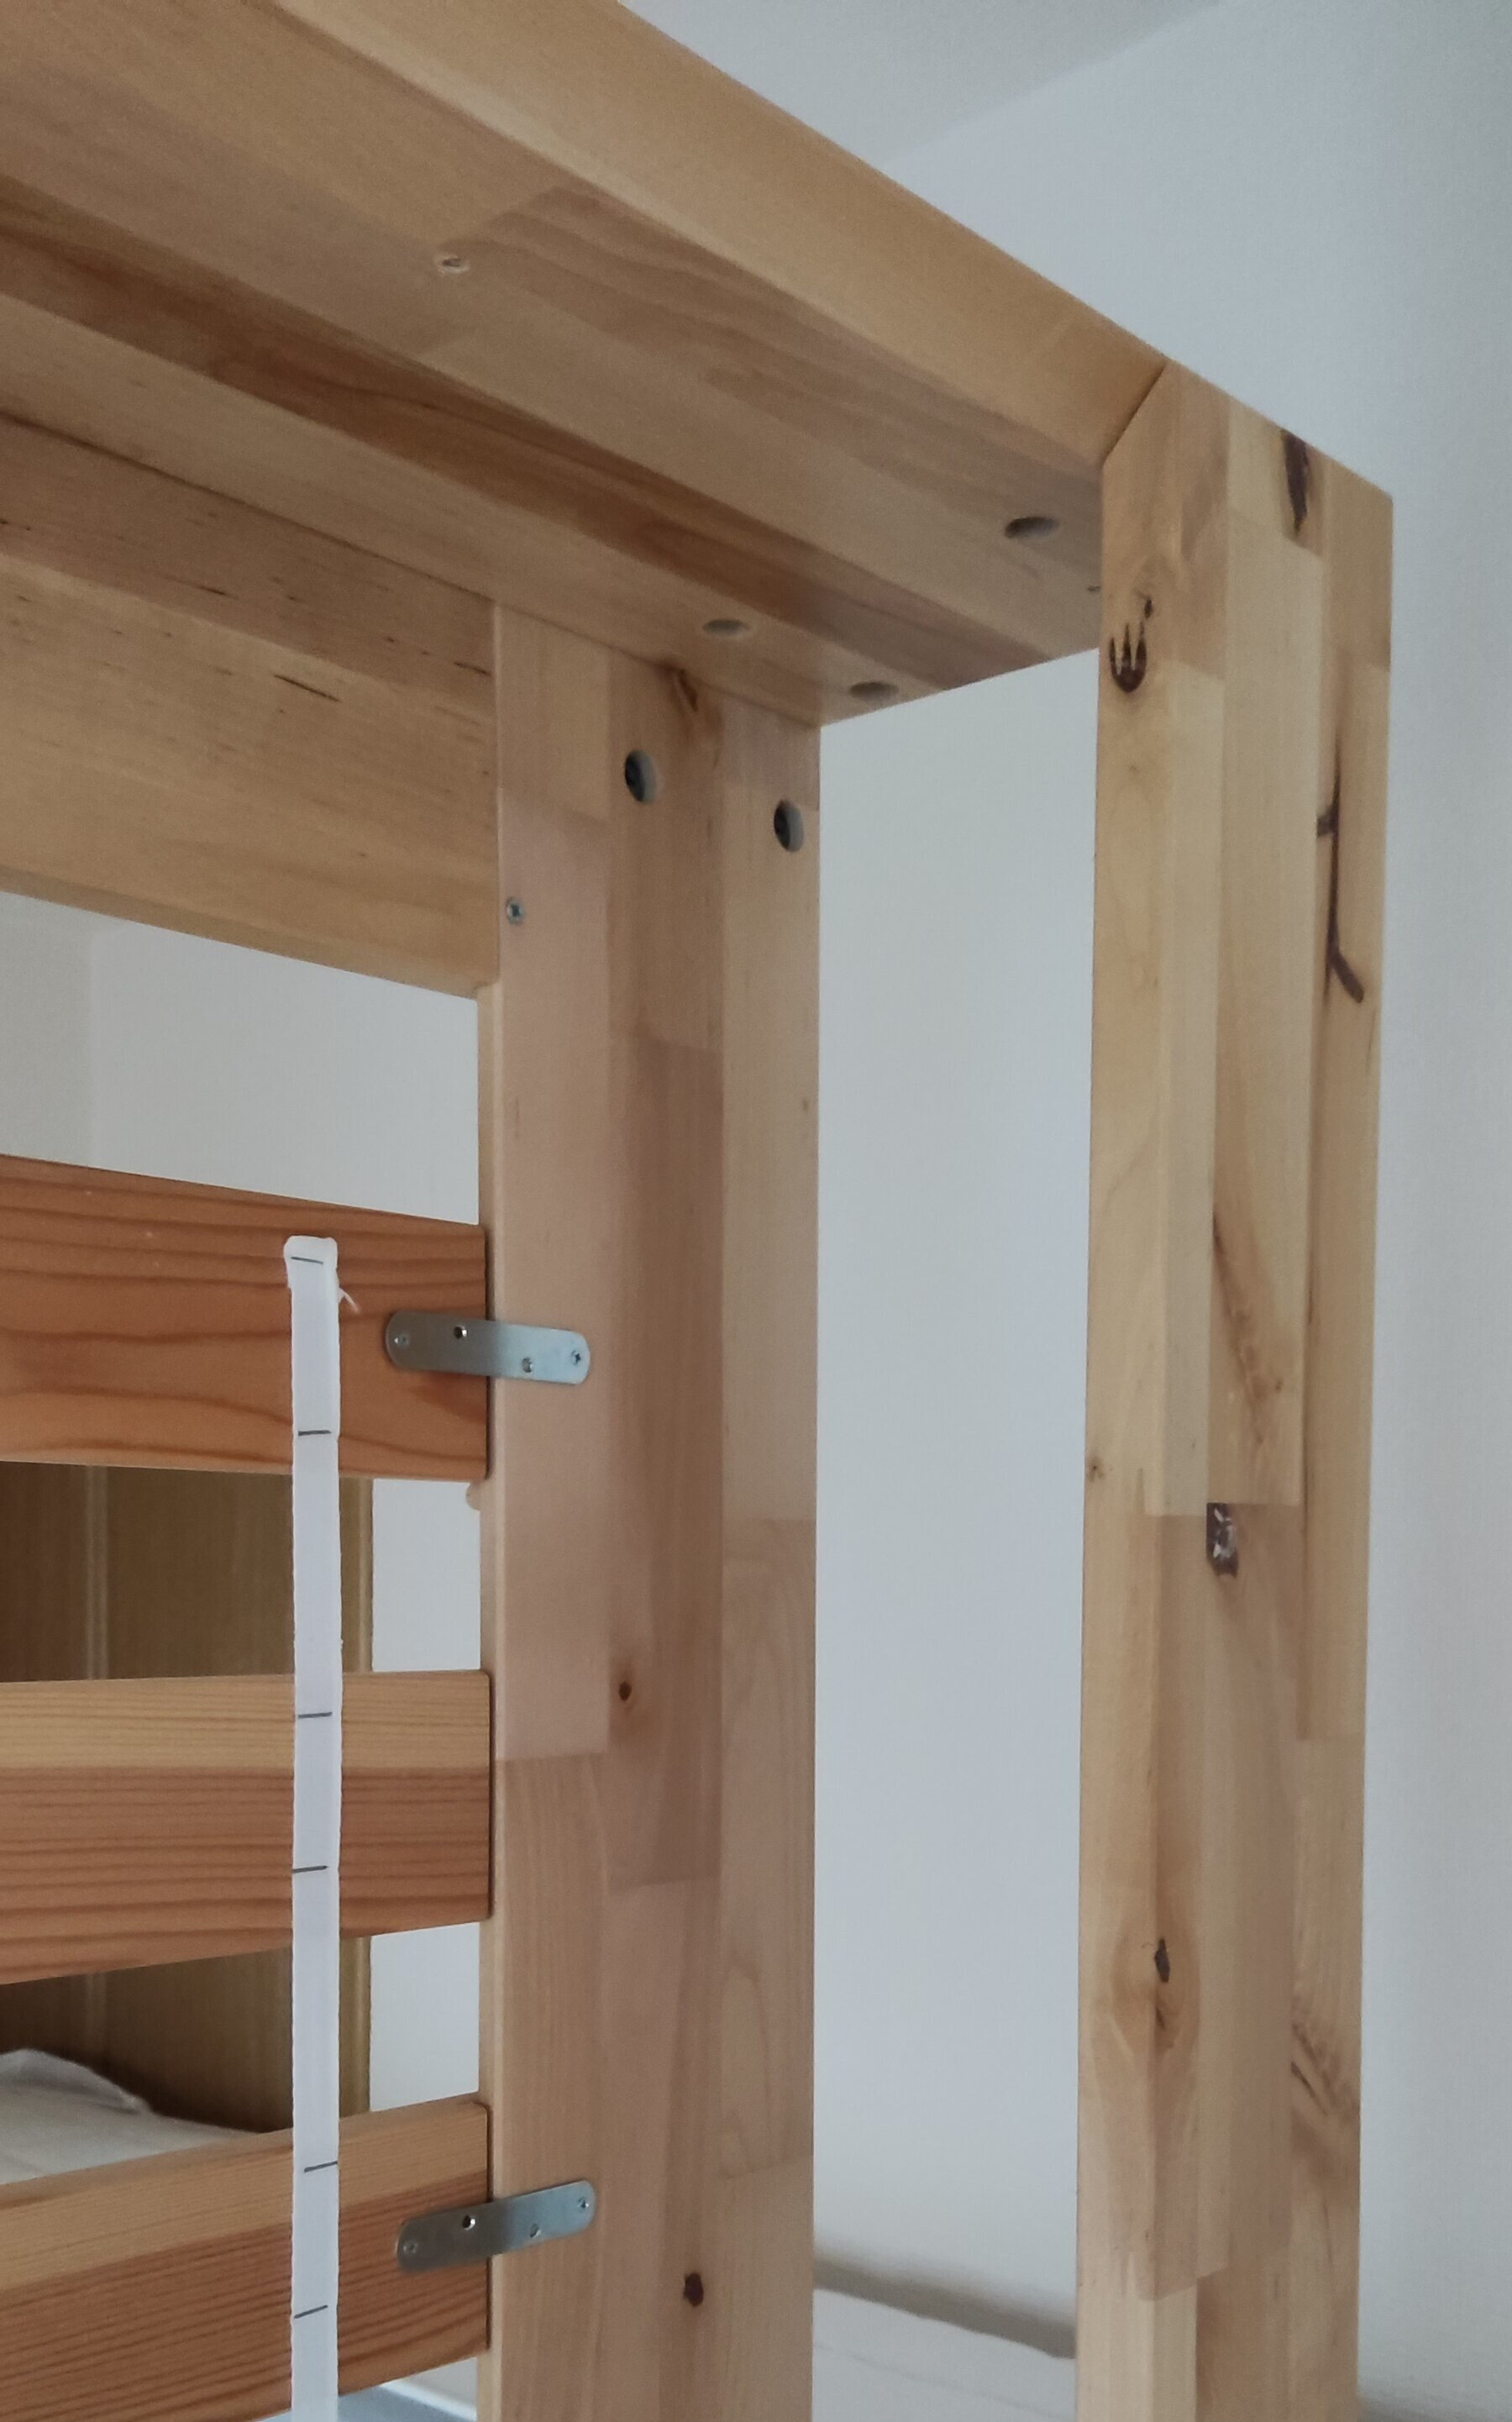
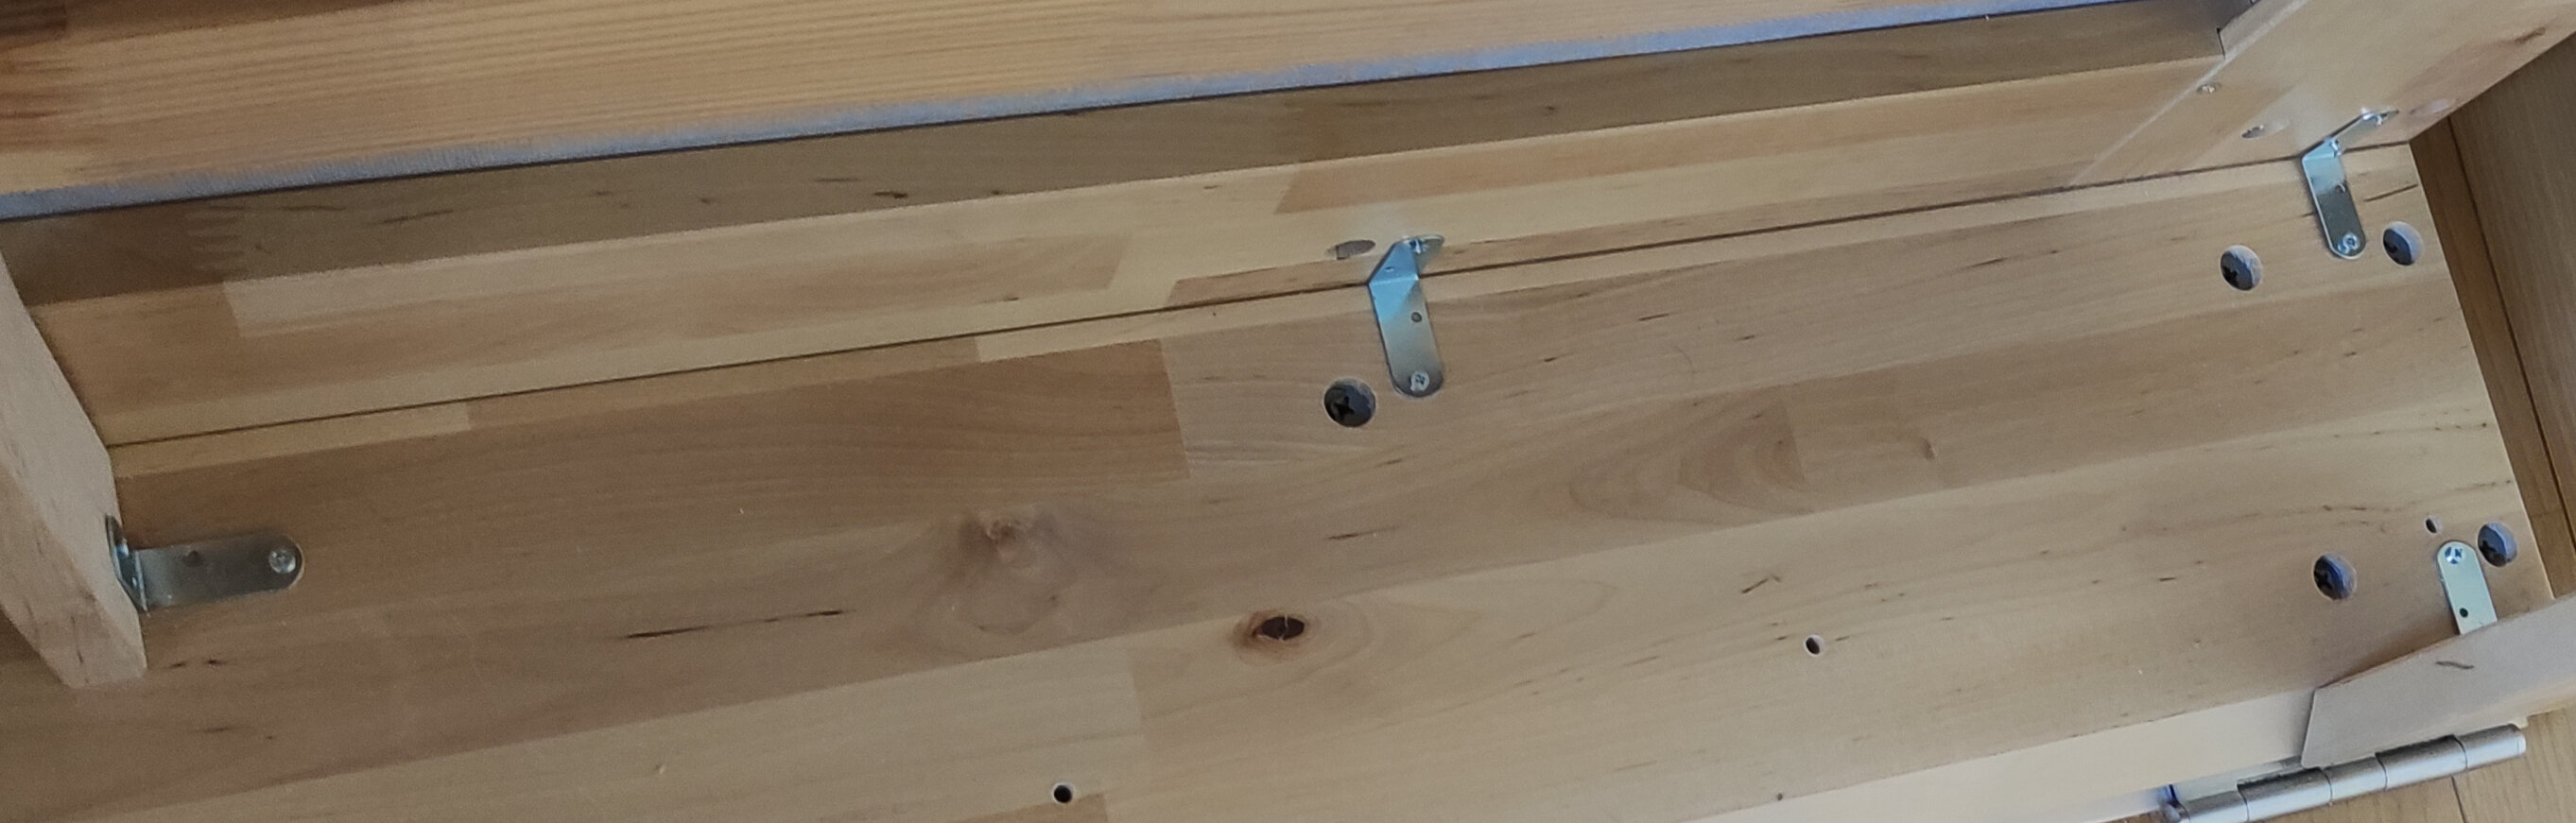
To compensate for the removal of that extra frame, and just because I like things that are robust and not squeaky, I reinforced the whole thing with small metal brackets here and there:
Now of course when the bed is upright, I need a place to store the pillows and comforter. Thankfully, there is now plenty of empty space inside the frame, and plenty of wood from the dismantled drawers that I can reuse for a makeshift case, like so:
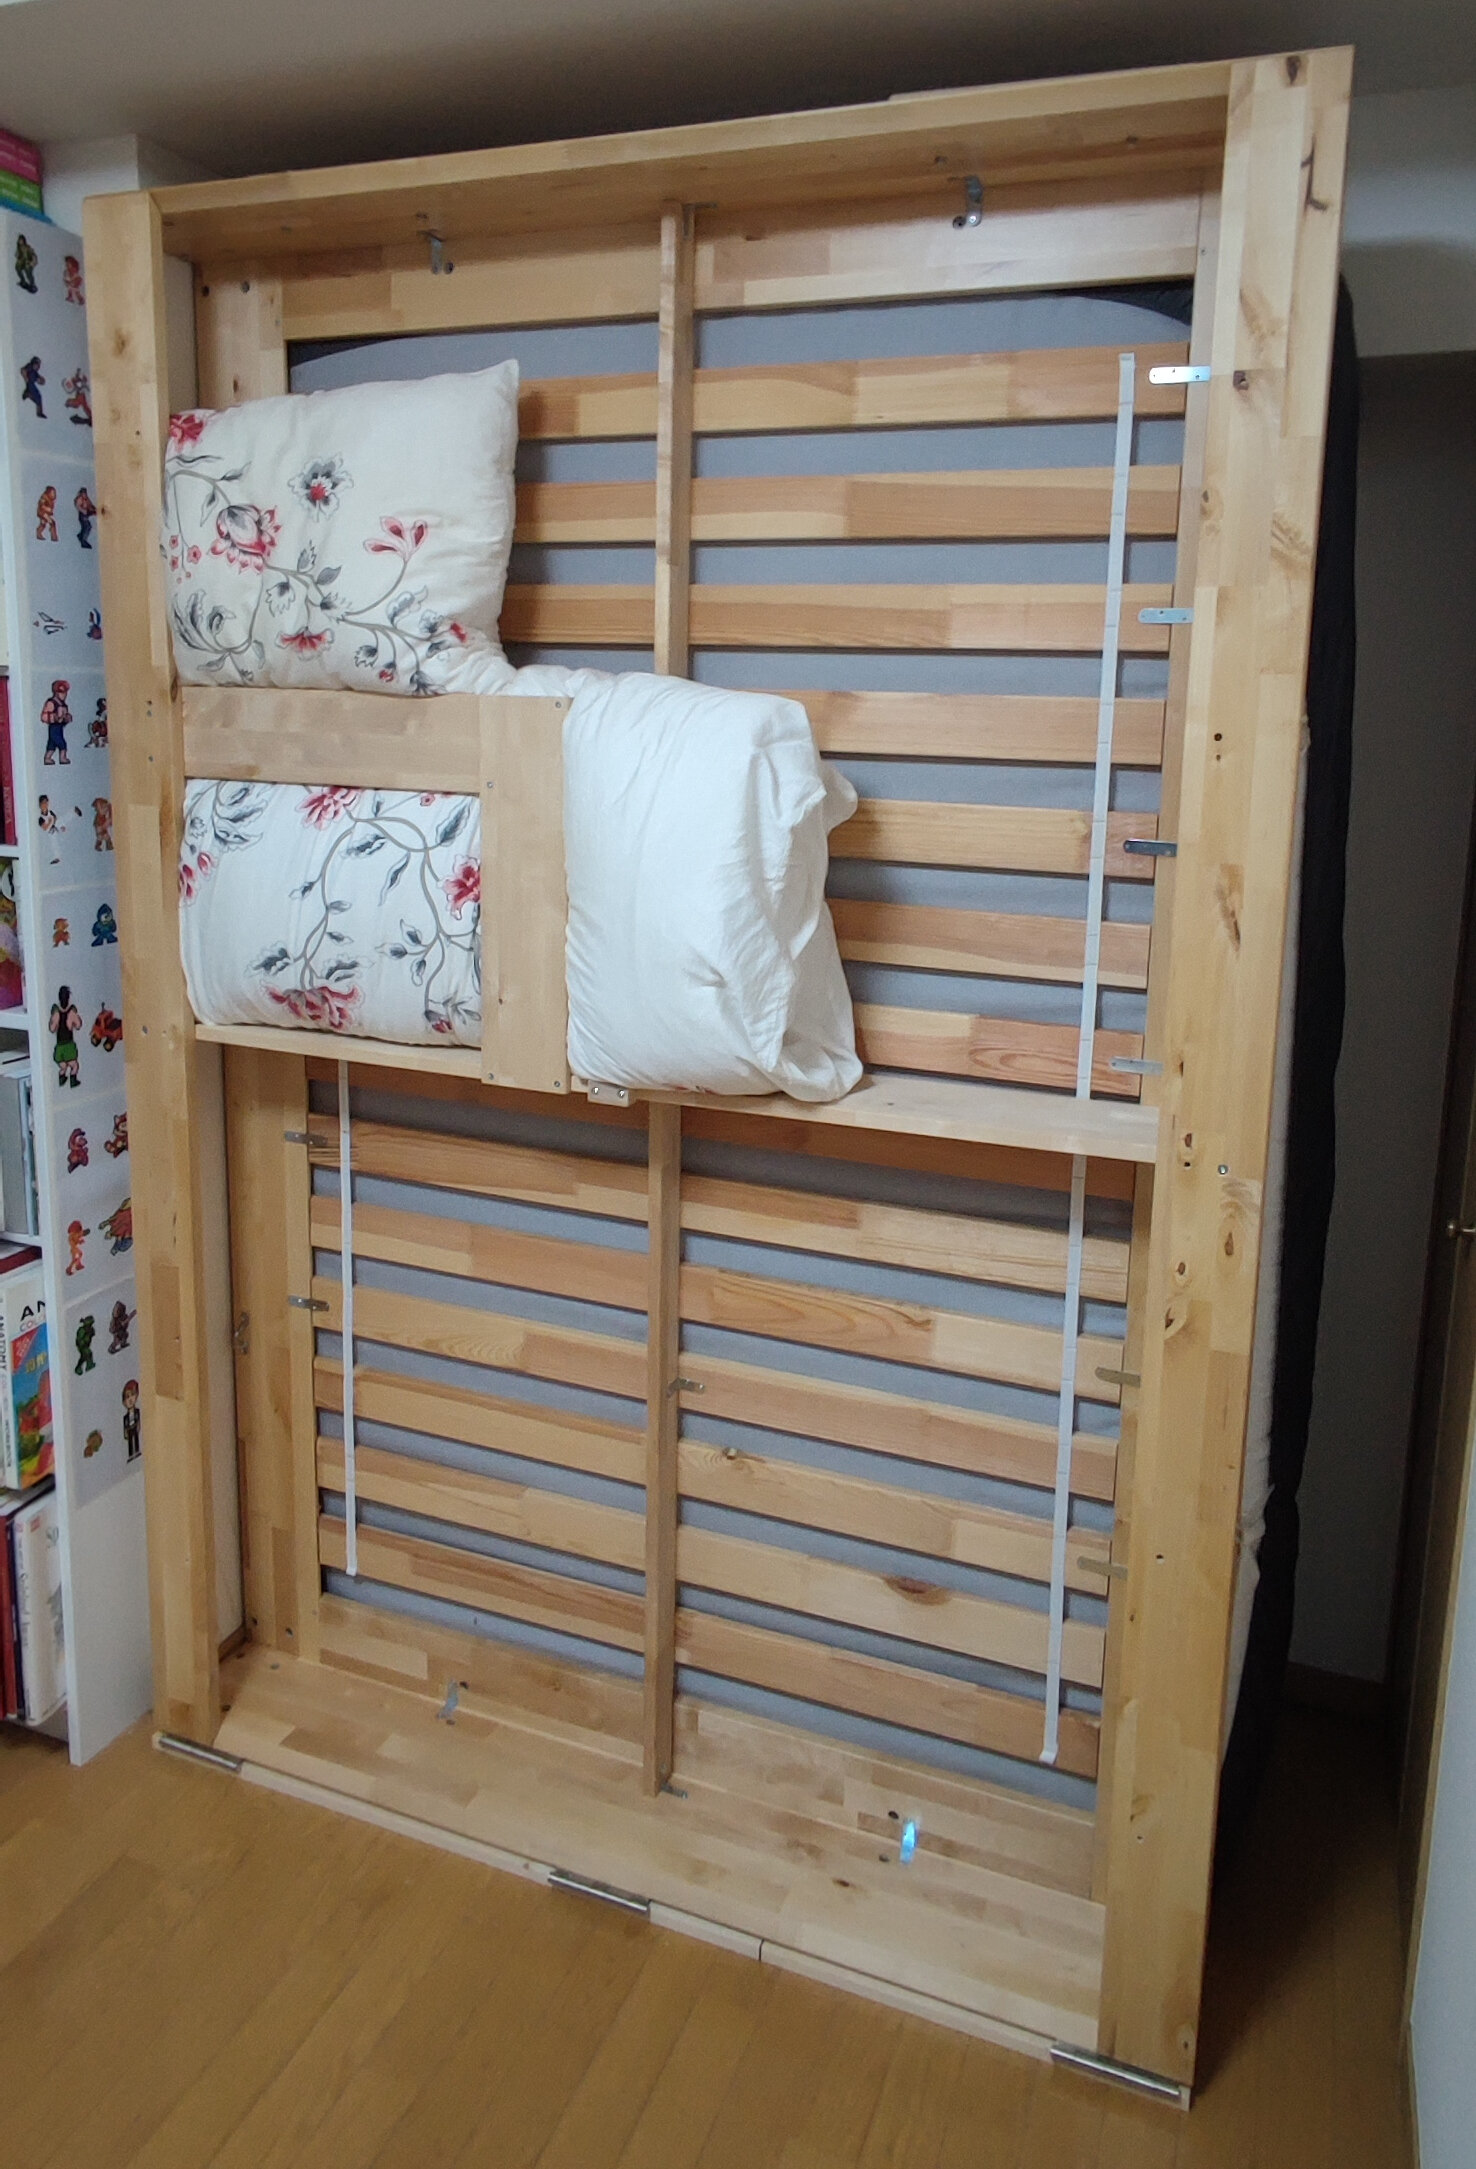
(Yes, I have small posters of NES game sprites on the side of that shelf. Judge me.)
Next, because the rotation point of the hinges is a little above the floor level, it will be smoother if the frame is elevated a little bit. I quickly considered re-adding the lower frame that I removed initially, but that really adds too much weight and I think I’ve already addressed the robustness part, so I added six little feet instead. The wooden part is screwed to the frame (I used wood glue initially but that wasn’t strong enough), and I added a thin rubber layer, which is glued on with cyanoacrylate.

To be continued!